Thickness Measurement on Internally Corroded Metals
Thickness Measurements on Internally Corroded Metals
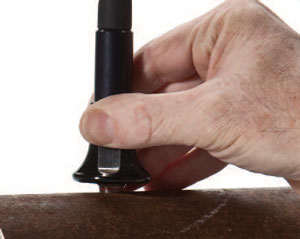
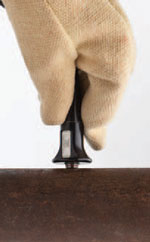
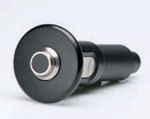
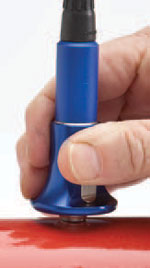
Using Dual Element TransducersOne of the major applications of the 45MG is measuring the remaining thickness of pipes, tubes, tanks, pressure vessels, ship hulls, and other structures affected by corrosion or erosion. Dual element transducers are most commonly used for these applications.
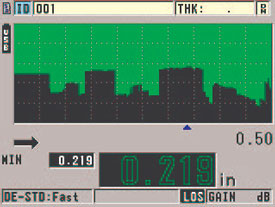
B-scan Mapping (Time-based)The 45MG gauge B-scan feature converts live thickness readings into cross-sectional images drawn on the display. This standard feature is very helpful in viewing the changes in thickness measurements over a distance. The B-scan is activated as soon as the transducer makes contact with the surface of the material. The Freeze Minimum function is used to display the minimum thickness of the scanned area. The optional 45MG datalogger can store up to 10,000 thickness readings in a single B-scan.
|
High Temperature SurfacesThe 45MG is ideally suited for making stable thickness measurements on hot material surfaces (up to 500 ºC or 932 ºF) with the D790 series transducers (D790, D790-SM, D790-RL, and D790-SL). The Zero Compensation feature of the 45MG enhances the accuracy of measurements on hot surfaces by compensating for temperature changes in the transducer delay line due to thermal drift.
|
Echo-to-Echo / THRU-COAT® Option
Echo-to-Echo The gauge displays the true metal thickness and ignores the thickness of the coating layer, using multiple back-wall echoes:
| THRU-COAT Technology
|
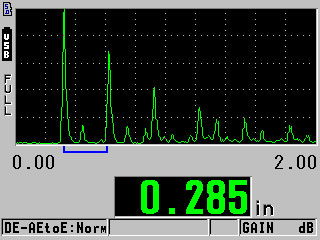 Auto Echo-to-Echo mode with A-scan | 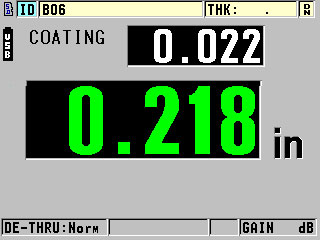 THRU-COAT mode showing thickness of coating and steel (waveform not activated) |
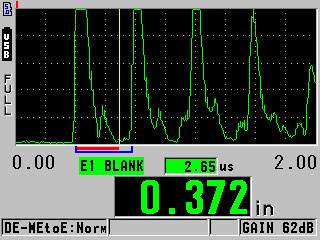 Manual Echo-to-Echo adjusting the First Echo blank | 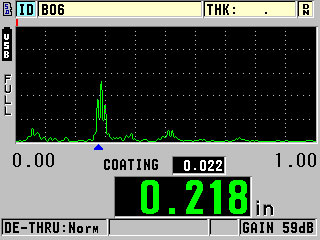 THRU-COAT mode with optional waveform |
