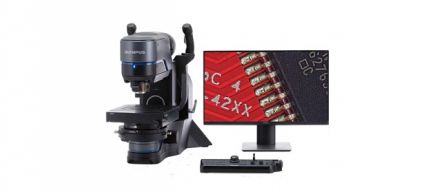
Gravure-Cylinder Making Must Be Controlled with an Accuracy of 1 μm or Better
Gravure-cylinder making systems are mainly used to engrave cylinders for printing labels and packaging for food, confectionary, and other commercial products. Since Think Laboratory launched its System 77 gravure-plate making machine in 1977, it has held more than 90% of the gravure plate- and cylinder-making market share in Japan. In the past, cylinders used for printing were engraved by artisans, but the widespread use of Think Laboratory’s gravure-cylinder making systems has made highly accurate and fully automated production possible at a low cost.
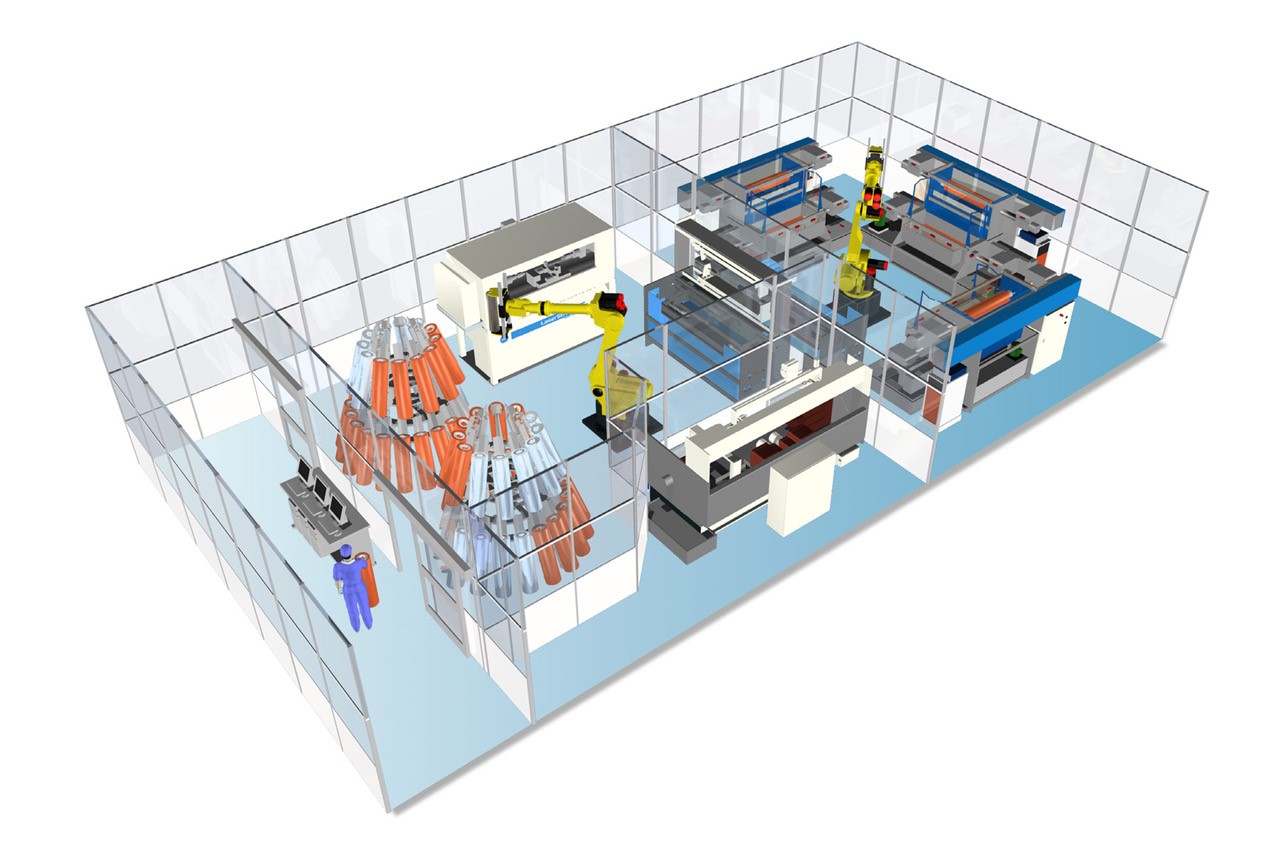
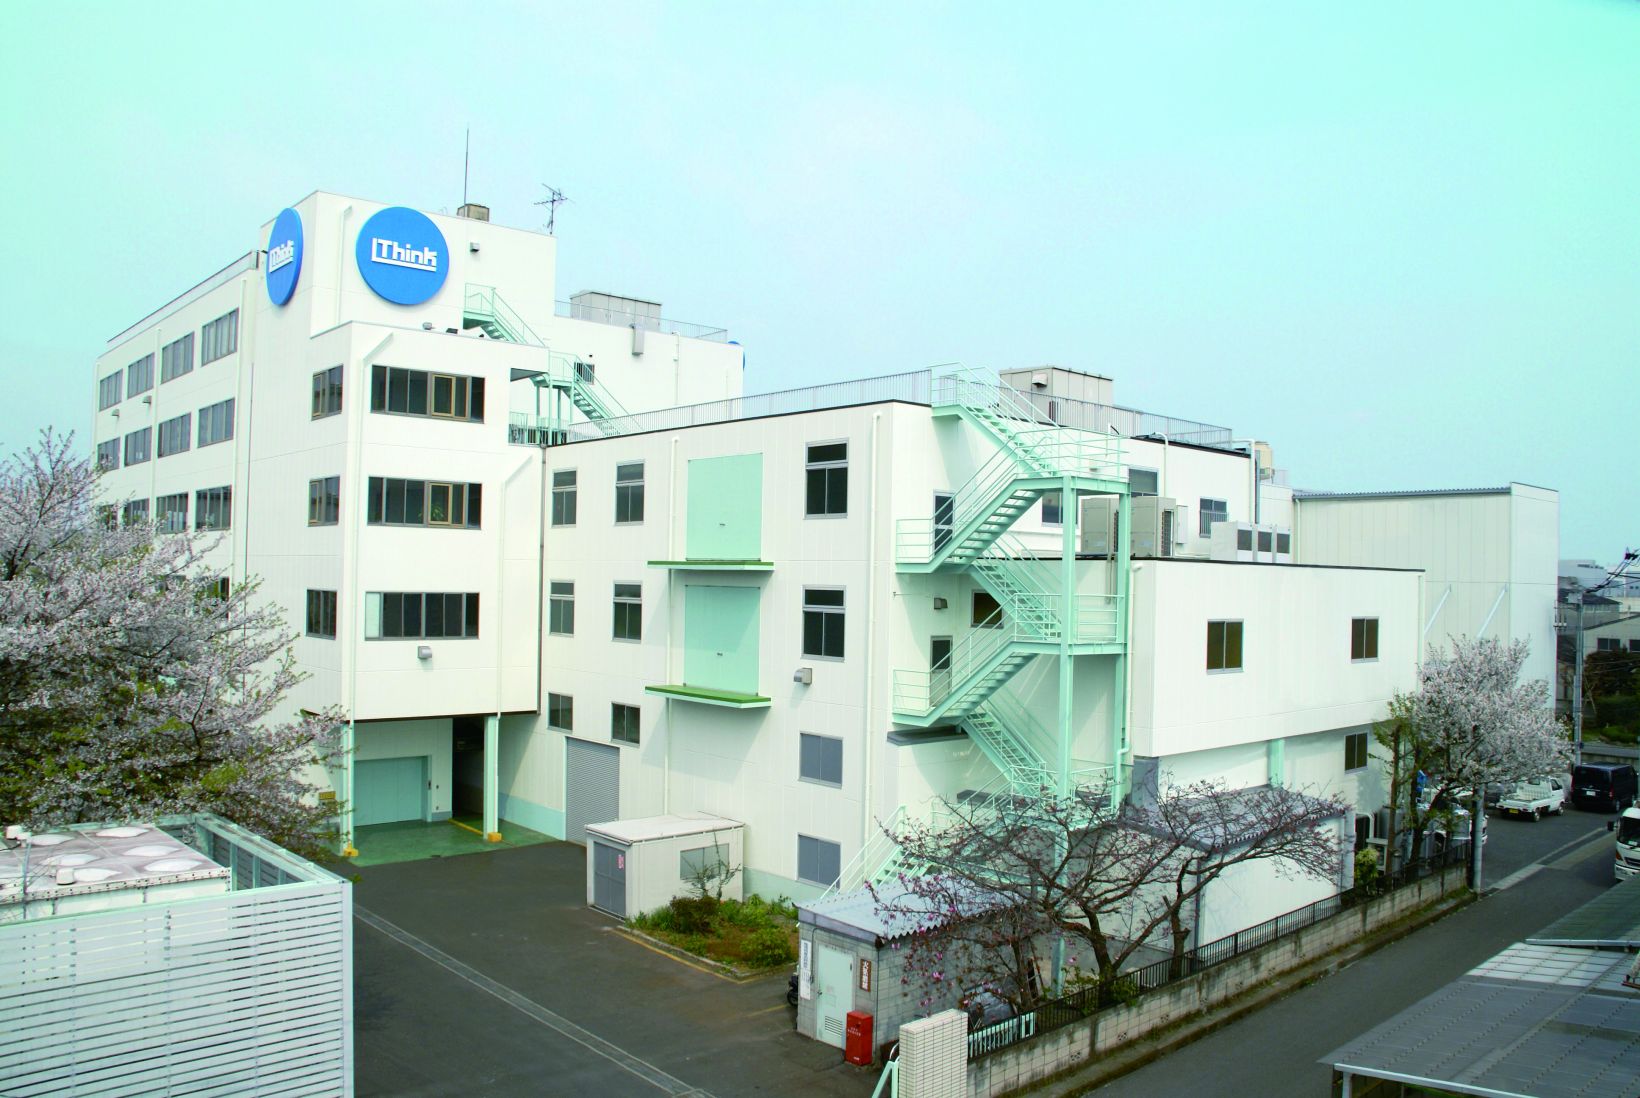
Illustration of a Think Laboratory FX3 automated gravure-cylinder making system installed at a customer’s site: image courtesy of Think Laboratory
Think Laboratory’s gravure-cylinder making systems use photolithography to produce printing cylinders. The printing plates, cylindrical in shape, enable maskless exposure to light, or laser exposure. The laser provides a resolution of 3200 dpi × 12800 dpi with each beam focused on a tiny space of 2 μm × 8 μm. The required accuracy is very high, 1 μm or better. Olympus’ DSX1000 digital microscope was chosen to support this accuracy control. Shintaro Sugawara, Director and Leader of the Development Department, explains what is at stake during a quality control verification, “For example, the smallest pocket that collects ink is approximately 100 μm × 100 μm in size. The slightest difference causes variations in ink concentration. The cosmetic and automobile industries require high-quality printing that gives their products a premium feel, so even slight color variations caused by only a 1% difference in the pocket size are strictly checked.”
Sample Analysis with the DSX1000 Microscope Supports Quality and Reliability
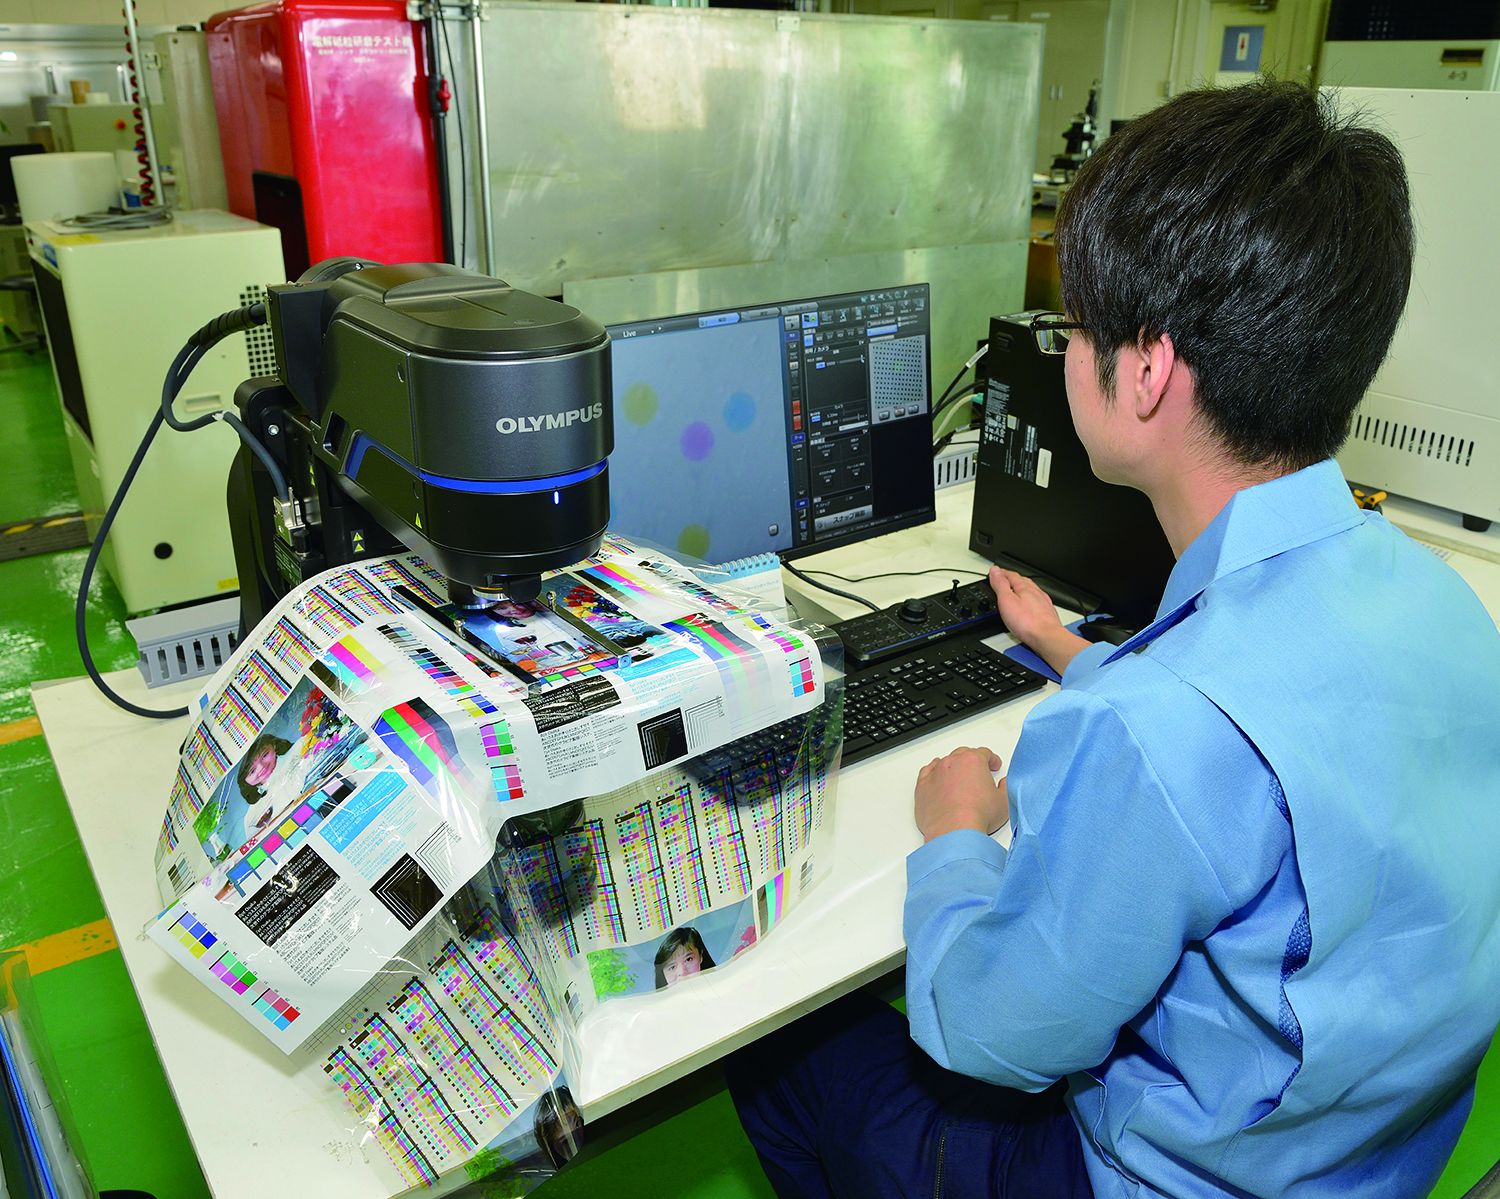
If any defect is detected in the samples printed with the cylinders manufactured using the company’s gravure-cylinder making systems, the company collects the gravure cylinder and the printing sample from the customer to analyze the cause of the defect. With its guaranteed accuracy and a 1 μm Z-axis repeatability*, the DSX1000 digital microscope plays an important role in the first step of the analysis. For the preliminary analysis, the detected defect is observed using the DSX1000 microscope to help obtain an initial determination of the cause, which guides the subsequent analysis performed using high-magnification observation and elemental analysis with an electron microscope. The identified cause of the defect is written in a report to be submitted to the customer as feedback. | |||||||||||
A difference of only a few micrometers in engraving on the cylinder can result in blurred words or color errors, so stringent standards are enforced for the analysis. Mr. Takashi Yoshioka of the Think Laboratory Development Department says, “Demand for high-quality printing has been increasing recently, so our quest for higher accuracy in analysis and our expectation of higher efficiency have led to the implementation of the DSX1000 microscope.”
Functions of the DSX1000 Digital Microscope that Helped Optimize the QC Process
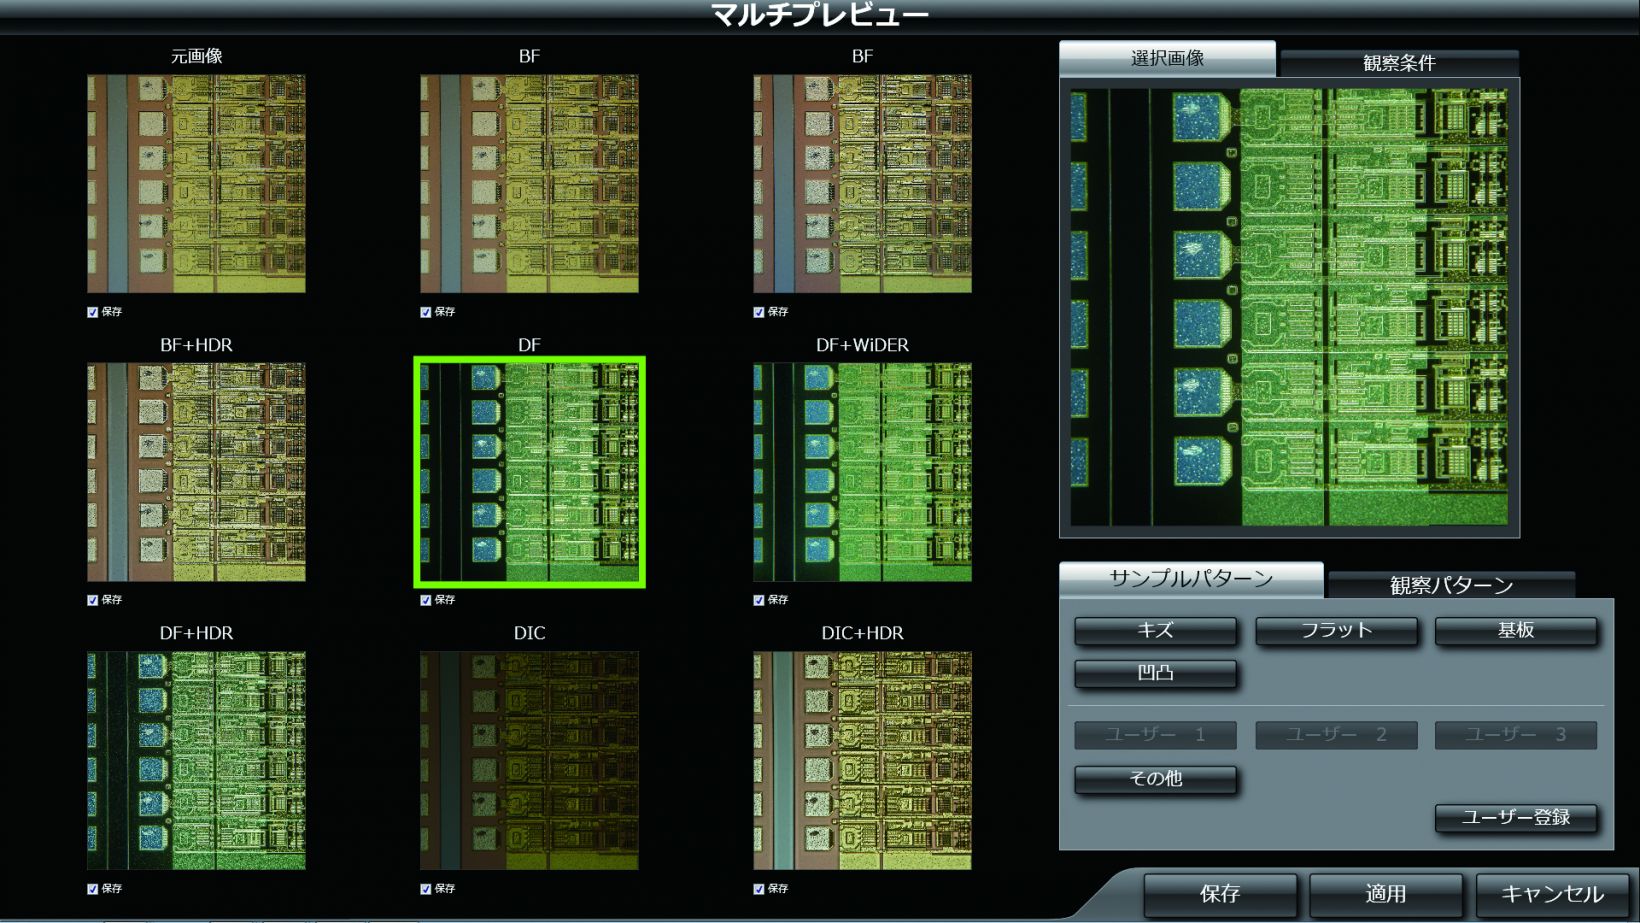
The DSX1000 digital microscope has functions that conventional digital microscopes do not. Mr. Yoshioka, a principal user of Think Laboratory’s DSX1000 microscope, cited two functions that he was impressed with: (1) the function to switch between multiple observation methods with a single click without losing sight of the object being observed or analyzed, and (2) the multiple preview function, which enables you to compare observation method images and select the best one.
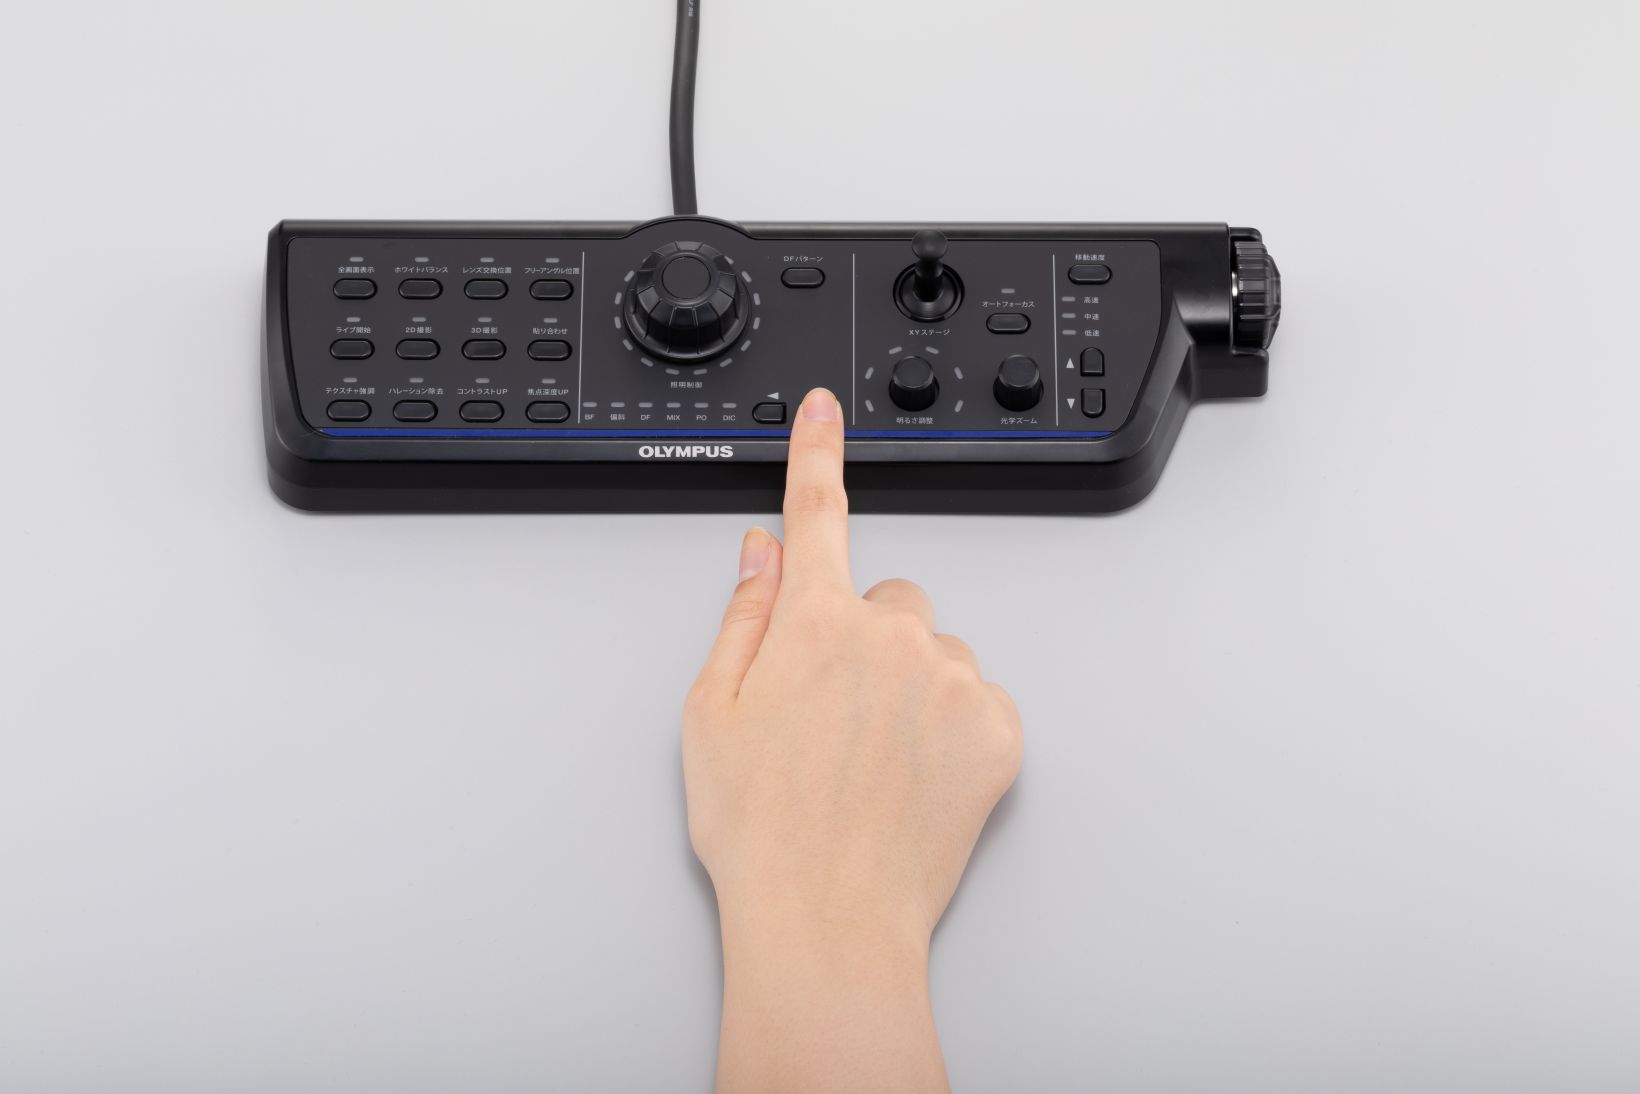
One-Button Switching between Multiple Observation Methods
Some conventional microscopes offer different observation methods, but the DSX1000 digital microscope supports up to six observation methods to inspect various samples: brightfield (BF), oblique, darkfield (DF), mix, polarization, and differential interference.
Multiple Preview Function
High-Performance Lenses from an Optical-Device Manufacturer
The type of lens used in analysis work varies depending on the sample to be observed. Both Mr. Sugawara and Mr. Yoshioka were satisfied with the lenses provided by Olympus, noting that as an optical-device manufacturer, the company has an extensive lineup of lenses that are very high quality and provide excellent cost performance.
To change lenses, some conventional digital microscopes require the lens to be removed to connect a new one, which can be cumbersome and time consuming. The DSX1000 digital microscope, however, has a sliding nosepiece and exclusive lens attachments, which enable you to quickly switch to the lens that suits your purpose as well as change the magnification, ranging from the macro to micro level.
Mr. Yoshioka appreciates the usability of this feature compared with conventional digital microscopes, “Being able to replace the lens instantly is convenient when we want to adjust the magnification after changing the sample. It is particularly effective in observing and analyzing various samples because conducting a low-magnification overview observation may be useful in detecting a defect quickly. With conventional digital microscopes, replacement is cumbersome and time consuming because the lens needs to be screwed into a hole, but the sliding design of the DSX1000 microscope makes lens replacement easy and eliminates the concern that the lens may be dropped.”
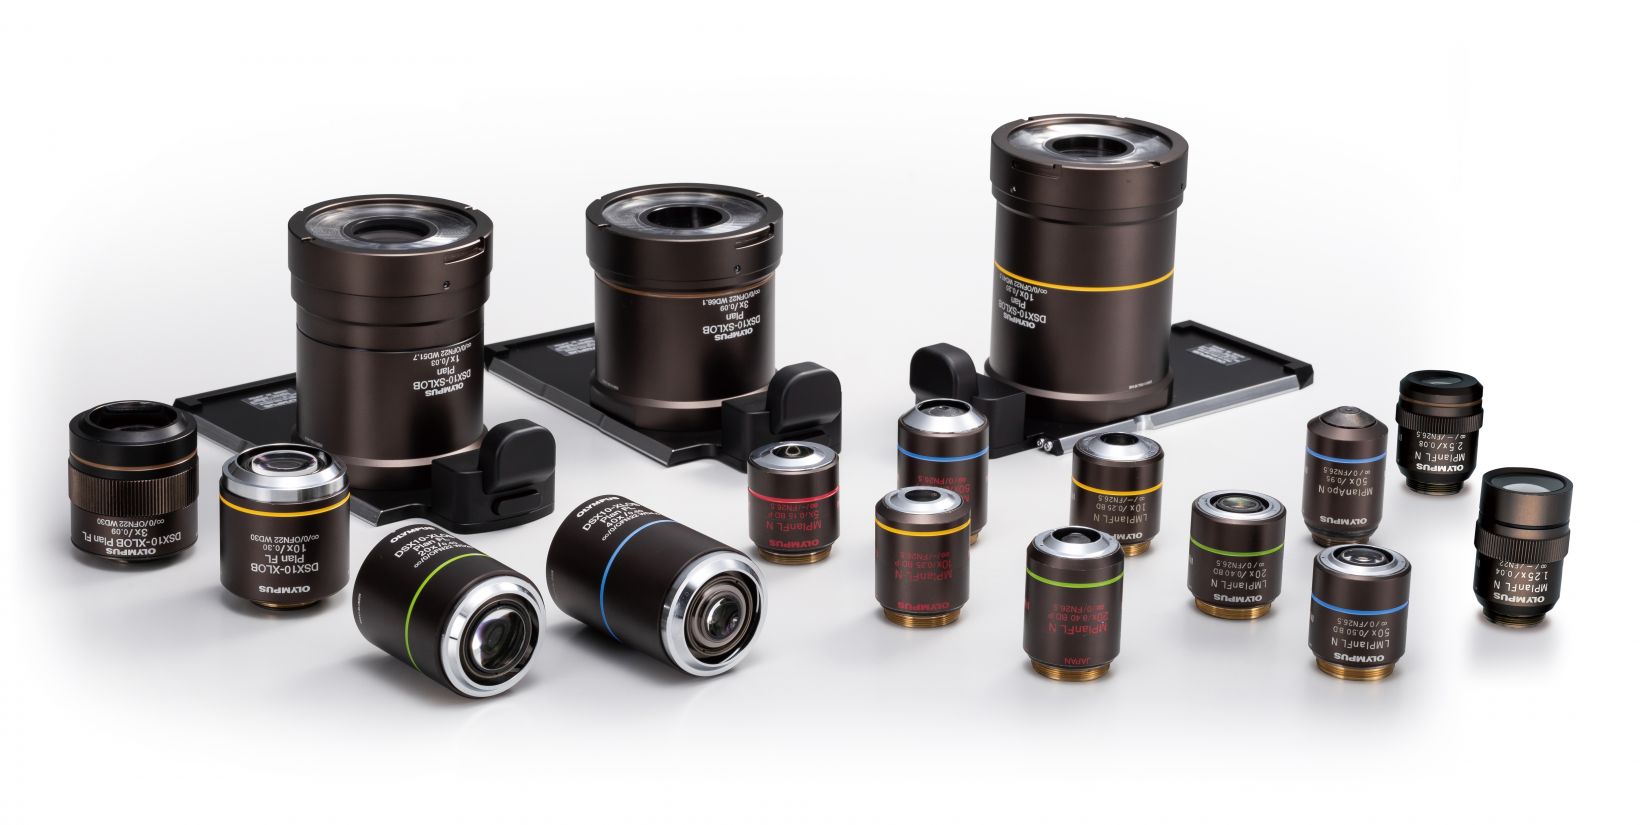 Lineup of 17 objective lenses | 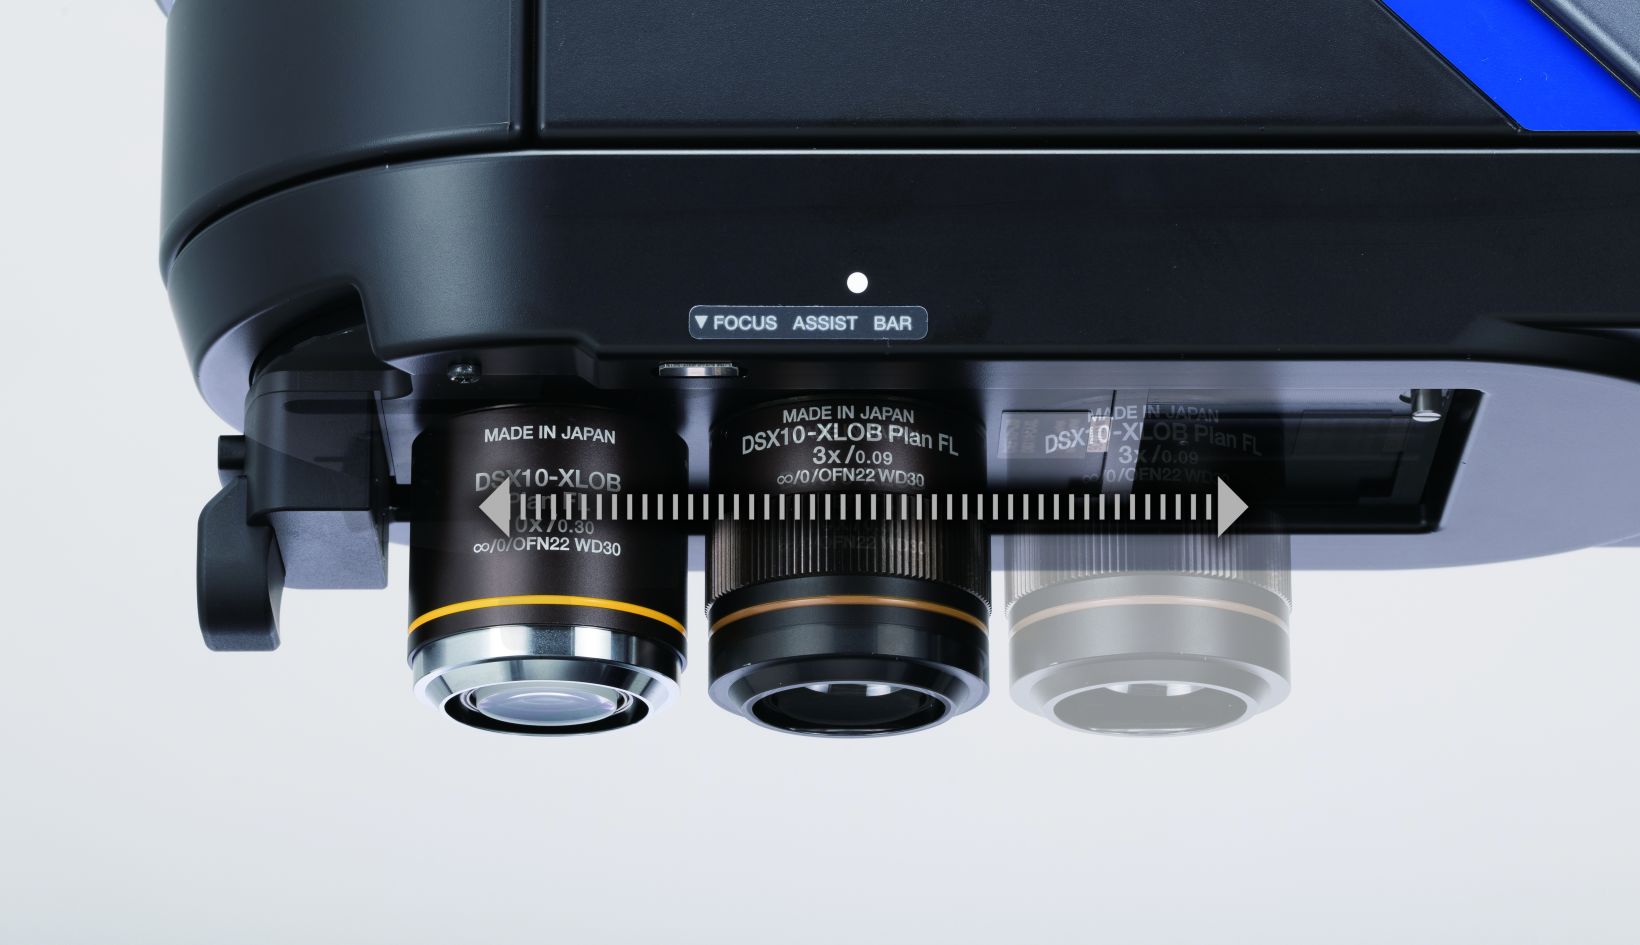 Sliding nosepiece: lens moves back and forth 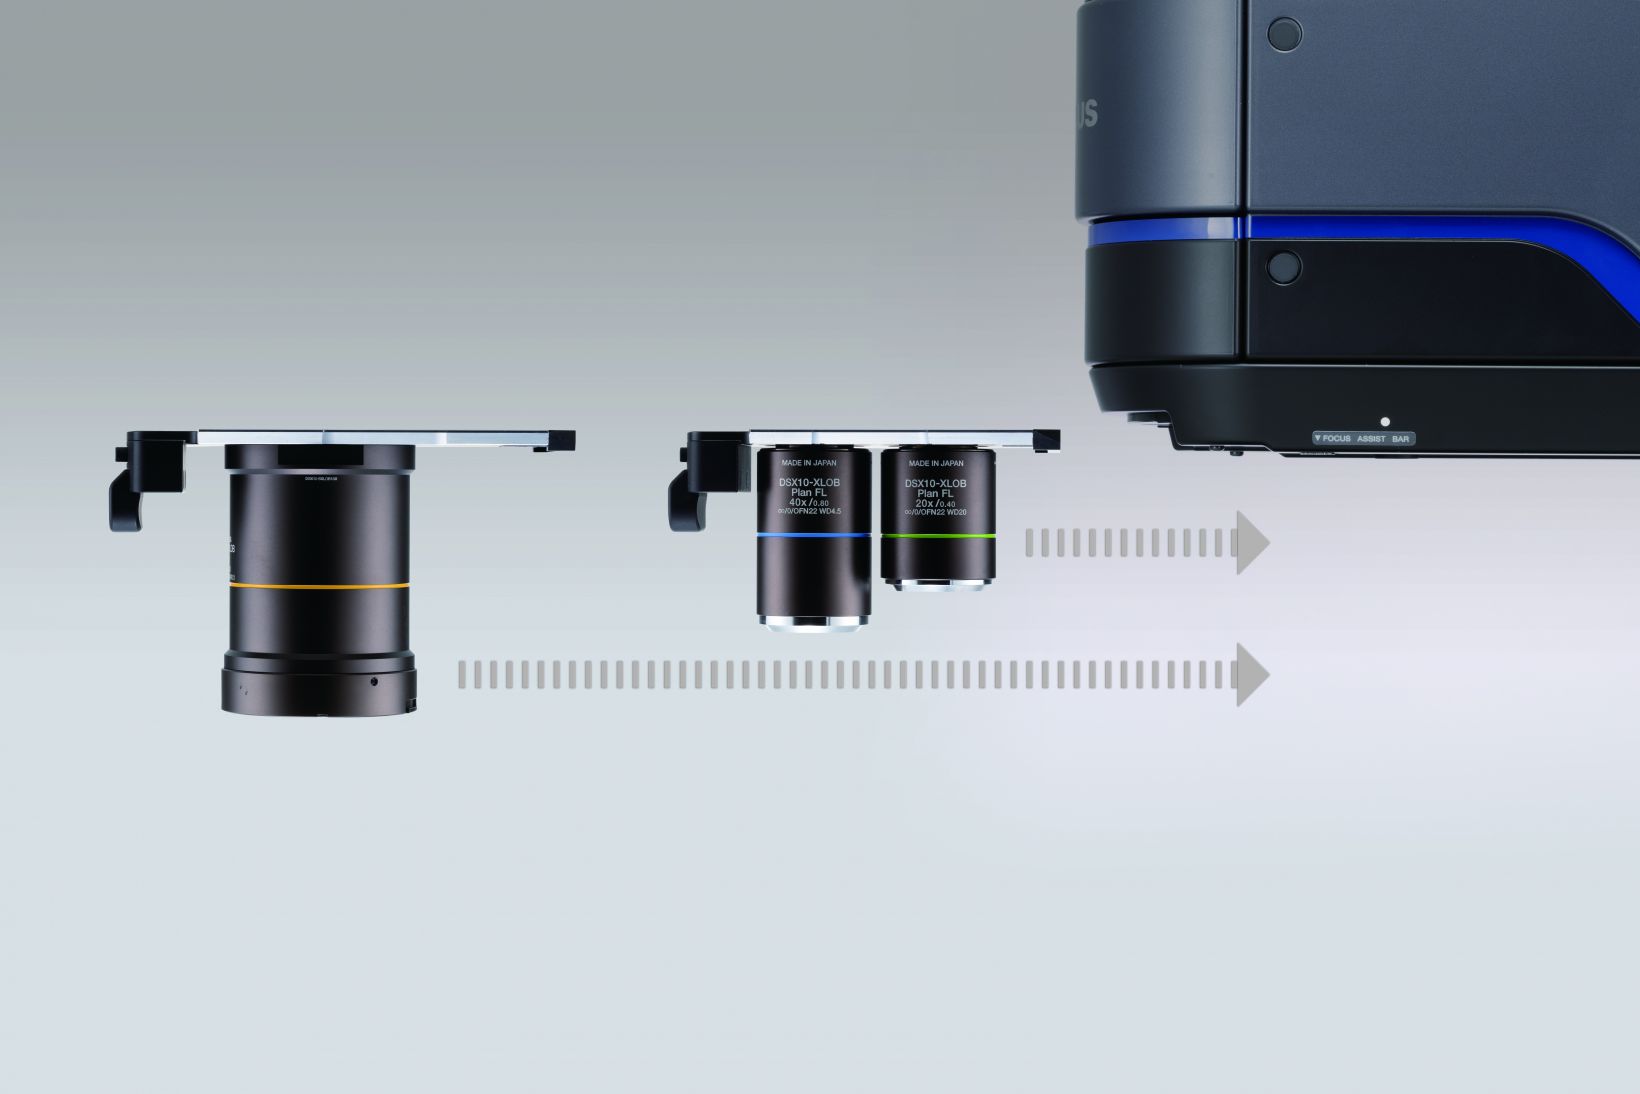 Replacing the lens attachment |
Saving Observation Parameters Saves Time
Think Laboratory’s expectations were high regarding a certain feature of the DSX1000 microscope, which is the function to retrieve observation conditions. The ability to analyze different samples using past observation conditions can be very useful. Each image file recorded in the DSX1000 microscope contains data on the parameters used for observation, such as the magnification, illumination method, and camera settings. These conditions can be retrieved by simply clicking the image. This function helps eliminate the need to search for the optimal imaging conditions each time. It also prevents variations in observation images among multiple operators as well as the failure to detect defects, enabling better analysis to be performed.
Summary
Overall, implementing the DSX1000 digital microscope into the gravure cylinder quality control process has helped Think Laboratory meet its accuracy demands and improve efficiency. Despite a slight initial hesitation about changing its manufacturer of digital microscopes, Think Laboratory proceeded with the switch based on its experience with Olympus products, including its industrial videoscopes and X-ray fluorescence analyzers. The company is also very satisfied with the after-sales follow-up provided by Olympus, including the series of training sessions that were provided to Think Laboratory employees after the installation.
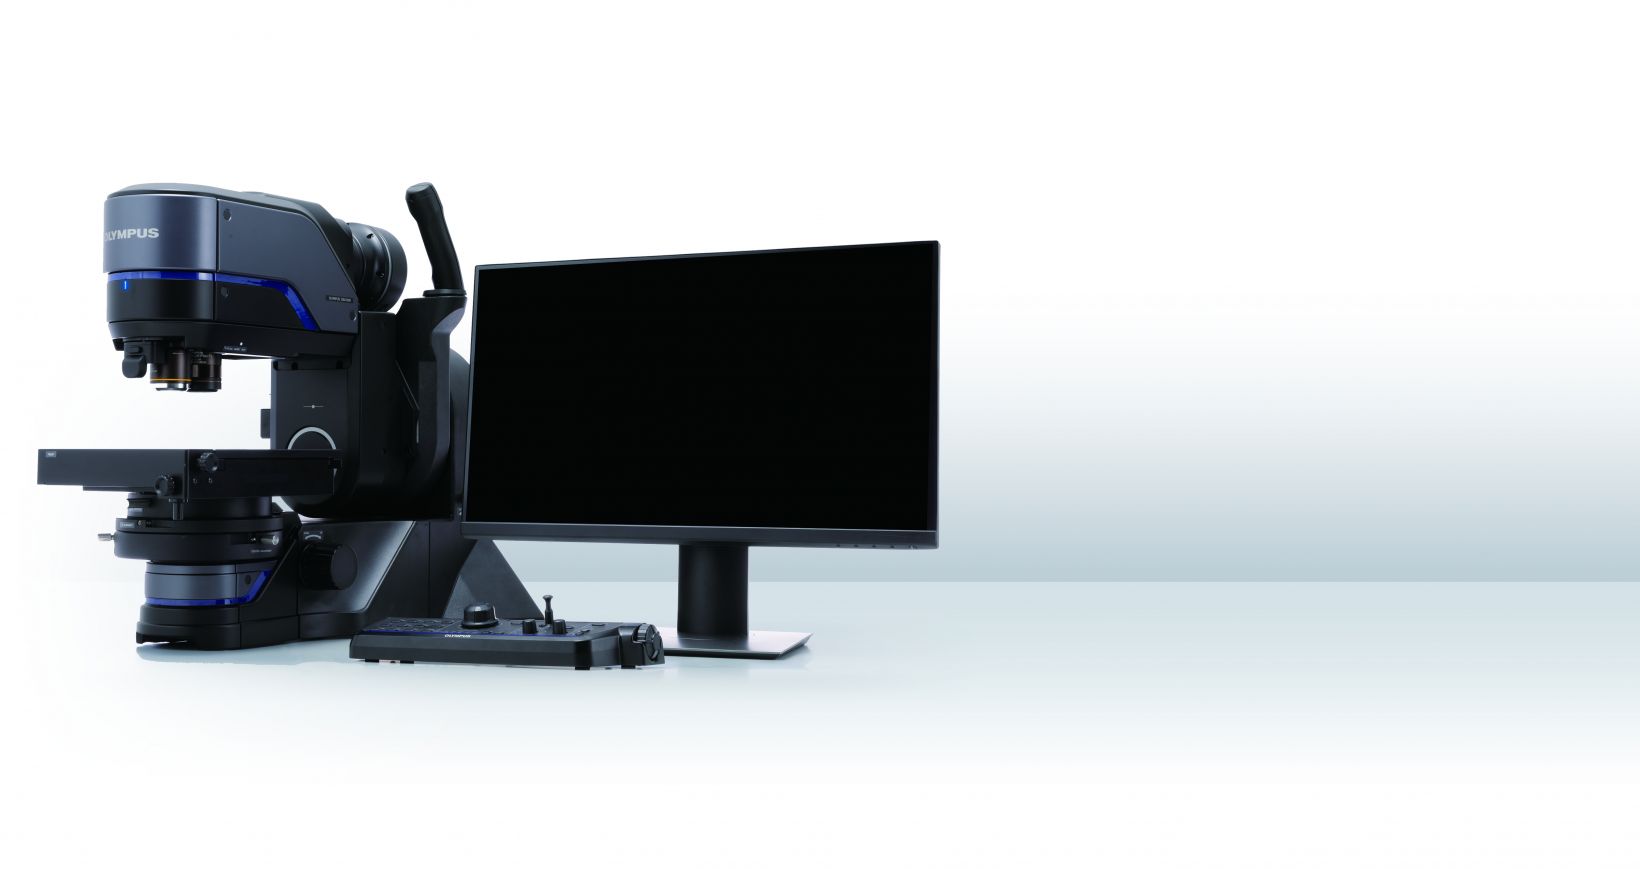
* For guaranteed accuracy, calibration by Olympus or a dealer service is technician necessary. To guarantee the XY accuracy, calibration with a DSX-CALS-HR (calibration sample) is required. To issue certificates, calibration work must be undertaken by an Olympus calibration service technician.
1 μm Z-axis repeatability is provided when using a 20X or higher objective.
