Seamless Pipe Manufacturing and Tube Forming
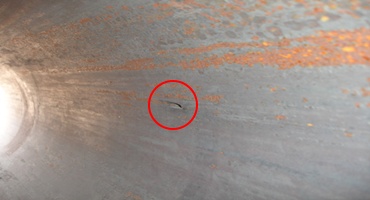
A typical flaw in a seamless tube is the rounded shape internal defect, also called a round-bottom groove (RBG). These defects can originate during the seamless pipe manufacturing process or after tube forming. Inspectors need to identify and assess these marks on pipes used in the oil and gas industry.
Figure 1: A typical rounded shape defect
Rounded shape internal defects are similar to wall thickness reduction, but they behave differently with ultrasonic testing (UT). As a result, these defects need a unique inspection strategy.
Challenges of Detecting Rounded Shape Internal Defects in Pipes
It can be challenging to detect rounded shape internal defects in the inspection process since the rounded shape causes ultrasonic waves to reflect in multiple directions. This produces a weak signal similar to coupling loss, even if the energy still transmits through the steel to the internal pipe surface.

Figure 2: Ultrasonic reflection from a rounded shape defect
Efficient Detection of Rounded Shape Internal Defects
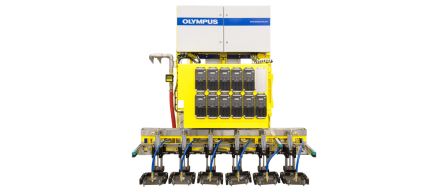
Olympus’ rotating tube inspection system (RTIS) detects rounded shape defects using a special algorithm and high- resolution 2D mapping of the internal pipe surface. This method works by combining the amplitude signal from the inner wall and interface echo. Signal is merged using defined parameters to set the contour of an incomplete defect detection, as shown in Figure 3 below.
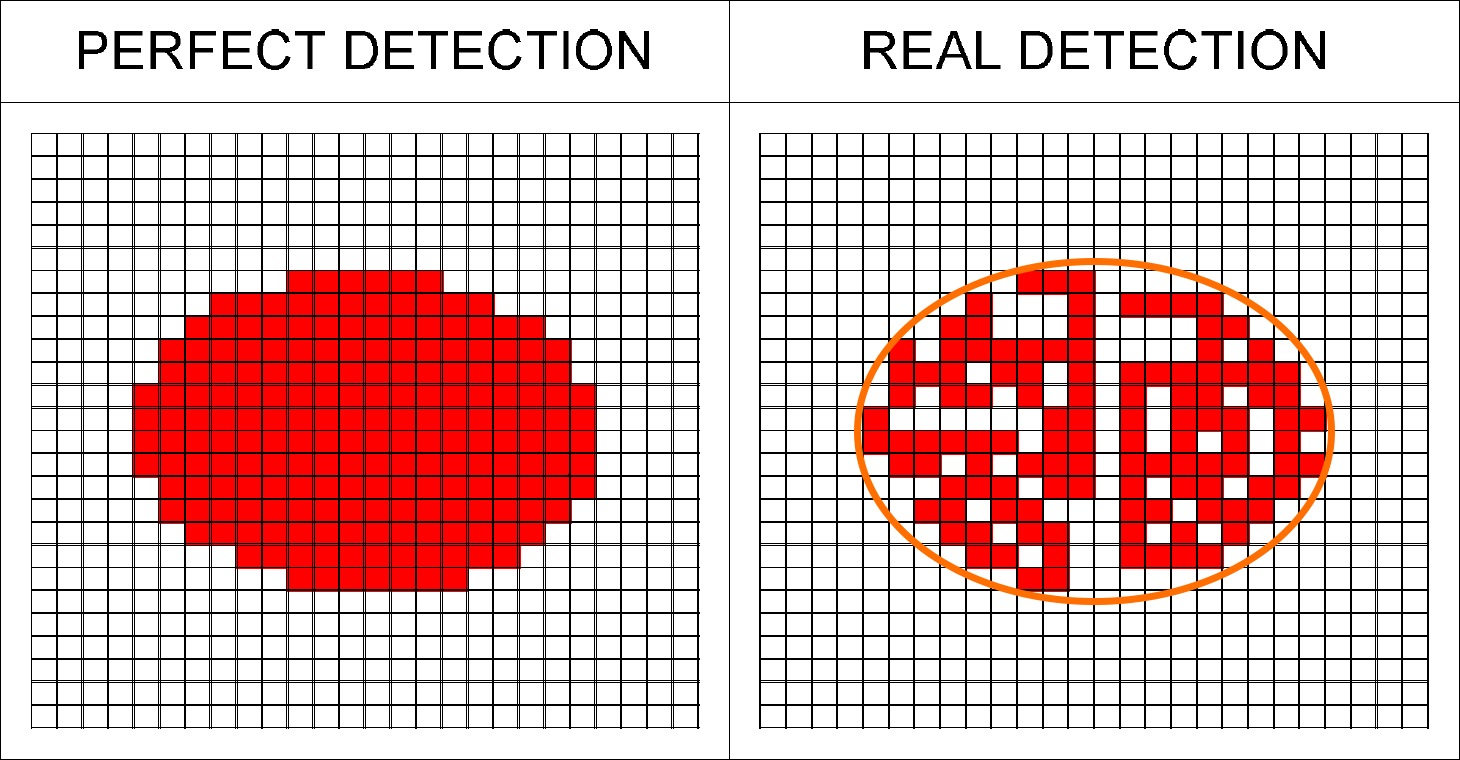
Figure 3: Typical detection of a rounded shape defect using Olympus' RTIS algorithm
To identify the defect pattern, the system analyzes the information using the algorithm parameters. When a specific number of alarms are present in the same moving window, the system confirms the RBG defect.
Results
Confirmed defects display in a dedicated mapping view and output to the PLC and Level 2 using a configurable alarm.
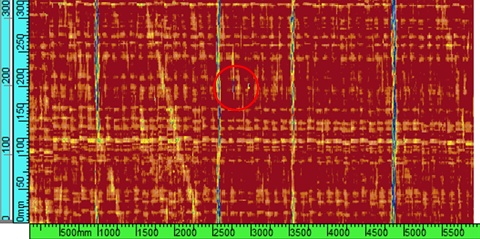
In Figures 4–6 below, long vertical indications represent the the circumferential weld in the test pipe. RBG defects are located in the red circles.
Figure 4: Raw data used in the algorithm
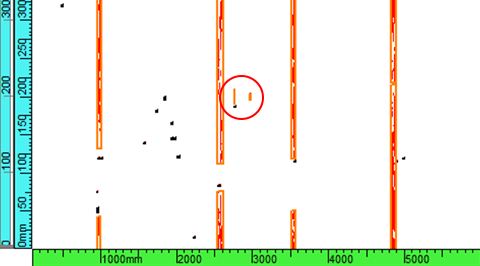
Figure 5: Merged indications (orange) of potential RBG defects

Figure 6: RBG alarms after criteria filters are applied.
Conclusion
Olympus’ RTIS algorithm enables you to effectively detect rounded shape defects using a combination of front wall and back wall signal. The verdict is performed in real time and uses existing channels to keep inspections running on schedule. You can define the size parameters of the defect, typically 25.4 mm × 12.7 mm (1 in. × .5 in.) to provide the maximum detection rate of rounded shape defects. The algorithm data is used to measure wall thickness (WT) as well as detect these flaws, enabling efficient inspections.
