Summary
Dissimilar metal welds and other acoustically noisy material can be inspected using conventional ultrasonic, transmit-receive longitudinal (TRL) probes. An improved inspection method uses Olympus dual matrix array (DMA) probes and phased array ultrasound to electronically steer, skew, and focus acoustic beams through materials.
Challenges
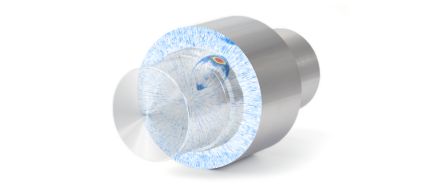
Dissimilar and austenitic material welds are difficult to inspect using ultrasound. Inspections become especially challenging if they must be performed on only one side of the material because the anisotropy of the weld material causes the ultrasonic beams to scatter.
The dual-element TRL probes typically used to inspect these materials contain one transmitting element and one receiving element separated by acoustic insulation. A squint and roof angle configuration enables them to focus on one point in the part, which creates pseudo-focalization. TRL probes are suitable because they eliminate the interface echo, have no dead zones due to wedge echoes, reduce the backscattering signals, and permit the use of higher gain.
However, the disadvantage of TRL probes is that because of their fixed refracted angle and pseudo-focal point, the inspection might require many of these probes to cover a range of necessary configurations.
Solutions
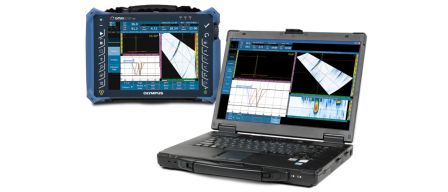
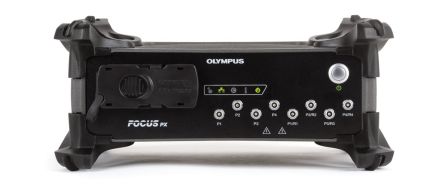
Olympus DMA probes, combined with an OmniScan® or FOCUS PX™ instrument, use phased array ultrasound (instead of conventional ultrasound) to enable an extended inspection range for improved evaluation of coarse-grained austenitic and Inconel® alloy materials and welds. DMA probes combine the benefits of the focused longitudinal wave S-scan and pitchcatch longitudinal inspection methods.
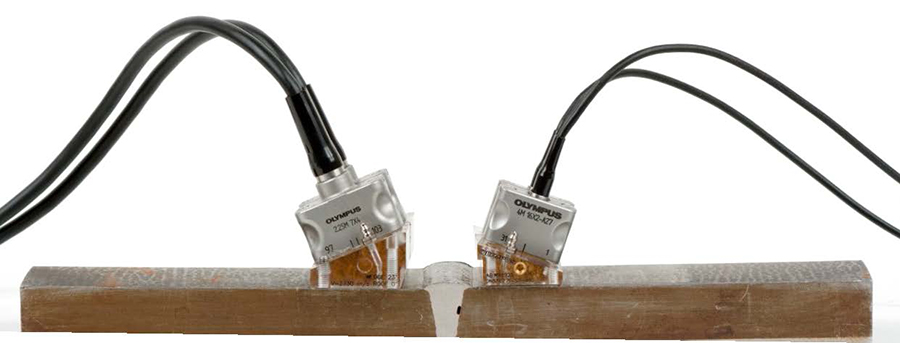
The DMA inspection method presented here uses two types of standard probes—a 2.25 MHz probe and a 4 MHz probe— that provide off the shelf inspection capability for a wide range of austenitic materials and weld bevels, including dissimilar metal, corrosion-resistant alloy (CRA) welds.
Equipment Description
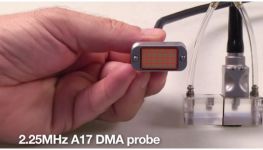
The Olympus 2.25 MHz, A17 DMA probe contains a 4×7 large-element configuration in each of its array housings and is optimized for thicker and more attenuative austenitic materials. Each array has an aperture of 12×19 mm. Because the A17 DMA probe contains four elements in the secondary axis, the beam can be steered electronically using a flat wedge, without the need of a mechanical roof angle on the wedge. |
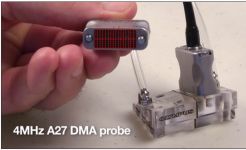
The Olympus 4 MHz, A27 DMA probe contains a 2×16 small-element configuration in each of its housings and is optimized for thinner and less attenuative austenitic materials. Each array has an aperture of 6×16 mm. Because the A27 DMA probe contains only two elements in the secondary axis, the wedges require a mechanical roof angle for every pipe diameter or focus. |
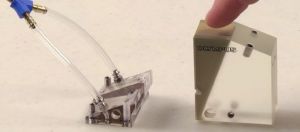
Because the TX and RCV elements are acoustically insulated through the wedge, there is no need for wedge dampening material and a large standoff distance. The DMA wedge is, therefore, a smaller wedge that is able to extend the useful focus depth and range of the probe further into the material, resulting in a higher SNR over a larger sound path. This is an improvement over large wedges, which can lose a significant amount of energy because of wedge attenuation, for example when using one-dimensional linear array probes in pulse-echo longitudinal angle beam inspections. |
Test Results
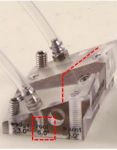
Volumetric inspections were performed using an A17 DMA probe with a DN55L wedge that provided a dual nominal 55-degree longitudinal wave. The A17 probe’s 2.25 MHz large element design was suitable for the thicker, more attenuative materials of the Inconel and 316 stainless steel test samples described below. An approximately 30–75 degree focused S-scan was used to cover the volume and root areas of welds in the test samples. |
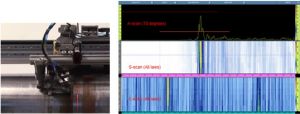
In the Inconel sample inspection, the A17 probe was used to visualize a 2 mm EDM notch in a 25 mm thick Inconel alloy CRA weld through the clad layer. The OmniScan flaw detector’s cursors were used to perform notch length sizing on the C-scan display and depth and height sizing on the A-scan and S-scan displays. The cursor deltas and trigonometry were displayed in the OmniScan header and recorded in an indication table generated directly from the header.
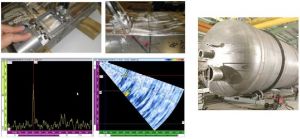
In the 316 stainless steel sample inspection, the A17 probe was used to detect a 3 mm long, 25 mm deep SDH (sidedrilled hole) through a weld on a 50 mm thick, SS316 vessel calibration block. The attenuation through the weld increased by 12 dB as compared to detection through the base material beside the weld. |
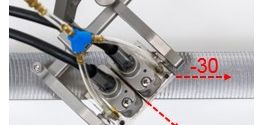
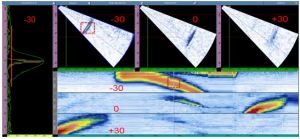
The unique advantage of the A17 probe was its ability to perform off-axis beam skewing, in which the S-scan could be steered at angles other than directly in front of the probe. This was only possible with the A17 probe because it has a sufficient number of elements (four) in its secondary axis. (The A27 DMA probe is not capable of off-axis beam skewing because it has only two elements in its secondary axis.)
The primary purpose of off-axis S-scans is to detect and size axial and transverse IGSCC (intergranular stress corrosion cracking) in austenitic pipe welds. The off-axis beam skew limit is determined by the number of elements in the secondary axis of the probe, as well as the element size and frequency. Although the A17 probe is capable of at least a 45-degree off-axis beam skew using a flat wedge, this skew limit decreases when AOD wedges are used, and the axial outside pipe diameter (AOD) is reduced.
The A27 DMA probe was used to perform both volumetric and surface inspections on additional Inconel weld samples. (Surface testing refers to the detection, sizing, and characterization of shallow weld flaws or flaws connected to the outside surface of the weld.) The A27 probe’s 4 MHz small-element design was suitable for the thinner, less attenuative materials of these samples. A DN55L or a DNCR wedge could be used. However, for this application, the DNCR was selected over the DN55L because it was more versatile for both volumetric and surface inspection groups. The DNCR wedge design was optimized for surface inspections where weld bevels are less than approximately 25 mm thick. Surface inspection supplemented the volumetric inspection, and so provided complete inspection coverage of the weld bevel.
For the volumetric inspection using the A27 probe and DNCR wedge, a CRA weld was examined using a 30–80-degree S-scan focused through a 30 mm sound path. The longitudinal velocity of sound in the Inconel alloy 625 weld was known to be 5830 m/s, and the velocity in the carbon steel base material was known to be 5890 m/s. This velocity difference caused a minor beam angle change at the weld interface. The depth and height plotting accuracy depended on the precise determination of sound velocity values in the base material and weld.
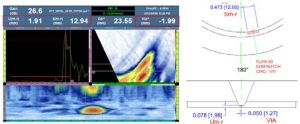
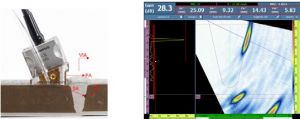
The A27 probe demonstrated a high SNR on the far-side bevel flaw that it detected. The flaw was correctly plotted to match its known depth and location on the weld line. The flaw depth (DA) was measured using the A-scan of highest amplitude. The gate trigonometry readings for the sound path (SA), depth (DA), probe distance (PA), and volumetric position as referenced from zero on the index axis (VIA) were all correctly plotted. |
For the surface inspection, the A27 probe was limited to a high angle, first-leg inspection. The A27 was configured using a high angle S-scan of approximately 70–85 degrees with a shallow or short focus. Above approximately 70–75 degrees, all A-scan beams essentially propagated parallel to the surface at a longitudinal velocity. This enabled the detection of a shallow SDH, notch, or weld flaw in a similar way. The surface inspection results did not change with the shape of the weld crown (flush or not).
In the Inconel alloy 625 weld sample, the A27 probe with DNCR wedge detected a 1 mm deep, 10 mm long EDM surface notch at a distance of over 20 mm from the wedge face. |
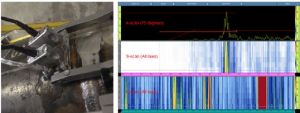
In the 152 mm (6 inch) diameter Inconel alloy 800 weld sample, the A27 probe with DNCR wedge detected three shallow flaws and one OD-connected flaw. |
Conclusion
Standard Olympus dual matrix array probes—off-the-shelf 2.25 MHz (A17) and 4MHz (A27)—can enhance the inspection capability of an OmniScan or Focus PX instrument on austenitic and Inconel alloys and welds.
The A17 probe’s 4×7 large element configuration is suitable for thicker and more attenuative austenitic materials. The A27 probe’s 2×16 small element configuration is suitable for thinner and less attenuative austenitic materials.
OmniScan-compatible DMA probes are an additional phased array inspection tool for both novice and advanced users.
In the Inconel alloy 625 weld sample, the A27 probe with DNCR wedge detected a 1 mm deep, 10 mm long EDM surface notch at a distance of over 20 mm from the wedge face.

