![]()
Wiper blade
Application
Automobile wiper blades are subjected to significant changes in temperature and humidity, and they are required to remain durable under severe service conditions.
Observing and measuring the wiper’s rubber blade before and after durability testing to look for the presence of tears, cracks, deformation, and the presence of foreign matter helps manufacturers design and create products that are more durable. However, it has been difficult quantitatively measure changes in the wiper’s surface profile.
Olympus' solution
The LEXT OLS5000 microscope enables users to measure changes in the wiper’s surface profile using images and provides quantitative data.
Product features
(1) Color and laser images and 3D profile data can be obtained at the same time, expanding the range of your analysis.
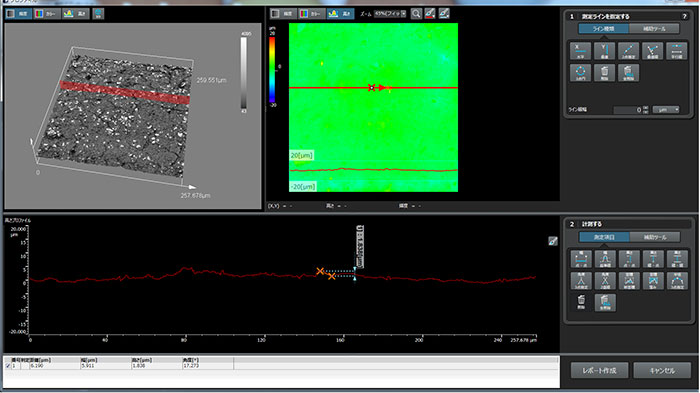
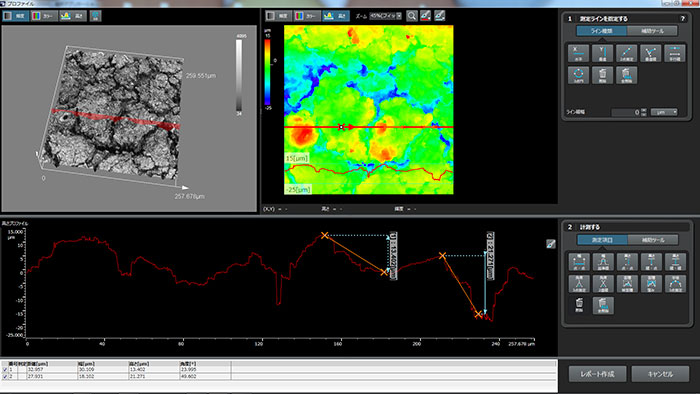
(2) By freely drawing a measurement line on the area you want to measure in the image, a cross-sectional profile can be displayed to measure the step, width, and cross-sectional area between any two points.
(3) The analysis function enables operators of any skill level to easily measure the step, line width, surface roughness, and volume by specifying the measurement region. The system continuously obtains accurate results.

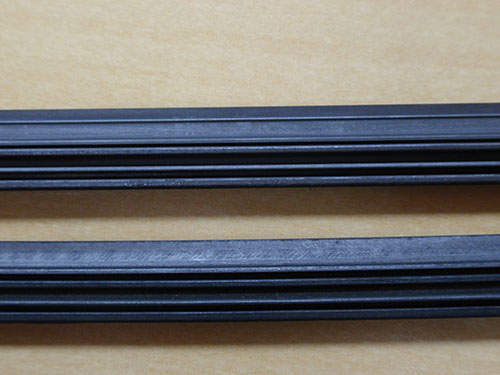
Wiper blade (Top: new wiper blade; bottom: blade after durability test)

Surface profile measurement of a new wiper blade; 50X objective lens

Surface profile measurement of a wiper blade after durability testing; 50X objective lens

