Introduction
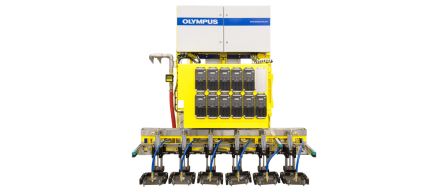
It can be challenging to measure the outside diameter (OD) and internal diameter (ID) of a pipe using a high-throughput, automated ultrasonic inspection system because the center reference point can change. To compensate, inspectors must adjust the temperature, point of contact, and angle of contact. Using these special conditions, inspectors then must set the time of flight to obtain geometric measurements. Olympus’ innovative rotating tube inspection system (RTIS) offers a roundness algorithm that provides valuable information regarding a pipe’s geometric shape, such as the exact outside and internal diameter of a high-collapse pipe. Inspectors can calculate the internal and external diameter using the same system for flaw detection and wall thickness measurement, eliminating the need for an additional laser system. | 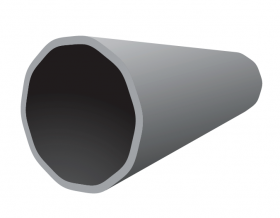 |
Efficient Pipe OD and ID Diameter Measurements
Olympus designed a special wear plate for large external diameter pipes to help ensure a maximum distance between the point of contact and the water wedge assembly. Inspectors can mount the new wear plate on an existing Olympus water wedge assembly, upgrading the previously installed system with the latest capabilities. The enlarged contact angle helps ensure a good measurement and algorithm convergence for all pipe diameters.
Inspectors can then perform a calibration using an exact diameter block to set the time of flight for a specific temperature and measure variation on a real pipe.
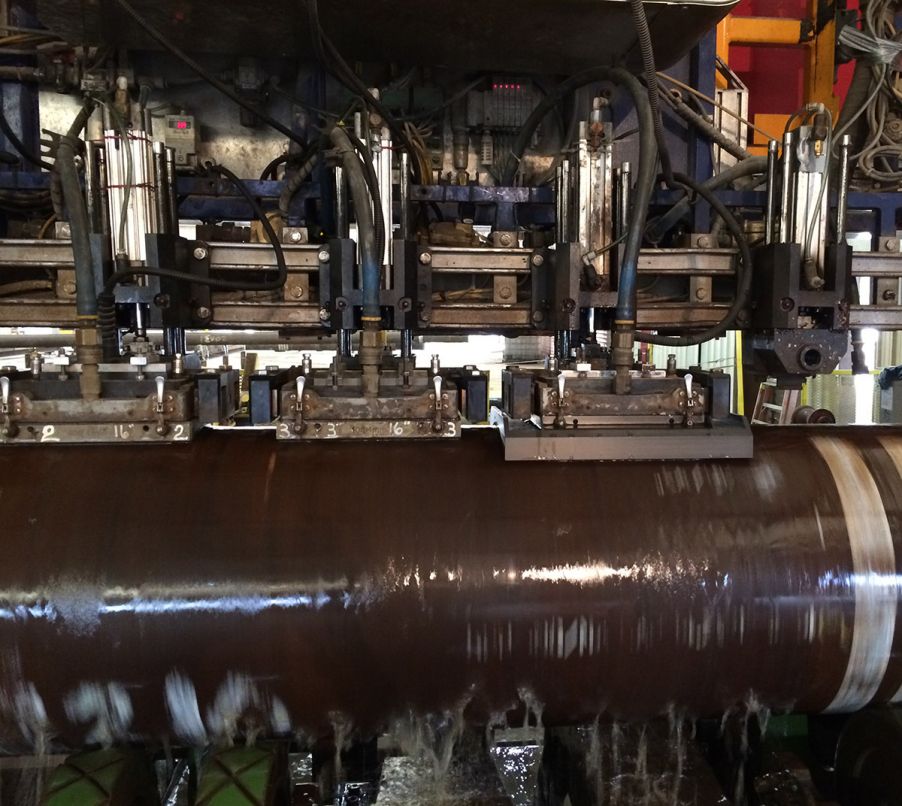
Figure 1: Special wear plate (right) for roundness compared to the original wear plate (left) for the Olympus RTIS.
Results
Using Olympus’ roundness algorithm in the RTIS, inspectors can compute the time of flight information to extract geometric measurements, such as roundness and external diameter. In the table below, the lines show the minimum, maximum, and average external diameter measurement for one pipe index.
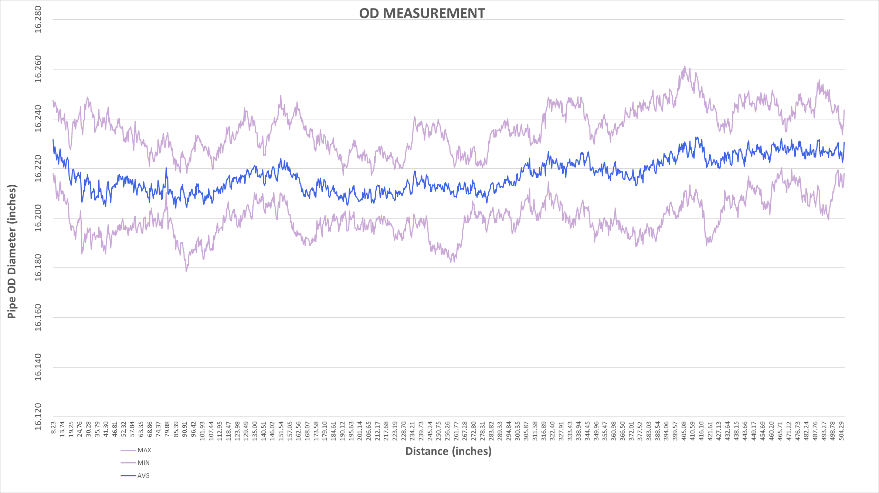
For each position along the pipe, inspectors can calculate the internal diameter by using the matching information for the external diameter and wall thickness measurement.
Conclusion
Inspectors can use Olympus’ roundness algorithm and adapted wear plates to measure the external and internal pipe diameter with an RTIS. Operators can then report the final inspection, helping to qualify the high-collapse pipes. Precision depends on the temperature variation but can be set using a calibration block that matches the nominal diameter.
The result is a scrolling view that represents the minimum, maximum, and average external and internal diameter for the complete length of the pipe. Roundness parameters can also be extracted from the data display on the operator interface.

