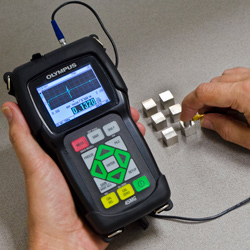
| This application note explains how to measure elastic modulus using thickness and flaw inspection solutions. Learn how to determine Young’s modulus of elasticity, shear modulus of elasticity, and Poisson’s ratio in nondispersive isotropic engineering materials. Understanding Modulus of ElasticityYoung’s modulus of elasticity is defined as the ratio of stress (force per unit area) to corresponding strain (deformation) in a material under tension or compression. Shear modulus of elasticity is similar to the ratio of stress to strain in a material subjected to shear stress. Poisson’s ratio is the ratio of transverse strain to corresponding axial strain on a material stressed along one axis. |
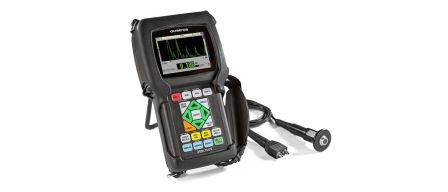
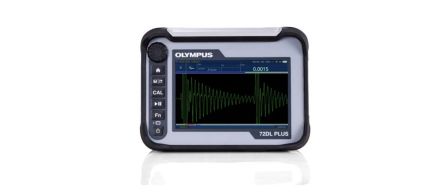
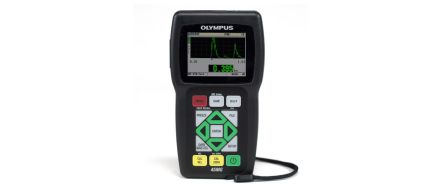
These basic material properties, which are used in many manufacturing and research applications, can be determined through computations based on measured sound velocities and material density. Sound velocity can be easily measured using ultrasonic pulse-echo techniques with the appropriate equipment. The general procedure outlined below works for any homogeneous, isotropic, and nondispersive material (velocity does not change with frequency). This includes most common metals, industrial ceramics, and glasses as long as cross-sectional dimensions are not close to the test frequency wavelength. Rigid plastics such as polystyrene and acrylic can also be measured, although they are more challenging due to higher sound attenuation. Rubber cannot be characterized ultrasonically because of its high dispersion and nonlinear elastic properties. Soft plastics similarly exhibit very high attenuation in shear mode and usually cannot be tested. For anisotropic materials, elastic properties vary with direction, as do longitudinal and/or shear wave sound velocity. Generation of a full matrix of elastic moduli in anisotropic specimens typically requires six different sets of ultrasonic measurements. Porosity or coarse granularity in a material can affect the accuracy of ultrasonic modulus measurements since these conditions can cause variations in sound velocity based on grain size and orientation or porosity size and distribution, independent of the material elasticity. Inspection Equipment Needed for Modulus CalculationThe velocity measurements for modulus calculation are commonly made with precision thickness gauges, such as the 39DL PLUS™ instrument or the 45MG instrument with Single Element software, or a flaw detector with velocity measurement capability, such as the EPOCH™ 650 or EPOCH 6LT instruments. The 72DL PLUS™ thickness gauge offers higher resolution time-of-flight (TOF) measurements, which leads to higher precision velocity measurements. This test also requires two transducers appropriate to the material being tested for pulse-echo sound velocity measurement in longitudinal and shear modes. Commonly used transducers include an M112 or V112 broadband longitudinal wave transducer (10 MHz) and a V156 normal incidence shear wave transducer (5 MHz). These work well for many common metal and fired ceramic samples. Different transducers will be required for very thick, very thin, or highly attenuating samples. Some applications may also require using through transmission techniques, with pairs of transducers positioned on opposite sides of the part. Contact us for specific transducer recommendations and assistance with instrument setup. The test sample can have any geometry that permits clean pulse/echo measurement of sound transit time through a section on thickness. Ideally, the sample should be at least 12.5 mm (0.5 in.) thick with smooth parallel surfaces and a width or diameter greater than the diameter of the transducer being used. Use caution when testing narrow samples due to possible edge effects that can affect measured pulse transit time. Resolution will be limited when using very thin samples due to the small changes in pulse transit time across short sound paths. For that reason, we recommend that samples are at least 5 mm (0.2 in.) thick, preferably thicker. In all cases, the thickness of the test sample must be precisely known. Modulus Calculation Procedure Using Thickness and Flaw Inspection SolutionsMeasure the longitudinal and shear wave sound velocity of the test piece using the appropriate transducers and instrument setup. The shear wave measurement will require using a specialized high viscosity couplant, such as our SWC-2. The 39DL PLUS thickness gauge or the 45MG thickness gauge with Single Element software can provide a direct readout of material velocity based on an entered sample thickness. An EPOCH series flaw detector can measure velocity through a velocity calibration procedure. In either case, follow the recommended procedure for velocity measurement as described in the instrument’s operating manual. Simply record the round-trip transit time through an area of known thickness with both longitudinal and shear wave transducers, then compute: For high-precision velocity measurements, the 72DL PLUS ultrasonic thickness gauge (+ or – 10 picoseconds) is recommended. Convert units as necessary to obtain the velocities expressed as inches per second or centimeters per second (time is usually measured in microseconds, so multiply in./µS or cm/µS by 106 to obtain in/S or cm/S). The velocities obtained can be inserted into the following equations: Note on units: if sound velocity is expressed in cm/S and density in g/cm3, then Young’s modulus will be expressed in units of dynes/cm2. If you are using the English units of in./S and lbs/in.3 to compute the modulus in pounds per square inch (PSI), remember the distinction between pound as a unit of force vs. a unit of mass. Since modulus is expressed as a force per unit area, when calculating in English units it is necessary to multiply the solution of the above equation by a mass/force conversion constant of (1 / acceleration of gravity) to obtain the modulus in PSI. Alternatively, if the initial calculation is done in metric units, use the conversion factor 1 PSI = 6.89 × 10⁴ dynes / cm2. Another option is to enter velocity in in./S, density in g/cm3 and divide by a conversion constant of 1.07 × 10⁴ to obtain the modulus in PSI. For shear modulus, simply multiply the square of the shear wave velocity by the density. Again, use the units of cm/S and g/cm3 to obtain the modulus in dynes/cm2 or English units of in./S and lbs/in.3 and multiply the result by the mass/ force conversion constant. ReferencesFor more information on ultrasonic measurement of elastic modulus, read the following resources:
|


