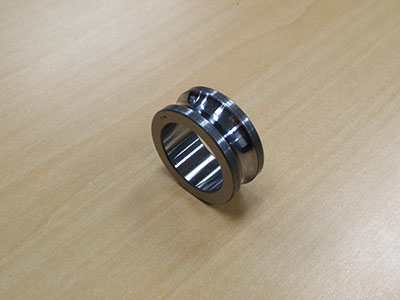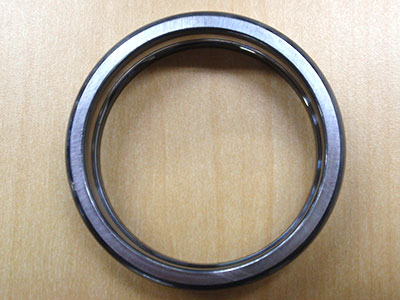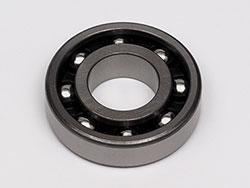
Ball bearing
Application
Bearing balls roll at high speed through the raceway formed by grooves in the inner and outer rings of a ball bearing assembly. In quality control, it is important to accurately evaluate the roughness of both the balls and the grooves.
If a conventional microscope is used to evaluate roughness, the working distance of the objective lenses may be too short to allow clear focusing on the bottom of the grooves, which can prevent accurate measurement.
Solution
The LEXT OLS5000 laser scanning microscope enables clearly focused, 3D measurement of roughness on raceway grooves over long working distances.
LEXT OLS5000 product features
The LEXT OLS5000 microscope is equipped with dedicated long working distance objective lenses suitable for roughness measurement on grooves up to 6.5 mm deep.
Images
Bearing inner ring | |
Bearing outer ring (side view) | 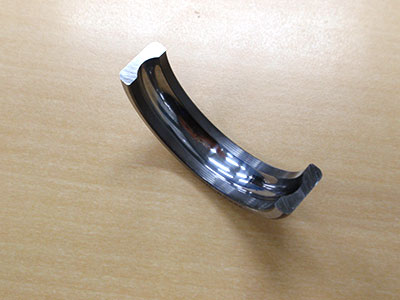 Bearing outer ring (cross-sectional view) |
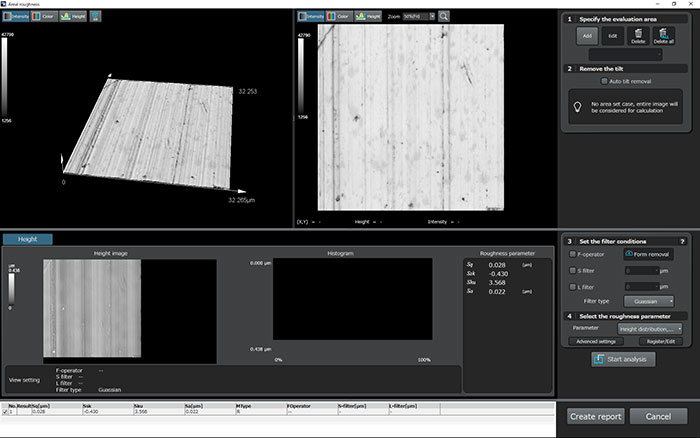
An example of roughness measurement on the groove of an inner ring
(long working distance 100X objective lens; 4x optical zoom)
