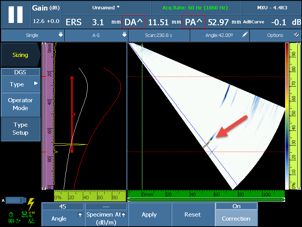
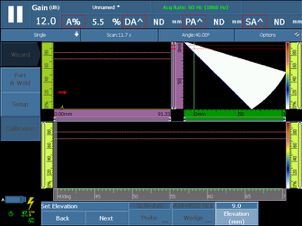
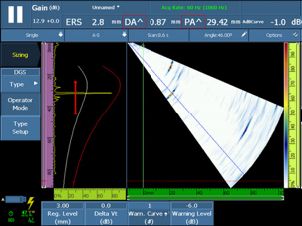
OmniScan® MXU version 4.4 software contains a major update to the popular DGS sizing calibration that brings new benefits. The updated wizard adds multiple features to help inspectors do their day-to-day jobs quickly and easily—S-scan correction, compatibility with standard linear phased array probes, DGS curves for every focal law, and the use of only one reflector for calibration.
See indications more easily with S-scan correction
The update adds the ability to visualize a depth corrected S-scan so that users can view the full S-scan in corrected colors. This means that two reflectors of the same size will return the same S-scan color independent of their depth or A-scan amplitude (typically orange = 80%).This feature helps users detect indications more easily by just looking at the S-scan.
 |  |
The S-scan correction off (left) and on (right). | |
One reflector, full calibration
The DGS sizing technique is particularly useful as it enables you to complete your full calibration with only one reflector. The reference curves are not built using multiple reference reflectors; instead, the curves are based on DGS diagrams that predict the echo response and attenuation of multiple reflector sizes over a particular sound path range in carbon steel. Using only one reflector reduces the price of your calibration block, as you don’t need a costly block with multiple reflectors.
If you already own an OmniScan MX2 or OmniScan SX flaw detector, you can download MXU 4.4 software now.
With these new features, we’ve added another tool to the toolbox for weld and metal integrity inspection.
Related Content


