Application
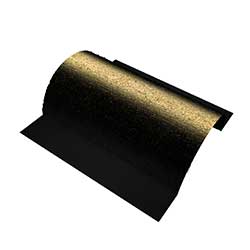
As the demand for smaller products continues to grow, parts used to make these products also become smaller. Such parts include probe cards for semiconductor inspection and extra-fine metal tubes used for medical equipment. Today, it’s possible to produce ultra-fine metal tubes with a diameter as small as 10μm, smaller than the diameter of a human hair. Producing these extremely fine metal tubes requires careful monitoring of the surface profile during the bending and drawing processes, the condition of electric discharge machining applied to the surface, and the state of the cutting surface. However, monitoring these conditions is problematic because the portions being machined are so small that conventional analytical methods cannot evaluate them properly.
Olympus' solution
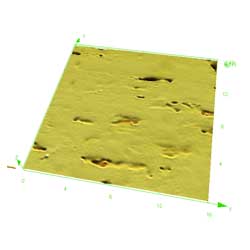
Olympus 3D scanning laser microscope LEXT scans a micro area with a laser to measure the fine surface profile, or roughness. The microscope’s non-contact laser stylus accurately reproduces the shape of a micro area, something that is almost impossible to do using a contact-type probe. The horizontal resolution is 0.12 μm, and the step resolution is 5 nm. The measurement accuracy is traceable. These features make it possible to effectively monitor the surface profile of even very small parts.
Surface of a metal tube
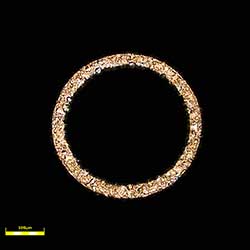
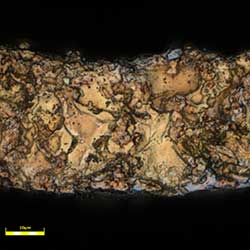
| Cutting surface evaluation
|


