Application
A shim ring is used as a spacer to adjust height or spacing for products in various fields such as machinery components, automobiles, and structures. The thickness, size, and material of such rings differ widely, and one of the thinnest rings is about 5 μm thick. The rings are typically made of iron, stainless steel, aluminum, copper, and brass.
Shim rings are mainly required to adjust a gap between parts or stabilize contact resistance. One of the criteria for determining quality is the surface profile of the ring, which must be controlled during the manufacturing process. Manufacturers try to create rings that are as smooth as possible. The measurement of the surface profile is based on an evaluation of surface roughness instead of conventional line roughness.
The Olympus solution
Olympus' LEXT 3D laser scanning microscope enables non-contact 3D shape measurement with high resolution and high precision. Users can accurately measure the profile of the depth (or height) of surface irregularities and surface roughness. Since the surface of the ring is uniform, non-contact and millimeter-based long-line roughness measurements can be used for length dimensions using the roughness mode. The roughness data of the long length dimension makes it possible to correlate the data with a contact-type roughness tester. In addition, the spot diameter of the laser is smaller than the diameter of the tip of a stylus, so users can accurately measure finer irregularities.
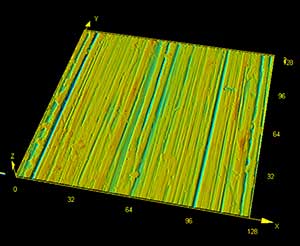
Surface of a shim ring

Objective lens 100X, Zoom 1X

