 Piston ring |
Application
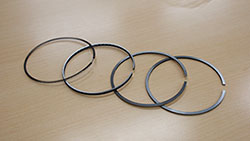
Piston rings are attached to pistons to ensure that an engine’s combustion chamber remains airtight. The sides of piston rings need to maintain a certain level of roughness as they slide against the cylinder sleeve (the liner inside the cylinder). This roughness is integral to ensuring the smooth movement of the pistons in the cylinder while minimizing the abrasion caused by friction. Verifying the surface roughness of piston rings is essential during quality management inspections. Because piston rings are thin and ring-shaped, microscopic inspection of the sides involves securing the sample vertically in a customized fixture. When the piston ring is placed on the observation stage of a microscope fixed in this position, it can obstruct the movement of the objective lens.
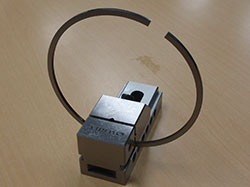
Piston ring secured in a fixture
Olympus’ solution
The Olympus LEXT OLS5000 3D measuring laser microscope is used to measure surface roughness.
The OLS5000 microscope, when fitted with an optional extension frame, is capable of measuring samples up to 210 mm in height, enabling the observation of piston rings mounted in a fixture.
OLS5000 microscope features
- The microscope’s extension frame enables the observation/measurement of samples up to 210 mm in height.
- Measurement performance is enhanced to 4 times the speed of the previous LEXT model.
- Superior resolution (plane resolution: 0.12 µm) achieves high-precision measurement.
- Smart scan functionality for the acquisition of high-precision data helps eliminate data inconsistencies between operators.
| 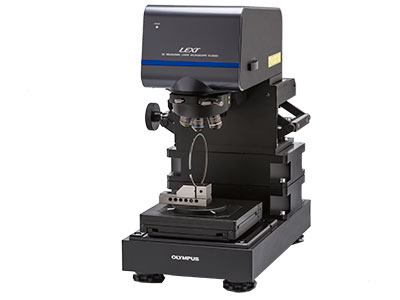 | ||
Roughness evaluation of the side surface of a piston ring | Piston ring set on the stage of a LEXT OLS5000 microscope |
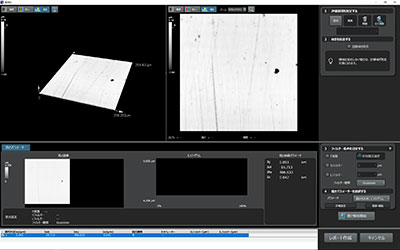
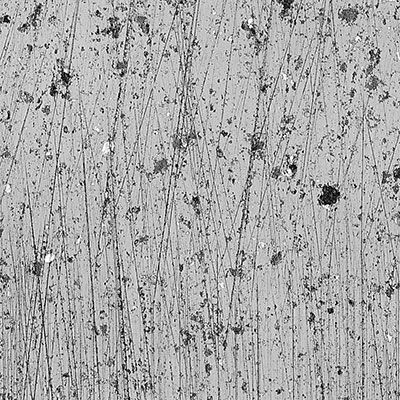 Laser microscopy imagery of the side surface of a piston ring (50X objective lens; 1x zoom) |
