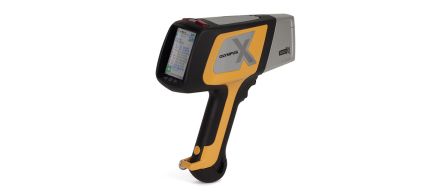
- Rapid and definitive alloy confirmation and identification in critical installations
- Optimum performance in harsh environments and hightemperature applications
- Provide traceability to the field to meet API Recommended Practice 578 guidelines
- Excellent performance on low Si applications to aid prevention of sulfidation corrosion
Alloys are specified by design for mechanical characteristics, corrosion resistance, temperature and pressure tolerance. Positive Material Identification (PMI) can prevent mix-ups that can result in component failure, which can cause costly downtime, repair and replacement, lost (leaking) material, environmental and fire hazards, or batch contamination.
Handheld X-ray Fluorescence (HHXRF) is a fast nondestructive testing technique that measures alloy composition to confirm alloy grades. HHXRF provides rapid and definitive material confirmation when producing components, receiving alloy materials, or when installing pipes, valves, reaction vessels, or welding, bolting, and gasket joining materials.
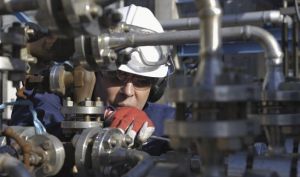 Unfortunately, there is not always enough time for PMI alloy verification of mission-critical pieces when a process is down for maintenance. Consequently, there is a need for cost-effective testing techniques that can be used in-service under hot, high pressure, vibrating conditions. The DELTA Handheld XRF is the Olympus Alloy PMI Analyzer of choice for
these adverse PMI testing conditions.
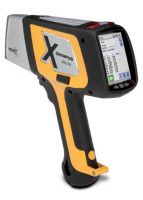
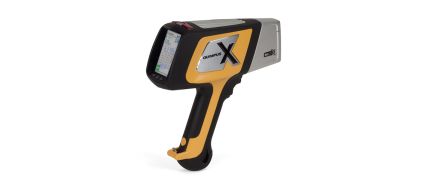
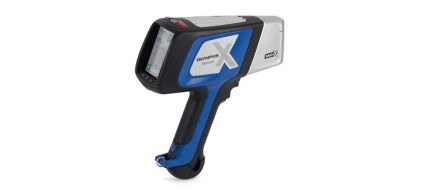
The DELTA HHXRF is designed for high performance
- in high ambient temperatures;
- on heated, in-service components; and
- during heavy-duty, almost continuous testing cycles
The metal probe head and the top portion of the DELTA HHXRF act as radiators or heat sinks. The ridged aluminum surface on the top of the analyzer is thermally tied in to the primary sources of heat within the instrument. The result is an efficient channel to direct heat away from the analyzer for measuring material at temperatures up to 900 °F (480 °C).
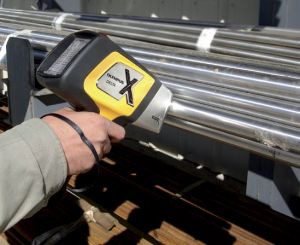 The DELTA HHXRF’s internal failsafes, monitors, and temperature correction models ensure that analytical performance is optimized. But should any of these be overtaxed, the analyzer will not allow testing until it has cooled off.
A special, high-temperature DELTA HHXRF window is used for hot sample testing. And, for sample temperatures above 600 °F (315 °C), a tilting technique or the use of a DELTA HotHeel is recommended to minimize heat transfer even further. Consequently, a 30 seconds on – 90 seconds off duty cycle is for these situations.
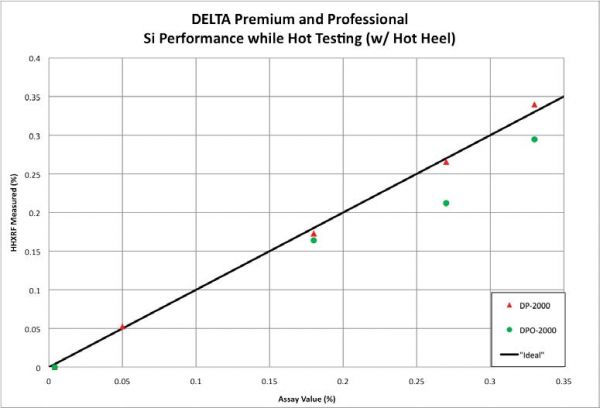
Hot, in-service measurements of light elements such as silicon (Si) in alloys are particularly challenging since they can take longer to measure than heavier elements such as chromium (Cr). And, if the tilting technique or the DELTA HotHeel is used, it is even more challenging because the air path length and air attenuation have an adverse effect on light element analysis.
The DELTA series HHXRF is thermally robust enough for continuous hot, in-service PMI testing and sensitive enough to positively ID the concentrations of light elements. For silicon measurement the sensitivity of the DELTA Professional and the DELTA Premium with the new X-act Count digital pulse processor are required.
HHXRF Silicon Hot Testing Tips
Silicon (Si) is 27% of the earth’s crust. It is in soil; it is everywhere. Unfortunately, contamination from soil, dirt and debris has an adverse effect on HHXRF testing for Si. A small amount of Si on the surface of an alloy sample or on the window of the HHXRF analyzer will create an error when testing Si in low-alloy samples.
Contamination will cause a high bias in the measurement and can cause a false conclusion when concluding that Si is abundantly present when there is none or much less than the reported value. Here are some common sense tips for HHXRF Testing of Silicon.
Surface Preparation
- Grinding or wiping the surface to remove paint, corrosion, scale, basic dirt is required on all samples
- A zirconium oxide grinding wheel is recommended
Controlling Contamination
- Do not touch the DELTA window with a finger
- Do not make contact with a silicon contaminated surface or sample
- Frequently test the analyzer against a reference sample
- Once the window is contaminated, every reading will suffer a high bias
Best practice is to test a no silicon reference material (e.g. CP Iron) and a sample with a known small value (e.g. Carbon steel) at the beginning of each testing program and periodically (perhaps as often as every 5 samples) during testing to ensure that no contamination is present.
Final Recommendations:
- Have rubbing alcohol and cotton balls or clean wipe material for cleaning the reference samples each day
- Keep the reference samples in a small, clean ziplock bag
- Keep the samples clean (don’t set them in a dirty spot and then put them back in the bag)
- Tilting is optional on the check samples (e.g. CP Iron or Carbon Steel) sample. The goal is to confirm that the instrument reading is consistent with a clean window and a clean sample. Always test the same way and you can prove to yourself the window and sample are both clean.
To summarize: proper results require proper technique. Don’t over-tilt – less is better than more! The reference samples are the key to accurate results. Grinding and cleaning is a necessary step.
