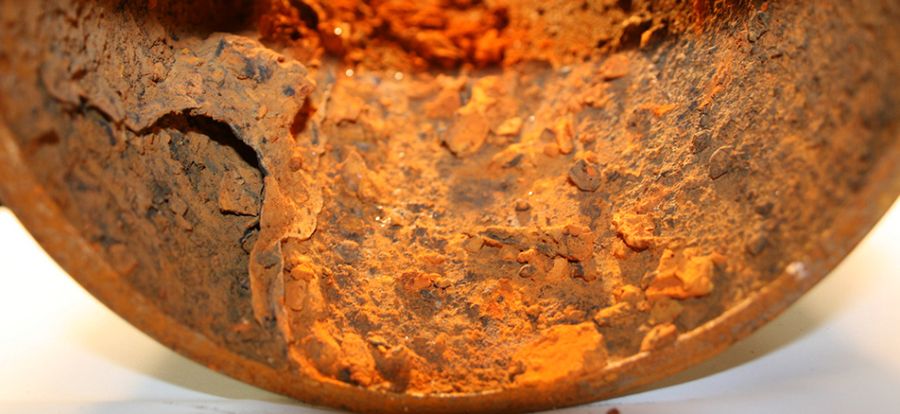
An example of carbon steel pipe corrosion that can be mapped using a scanner
Summary
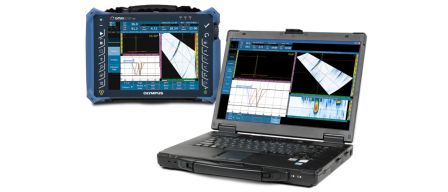
Corrosion mapping is an inspection method used to monitor the condition of carbon steel. Olympus offers several products that use ultrasonic phased array technology to perform corrosion mapping. To expand the range of its solutions, Olympus tested and proved the viability of the RollerFORM scanner®, combined with an OmniScan® instrument, to achieve corrosion mapping on carbon steel.
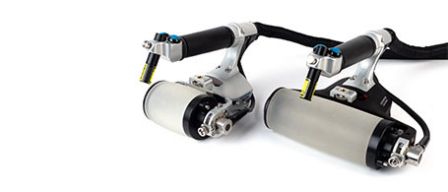
The RollerFORM scanner was used because of its unique, soft tire material that provides high-quality, immersion-like ultrasonic testing. It requires minimal couplant and pressure, yet provides excellent coupling and a strong signal, even in difficult scanning positions.
The RollerFORM® scanner’s suitability for corrosion mapping was demonstrated through a series of tests:
- Near-surface resolution
- Minimum defect size detection
- Maximum surface temperature
- Axial scanning on pipes
- Prove-up inspection of a corroded sample
Challenges
Two well-known solutions for corrosion mapping on carbon steel are the HydroFORM® scanner and the Dual Linear Array™ (DLA) corrosion probe. Depending on the application, however, these solutions could present certain limitations:
| 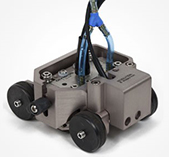 The Olympus HydroFORM scanner | 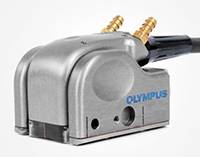 The Olympus DLA corrosion probe |
Because of the limitations of these commonly used technologies, it became apparent that there was a need for a simple and fast way to inspect medium sized areas without a water management system.
SolutionThe RollerFORM scanner was identified as a promising solution for corrosion mapping of carbon steel because it is easy to deploy and uses a soft wheel that can conform to different surface shapes. The RollerFORM scanner can quickly inspect medium sized areas as well as long, narrow sections of material, such as along the length of a pipe. A series of tests were designed and performed to test its suitability for corrosion mapping on carbon steel. | 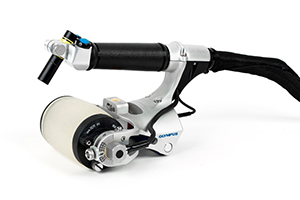 The Olympus RollerFORM scanner |
Test Results
Near-Surface Resolution (NSR) | 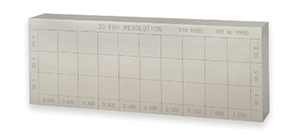 The 30 FBH calibration block |
- 1.175 mm (0.475 in.)
- 1.980 mm (0.780 in.)
- 3.175 mm (1.125 in.)
All tests were performed on the 3.175 mm diameter FBH using a 0° LW scan with four elements for each focal law. The scan resolution was 1 mm × 1 mm with a beam coverage of 48.5 mm (1.91 in.).
Under optimal test conditions, an NSR of 2.75 mm (0.108 in.) was possible. For everyday use, an NSR of 3 mm (0.118 in.) could be expected on carbon steel. Shallower defects could still be detected using the amplitude C-scan (see below). This way, it was possible to visualize the back wall attenuation generated by a shallow defect. However, for critical defects, a more precise inspection method (such as the DLA corrosion probe, HydroFORM scanner, or a thickness gage) would be recommended to achieve depth measurement.
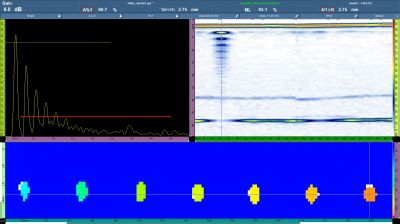 Using the RollerFORM scanner to inspect flat bottom holes | 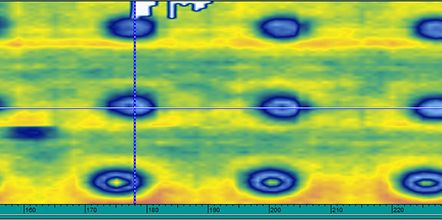 Amplitude C-scan using the OmniScan flaw detector |
Minimum defect size detection
Higher frequencies are usually preferable for the detection of smaller defects. Because polymers tend to filter high frequencies, it was determined that the RollerFORM scanner could operate with a probe frequency of up to 5 MHz. To determine the smallest defect that the scanner was capable of detecting, tests were carried out on the 30 FBH block.
In the thickness C-scan shown below, the 1.980 mm and 3.175 mm FBHs were detectable (row #2 and #3). Only the smallest 1.175 mm FBH was not detected using this method. However, it was possible to detect the smallest diameter FBH by employing the same OmniScan® amplitude C-scan method. A different technique (such as the HydroFORM® scanner or DLA corrosion probe) could also be considered to scan the critical zones.

Minimum defect size detection using a thickness C-scan
Temperature testing
In-service inspections for corrosion are frequently necessary on high-temperature parts. A temperature test was performed to determine the highest part temperature at which the RollerFORM scanner could temporarily remain in contact with a part without degrading any scanner components. It was determined that the RollerFORM scanner’s polymer tire was the most temperature-sensitive component. Several tests on heated parts proved that the scanner could be used on surfaces up to 80 °C (176 °F) for up to 2 minutes. The scanner then had to cool down before next use. This duty cycle was based on a maximum ambient temperature of 25 °C (77 °F). Users would need to carefully define their own proper duty cycle corresponding to their working conditions if the ambient temperature were to exceed 25 °C (77 °F). | 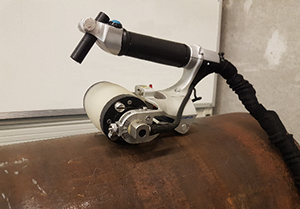 RollerFORM scanner inspection on pipes |
Inspections along the length of a pipe
The RollerFORM scanner was proven useful for long scans on pipes in the axial direction. Because of its soft tire surface and adjustable middle wheel, it could be used on a curved surface with a minimum diameter of 102 mm (4 in.), up to a flat surface. Using MXU 4.4 (or later version) software, focal laws were generated directly in the OmniScan flaw detector. In the part and weld wizard, it was possible to generate a curved surface and select an axial scan orientation. The OmniScan flaw detector could then automatically generate ultrasonic beams that remained perpendicular to the surface.
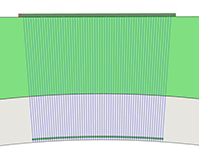 | 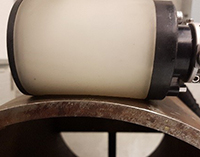 | 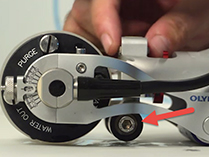 |
RollerFORM axial scan plan (left), inspection (middle), and adjustable middle wheel (right)
Prove-up inspection of a corroded sample
A test sample was cut from a 508 mm (20 in.) diameter pipe with a wall thickness of 9 mm (0.35 in.). The sample had significant corrosion on its inner surface and minor corrosion on its outer surface. A scan was performed along the circumferential axis of the sample (on the outer surface). The surface was inspected with a resolution of 1 mm × 1 mm.
Corrosion was clearly evident in the S-scan and C-scan images (see right image below). The blue color in the C-scan represents the nominal thickness. Corrosion severity was displayed using a configurable color pallete ranging from yellow to red.
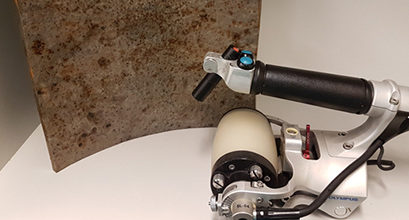 Test sample — a corroded, curved plate | 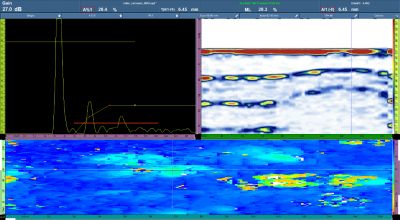 Inspection data of the corroded sample |
Conclusion
Although acoustically limited to a surface resolution of 3 mm and a minimum detectable defect size of 2 mm, the RollerFORM scanner was proven to be a useful tool for corrosion mapping on carbon steel. It was quick to deploy and easy to use, without the need for water management. It also enabled fast scan strips in the axial direction of pipes.

