Industrial Microscope Buying Guide
Microscopes are tremendously useful tools, enabling users to inspect samples at far greater magnifications than possible with the naked eye. However, not all microscopes are created equal; certain microscopes are better suited to certain tasks than others. Knowing which type of microscope is best suited for your microscopy needs is important to determining which microscope to purchase.
To make an informed decision, you first need to know what the different types of microscopes are, how they work, and to what tasks they are best suited. In this guide, we will take a closer look at our range of industrial microscopes, so you have a better understanding of which microscope is best for you.
Microscope Types
Given the impressive diversity of microscope applications, here we break down our various industrial microscope types and for what purpose they are best utilized.
Laser Confocal Microscopes
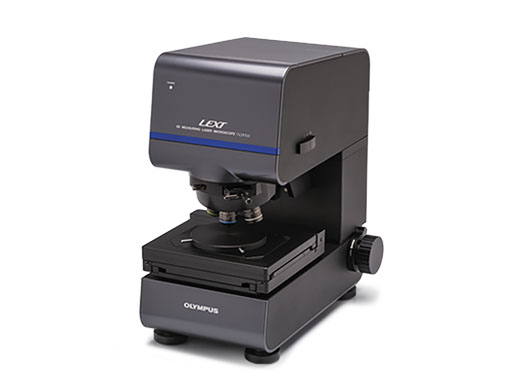 | Laser confocal microscopes use laser illumination to generate highly detailed high-resolution images of samples, inside and out, without the need to cut into the sample. For industrial applications, laser confocal microscopes are used for material analysis and surface roughness measurement. With our LEXT OLS5100, the task of accurately measuring shape and surface roughness at the submicron level is fast and efficient, offering a simplified workflow and high-quality data you can trust. Built for failure analysis and material engineering research, this laser microscope builds comprehensive 3D images of samples, generating highly accurate measurment data. |
Digital Microscopes
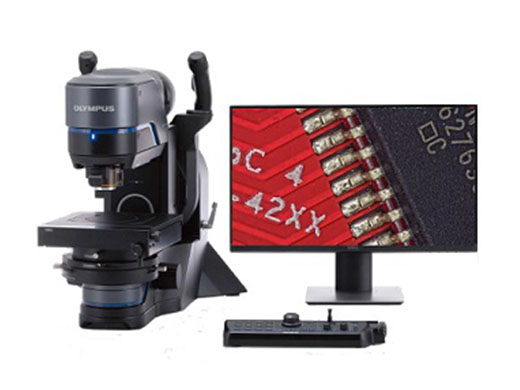 | Digital microscopes differ from typical optical microscopes by replacing the eyepiece with a monitor on which the image is projected. This setup enables longer, more comfortable image viewing, as well as enhanced image manipulation capabilities. For industrial microscope purposes, digital microscopes are often used for quality assurance in the manufacturing of machine parts. Our DSX1000 system performs highly advanced measurements quickly and efficiently, with precise, repeatable results. The DSX1000 digital microscope is offered in four separate models, Entry, Tilt, High-Resolution, and High-End, each fine-tuned for specific applications. More on each model can be found in our digital microscope guide. |
Cleanliness Inspectors
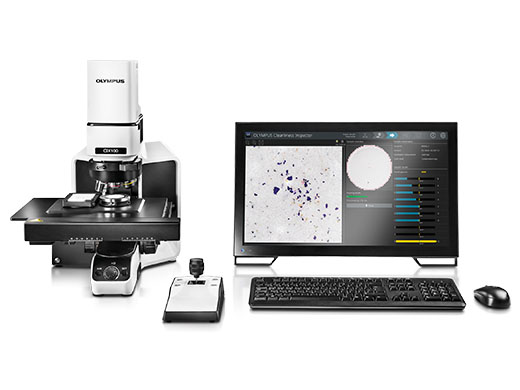 | The role of cleanliness inspectors in the manufacturing process is to help ensure particle contamination levels are kept as low as possible so that the product faces no functional constraints. To avoid any functional restrictions, component cleanliness must be measured and assessed regularly. With our CIX100 system, users can obtain, process, analyze, and document data for technical component cleanliness inspections to continuously meet cleanliness standards throughout the manufacturing process. From development to quality control, our cleanliness inspectors offer accurate performance for maximum productivity. |
Measuring Microscopes
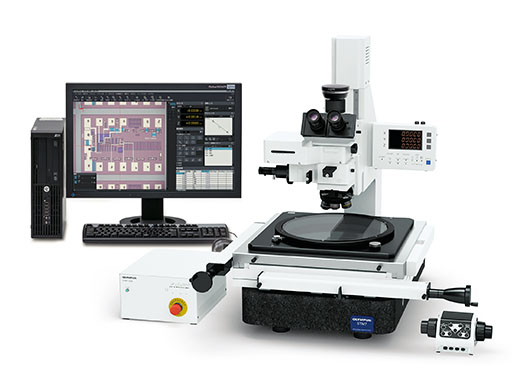 | Industrial measuring microscopes are used for manufacturing and quality assurance purposes. They are able to view and measure objects at a high magnification, enabling users to meet precise inspection requirements. Our STM7 measuring microscope offers three-axis measurements of parts and electrical components with submicron precision. Its easy-to-use functionality enables both novice and expert users to take highly accurate measurements of materials of all types, whether large, small, complex, or simple. |
Light Microscopes
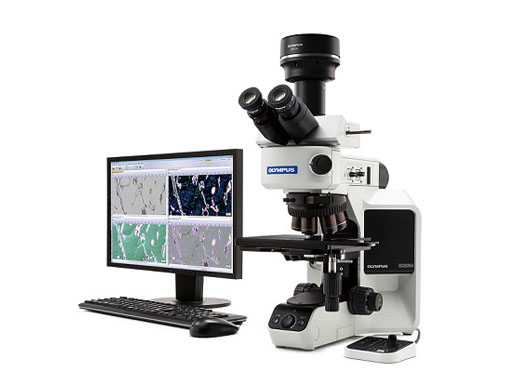 | Light microscopes can be used for a variety of applications, from routine inspection to sophisticated analysis. They are typically employed in quality control applications and can be used in the detailed examination of newly developed materials, electronic devices, metals, and chemicals. Our light microscopes are customizable and compatible with both optical and digital imaging components. Choose from either our upright metallurgical microscopes or inverted metallurgical microscopes for larger samples, each offering fast and accurate sample analysis. |
AR Microscopes
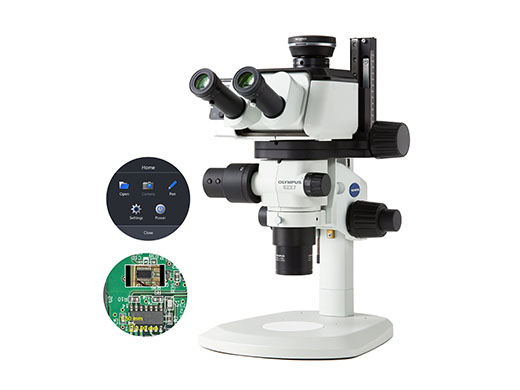 | With augmented reality microscopes, users can overlay text and digital images over the microscope’s field of view, enabling them to read directions, check notes, and even watch videos and tutorials without removing their eyes from the eyepiece. This enables greater accuracy in the manufacturing process, cutting down on human error as the user can remain focused on the task at hand. Our AR1 microscope system is compatible with our SZX stereo microscopes, offering improved speed and efficiency for microscope-based manufacturing tasks and training. Evident AR microscope systems are often used in medical device manufacturing, where accuracy is paramount. |
Stereo Microscopes
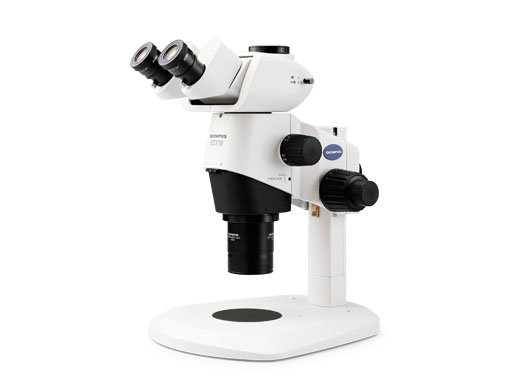 | Stereo microscopes provide the user with a three-dimensional view of the sample, utilizing separate objectives and two different eyepieces to provide a different optical path for each eye. Our range of industrial stereo microscopes includes options for both novices and experts. They can be customized with cameras and additional features and software solutions to suit the user’s needs. This makes our stereo microscopes suited for a range of industrial applications, from simple sample analysis to quality assurance in manufacturing. |
How to Choose a Microscope?
Now that you have a better understanding of our range of industrial microscopes and their capabilities, you should be able to make an informed decision on which option is best suited to your needs.
Whether you are looking for a microscope for material analysis and surface roughness measurement or a microscope that provides accurate part measurement, you are sure to find an Evident industrial microscope that works for you.
If you have further questions on our industrial microscopes, more information on each microscope can be found on their individual product pages. Questions about how much our microscopes cost and buying a microscope can be answered by contacting us here.