Application: Measuring the Profile of Balls on IC Bonding Wire
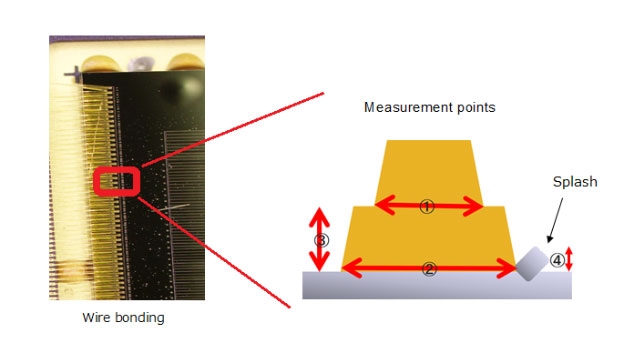
Integrated circuits (IC) must have the proper electrical conductivity to work correctly. To achieve the proper conductivity, the integrated circuit chip and substrate must be securely bonded together. During the bonding process, the end of a wire made of a conductive metal, such as gold, is heated so that a ball forms at the end of the wire. The ball is then placed where the chip and substrate meet. Heat causes the ball to melt, fusing the chip and the substrate.
To help ensure that the bonding process works correctly, the profile of the ball at the end of the bonding wire is measured. However, this procedure is challenging since the system used to perform the inspection must be able to measure small, complex shapes.
Olympus’ Solution: Measurement Using the OLS5000 Microscope
Measurement of minute, complex shaped objects is facilitated by the Olympus LEXT OLS5000 3D laser scanning microscope’s advanced features:
- To accurately measure the ball profile, the microscope uses dedicated objective lenses that are designed to work with its 405 nm wavelength laser to minimize aberration. These features enable the microscope to make minute measurements of objects with complex shapes.
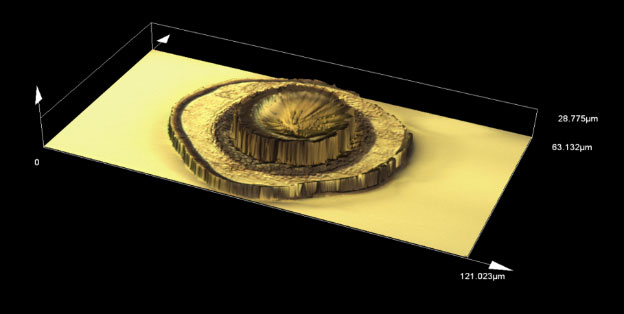
3D image
Step measurement using a profile
- Unlike a stylus, which is a contact-based device, the OLS5000 microscope uses a noncontact laser scanner for its measurements. This system yields accurate data without damaging the sample.
- The microscope’s 4K scanning technology enables you to obtain data for samples that have a steep inclination, such as a ball, with no measurement noise. With white-light interferometers, another noncontact device; the congestion of interference patterns prevents accurate measurement of steeply inclined surfaces.
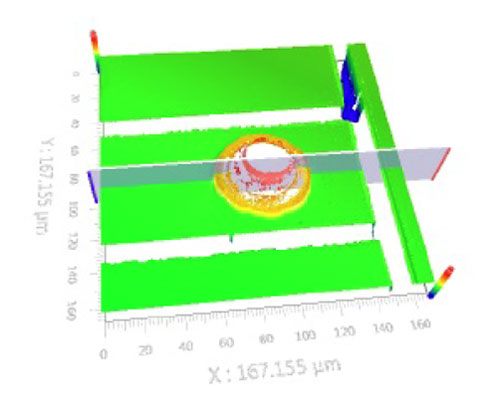
3D image using a white-light interferometer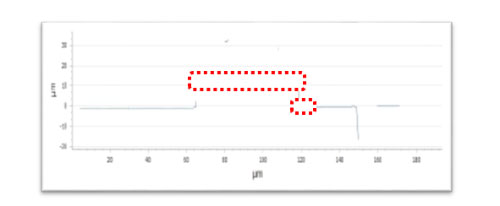
With the white-light interferometer no data can be acquired for the complex-shaped vertex and edge portions.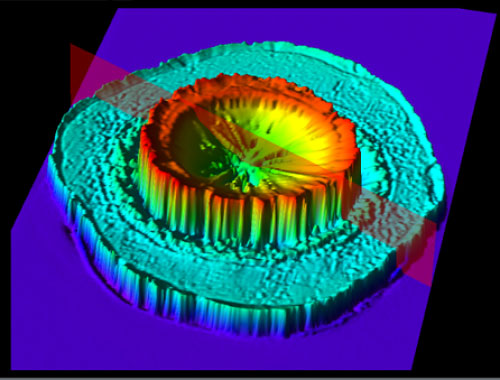
3D image using the LEXT OLS5000 microscope
Data can be acquired for both complex-shaped vertex and edge portions

