Global electric vehicle (EV) sales have been growing steadily. EV unit sales are expected to reach over 17 million vehicles in 2028. The rapid shift toward EVs means that new inspection solutions are needed to help ensure the quality of critical components. For electric cars, these components include the battery cell package and copper and aluminum current collectors.
In this post, we share three examples of custom inspection solutions we created for EV battery manufacturers, enabling them to inspect these critical components at their required volume.
Electric Vehicle Battery Inspection
Today, electric cars mostly use lithium-ion batteries. While they are a popular choice due to their light weight and high energy density, capacity, and efficiency, lithium-ion batteries pose certain safety risks. For instance, a lithium-ion battery cell that short circuits can cause a fire, explosion, or other accidents. Contamination or damage introduced during the manufacturing process can also affect battery safety and performance. As a result, it’s critical to have rigorous inspection processes throughout battery production. The entire EV power battery system depends on battery safety to perform well.
During lithium-ion battery manufacturing, several battery components are normally inspected: the current collector, electrode material, and separator. Here’s a brief overview of each part:
- The current collector is a sheet-like metal that supplies electrical energy to the tab lead. In general, copper is used in the cathode, and aluminum is used in the anode.
- The electrode material is pasted on the current collector to flow electrical energy. It is a mixture of an active material, binder, and conductive material.
- The separator is located in between the cathode and the anode to prevent an electrical short caused by their contact. It has many micro-sized holes, and only lithium ions can pass through them (unlike electrical energy).
Industrial Microscope Inspections of Lithium-Ion Battery Materials
Our industrial microscope systems can perform a variety of inspections on these lithium-ion battery materials, including:
1. Roughness of the current collectors and electrodes.
The electrode material and current collector must have high adhesion to maintain a stable battery capacity. The appropriate roughness level of the current collector depends on the type of electrode material applied. Therefore, control of the current collector roughness is important for battery quality control.
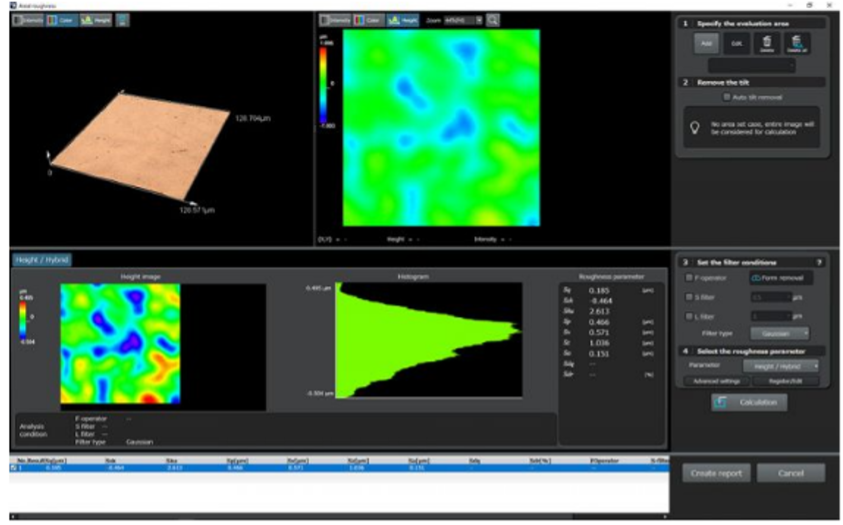
Roughness measurement of the current collector copper foil using the LEXT OLS5100 3D laser confocal microscope.
2. Burrs on the electrode or current collector.
A burr on a lithium-ion battery’s electrode material or current collector can result in an electrical short circuit, and the battery may overheat and even ignite during operation. Therefore, batteries need to be strictly inspected for burrs to help ensure their safety.
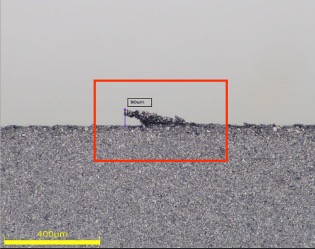
Observation of an electrode plate burr using the DSX1000 digital microscope.
3. Electrode cross-section.
After an electrode is completed, the electrode is placed vertically. An inspector then uses a microscope to check the adhesion between the electrode material and the current collector from the cross-section.
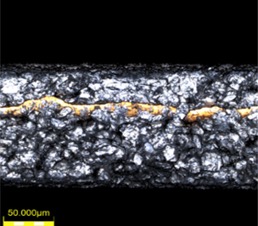
3D measurement of an electrode plate cross-section using the DSX1000 digital microscope.
4. Dimension of the battery packs.
This measurement is completed to check that the dimensions are within the specifications required by the manufacturer.
Electric Vehicle Battery Inspection Challenges
Performing these inspections can present multiple challenges depending on your microscope systems and inspection requirements. Here are some common challenges and ways to solve them:
1. It’s difficult to acquire high-quality images of battery samples.
For good battery quality, the stacking processes in the battery manufacturing must have high quality control. A certain number of sheets of anode, separators, and cathode are stacked, and the stacked body is inserted into a battery container. After that, the tab lead, which transfers electricity to and from the outside, is welded at the inlet and outlet of the anode and cathode.
An important part of the quality control process is to inspect the surfaces and check for defects such as burrs, scratches, and metal contamination. Therefore, acquiring high-quality images of these aluminum and copper surfaces is an important step in quality control.
The MIX and differential interference contrast (DIC) observation methods are good options for detecting surface defects. They provide different lighting conditions that enhance certain features of the defects. For example, DIC observation can enhance height differences (in the nm range) on the defects or sample surface waviness. With MIX observation, scratches can be enhanced with the darkfield and brightfield combination.
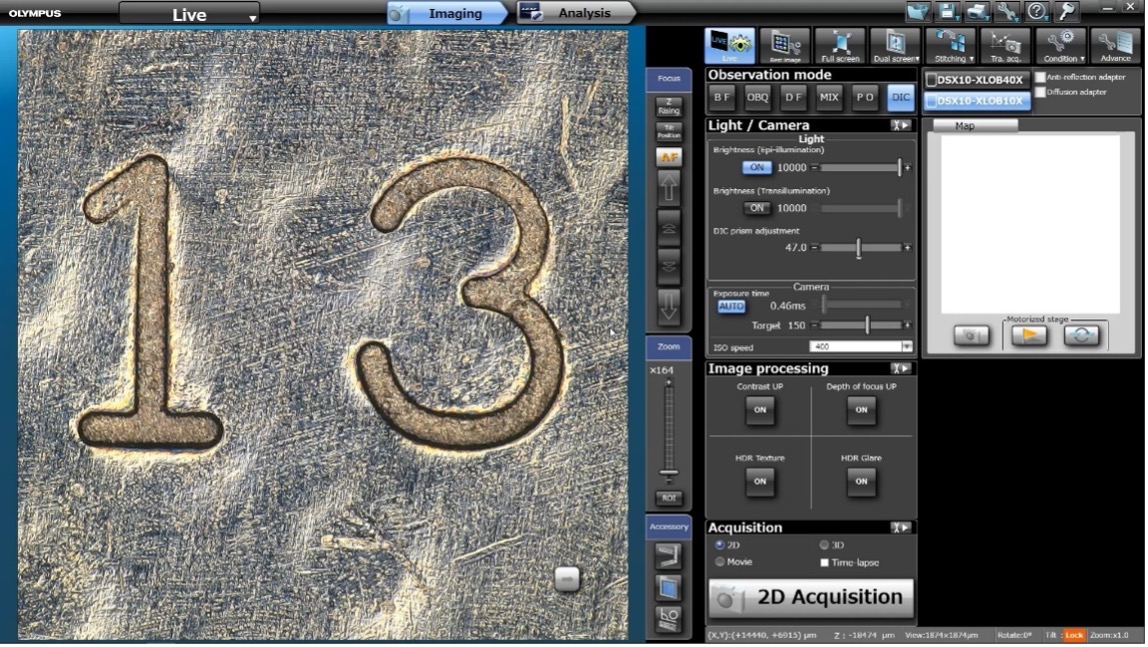
Surface inspection of a battery pack using the DIC observation method.
2. A lack of measurement and support tools for battery sample analysis.
Depending on the shape of the defects, various measuring tools are required. Pairing your microscope with an easy-to-use imaging and measurement software can ease this process. One example is PRECiV™ image analysis software, which makes it easy to check the width, angle, and area measurement parameters of the defects. These include burrs protruding from the copper foil, scratches on copper and aluminum foils, and electrode thickness in the cross-section of copper/aluminum foils and electrodes.
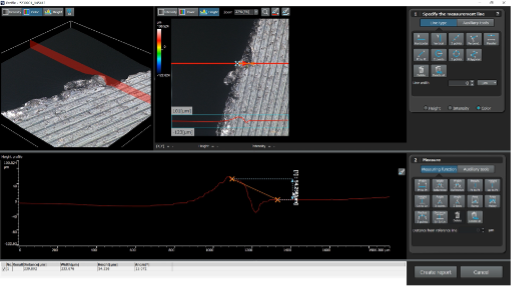
3D image of a burr. Advanced 3D measurement tools enable complex measurements, such as profile measurement and step height measurement between surfaces.
Tools that measure surface roughness measurement are also important. During the initial battery production process, surface roughness analysis is used to check the quality of the mixing and coating of the relevant materials. One good option is a laser confocal microscope as it provides non-contact and high-precision measurement.
3. The inspection microscope can’t measure and observe large or varied samples.
Manufacturers often need to inspect larger and more varied samples to meet different client demands and specifications. Therefore, the microscope system needs to be versatile to handle both large and small sample sizes with flexible stage designs.
4. Long and tedious analysis workflows slow down the inspection process.
Interest in automated measurement and inspection systems continues to increase. Generally, the requirements of an automated system using an optical microscope can be divided into two types:
- Detection and inspection of certain defects
- Repeated and routine inspection workflow
In both cases, seamless integration of motorized hardware (e.g., illuminator, nosepiece, stage) and intuitive software are crucial to meet the manufacturer’s requirements. When the hardware components are motorized and controlled by the customized software, we can ease operators' workflows to perform the specific tasks needed. This helps to minimize human errors and maximize work efficiency compared to a manual system.
Designing Customized Microscope Solutions for EV Battery Inspection
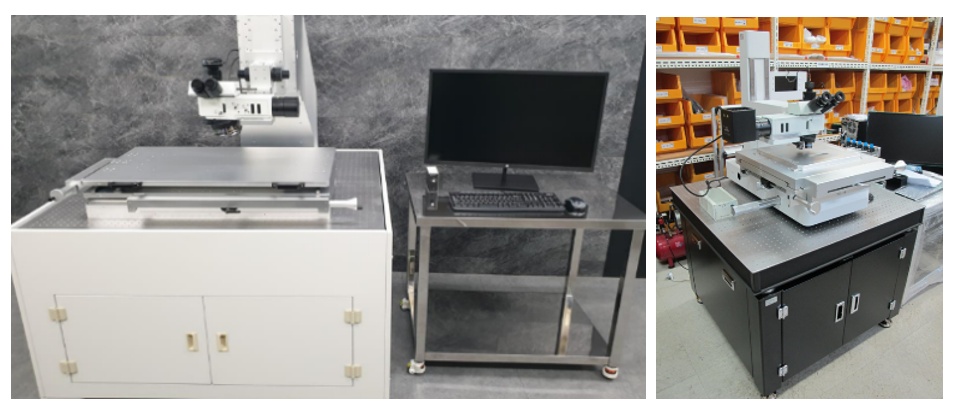
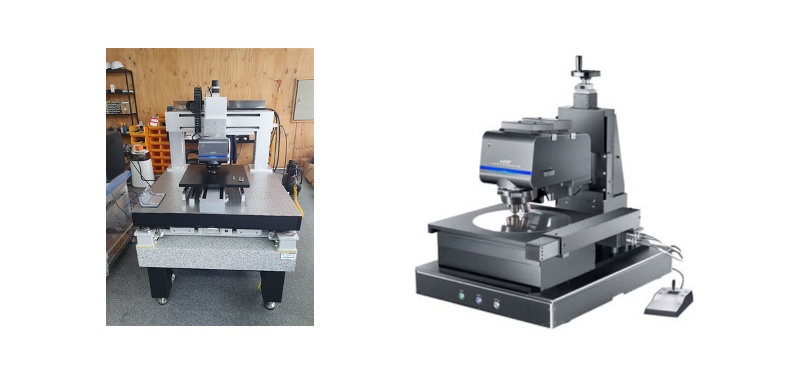
With these needs in mind, we developed customized microscope solutions that can measure a large sample in its entirety. Stage sizes ranging from 300 × 300 mm to 500 × 500 mm are typical examples that support large samples. These solutions can easily acquire images in various observation formats in 2D or 3D. Supported observation methods include brightfield, darkfield, differential interference contrast (DIC), polarization (POL), and MIX. Lastly, we have developed custom operation procedures to simplify complicated analyses. One example is a software recipe/macro function for automated dimensional measurements.
Depending on the customer requirements, we can design the customized solution to meet the exact specifications related to sample size, stage size, and what needs to be measured. Once the customer provides us with actual samples, we can determine if our existing microscope systems are suitable to acquire the images and measure the samples. If so, we can begin developing a solution that meets their required specifications. | 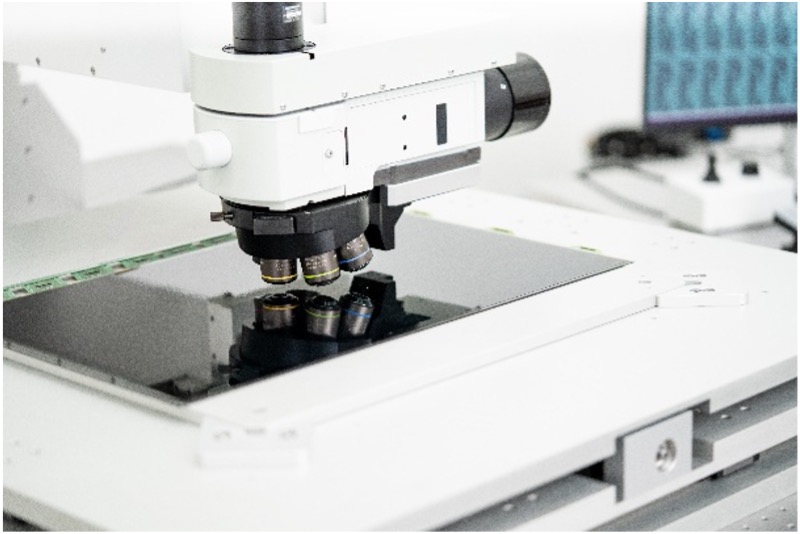 |
Our custom microscope systems include:
1. Large-Stage System with a Modular Microscope
One example solution we designed for a customer is a large-stage system based on the BXFM modular focus system. The solution can measure battery pack dimensions and current collector defects in the EV battery manufacturing process.
Solution benefits include:
- The battery cell, which is a large-sized sample, can be observed and measured by the customized stage in its entirety
- X- and Y-plane measurements and Z-axis measurements can be used in various ways according to the sample structure of interest
2. Large-Stage System with a Laser Confocal Microscope
In another example, we developed a large-stage system for a customer based on the LEXT™ OLS5100 3D laser scanning confocal microscope. This solution provides analysis of pressed (stress) marks or particles on the copper current collector surface. The width and height of the defects are easily measured. It also offers analysis of the surface roughness on aluminum and copper foils.
Solution benefits include:
- A variety of fine defects or structures can be observed and measured
- Analysis of the product surface topography is possible using measurement of line roughness and surface roughness
- Can acquire images with a wide field of view and high resolution
3. Large-Stage System with a Digital Microscope
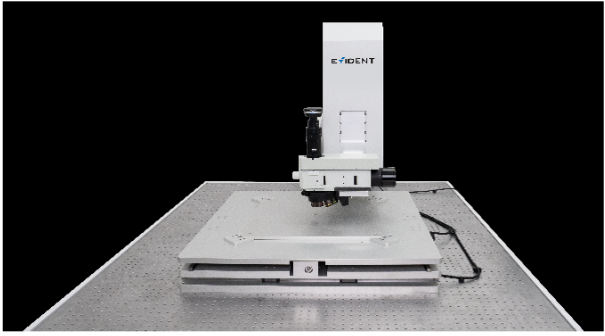
A third example integrates a large stage with our DSX1000 digital microscope. This solution is used to inspect burrs on the current collector and measure the thickness of the current collector and electrode material. Further, the solution is used to analyze metal contamination and inspect scratches on the battery package.
Solution benefits include:
- Can be equipped with an optional tilting frame for side angle viewing up to 90 degrees in each direction, enabling you to visualize your sample from any angle
- Various observation methods (brightfield, darkfield, MIX, differential interference contrast, polarization, and oblique) help facilitate:
- Observation and analysis of battery samples
- Measurement of cross-section thickness and battery pack dimensions
- Identification of hard-to-find defects, such as burrs, metal contamination, and scratches
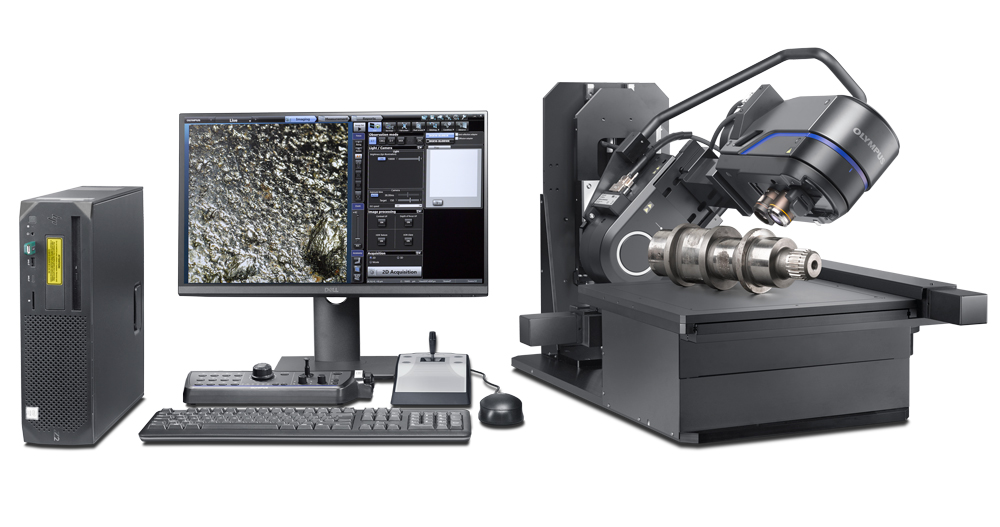
DSX1000 custom solution.
Learn More About Custom Microscopy Solutions for EV Battery Inspection
If you have a unique or challenging requirement for your EV battery inspection, reach out to us with your request! You can learn more about designing your own microscope with custom hardware and software by visiting our Customized Solutions page.
Related Content
Industrial Microscopes Support Lithium-Ion Battery Safety for Electric Vehicles
E-Book: Microscope Solutions for Electric Vehicles
Measuring the Roughness of Lithium-Ion Battery Electrodes Using a Laser Microscope

