 Overview
Improvements in probe manufacturing technology have led to improved defect length sizing. Phased Array CCEV [Concave Curvature in Elevation (axis)] probes have been created to improve accuracy in defect length sizing. Two primary applications, small diameter piping and onshore/offshore pipeline construction have been the primary applications where this technology has been exploited but many phased array users are applying them in other applications. This technology has led to improve difficult small diameter thin wall inspections as well as critical pipeline inspections.
CCEV Phased Array Probes Construction
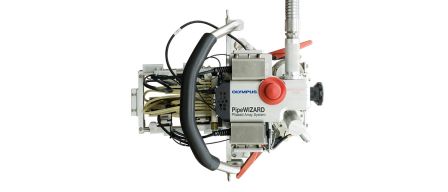
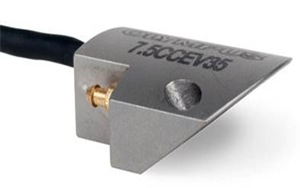
Phased Array probes can be electronically focused in the forward or active axis by controlling the pulse and reception of the elements. Without complex array construction (dual/matrix array etc.) the passive axis has long been left to natural beam spread created by aperture and element dimensions and frequency of the probe. CCEV probes were created by applying a curvature in the elevation or side to side or passive axis dimension of a phased array probe. The appropriate curvature was established by laboratory trials and simulated beam simulations for the typical diameters and wall thickness for both pipeline construction welds and small diameter pipe and tube welds. Similar to applying a lens to an immersion probe the effect is a smaller beam spot width, which can lessen beam spread effects and allow better length sizing potential. Although primarily applied to the PipeWIZARD and COBRA scanning systems, the technology can be applied to almost any linear array probe design to fit other applications. An internal integrated lens allows the use of standard flat wedges and flat outside casing.
 |  |
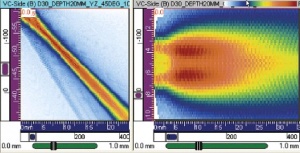 | 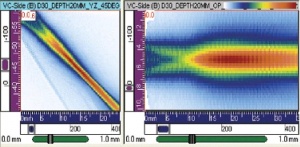 |
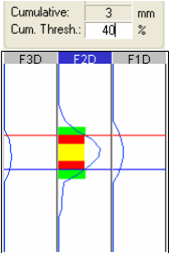
Illustration of flat and internally focused arrays with corresponding beam plot. Note significantly reduced beam width.
 |  |
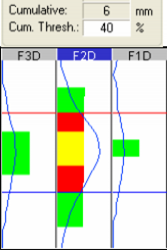 |  |
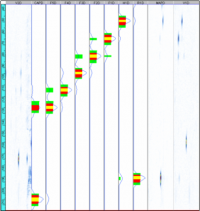
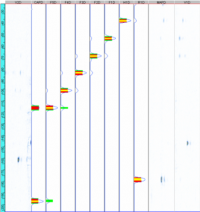
Results from PipeWIZARD System on 3mm wide reflector with normal 1D linear Flat Array and CCEV Curved Probe.
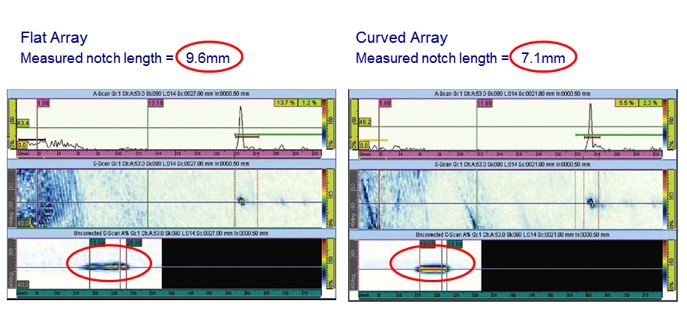
Results of inspection on 2.75” (70mm) dia. Pipe with induced 6.9mm x .5mm OD notch. Note signifigant sharpness of data and improved sizing using CCEV probe. Data taken utilizing COBRA Scanner. Sizing done via – 6dB drop method.
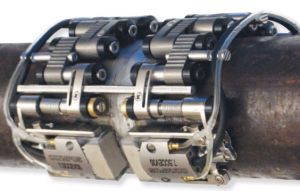 | 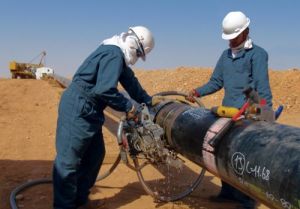 |
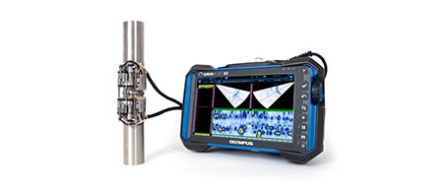
COBRA Semi-Automatic Scanner for Small Diameter Pipe and Tube and PipeWIZARD Automated System for Pipeline Construction. CCEV probes have been optimized for use in these two systems.
Conclusion
Laterally focused arrays have been created significantly improving length sizing potential in small diameter piping and pipeline construction systems. This technology can be applied to most 1D linear array probes, offering potential to improve sizing in many often performed phased array examinations. Standard CCEV arrays are listed in our phased array probe catalog.
Please contact SCE.PM@olympusndt.com or submit details via our online custom probe form to ask about custom CCEV probe possibilities for your applications.


