Since 1978, the Mistras Group has been building and solidifying its reputation as a leading nondestructive testing (NDT) service and solution provider. Specializing in acoustic emission (AE) and ultrasonic testing (UT) technologies, Mistras develops complete solutions to inspect public and industrial infrastructure. Based in France, Mistras serves a wide range of industries, including aeronautics, railway, renewable energy, and oil and gas.
For a recent interview with Contrôles Essais Mesures (CEM) magazine, Mistras ultrasound specialist engineer Jérôme Lethuillier spoke about the UT solution the company uses to inspect pipes. To illustrate its efficiency, Jerome provided an example application. He and the Mistras team had used the solution that day at a refinery where the task was to inspect and map hundreds of meters of piping in its flare system for the purpose of corrosion monitoring. An integral part of Mistras’ pipe inspection equipment is our FlexoFORM™ scanner.
What follows are selected excerpts from Jérôme’s interview in issue no. 77 of Contrôles Essais Mesures (CEM) magazine (translated from French). In it, Jerome explains what he and Mistras appreciate about the FlexoFORM scanner and how it has enhanced the pipe inspection service they offer to customers.

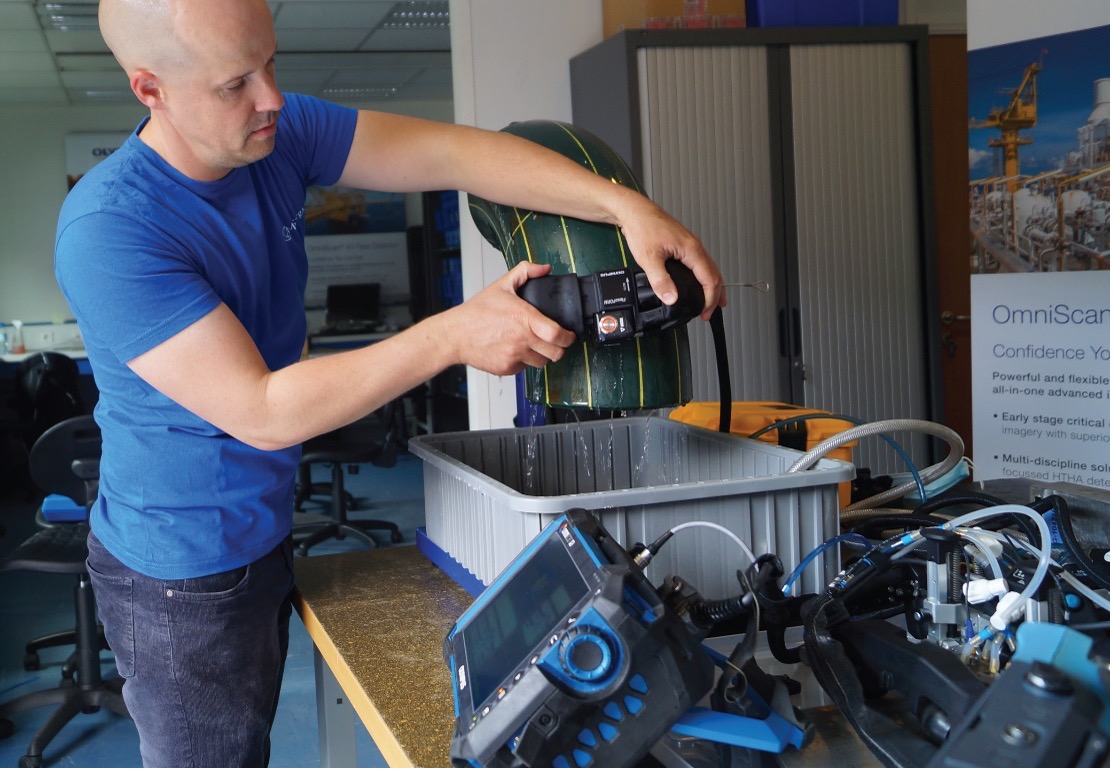
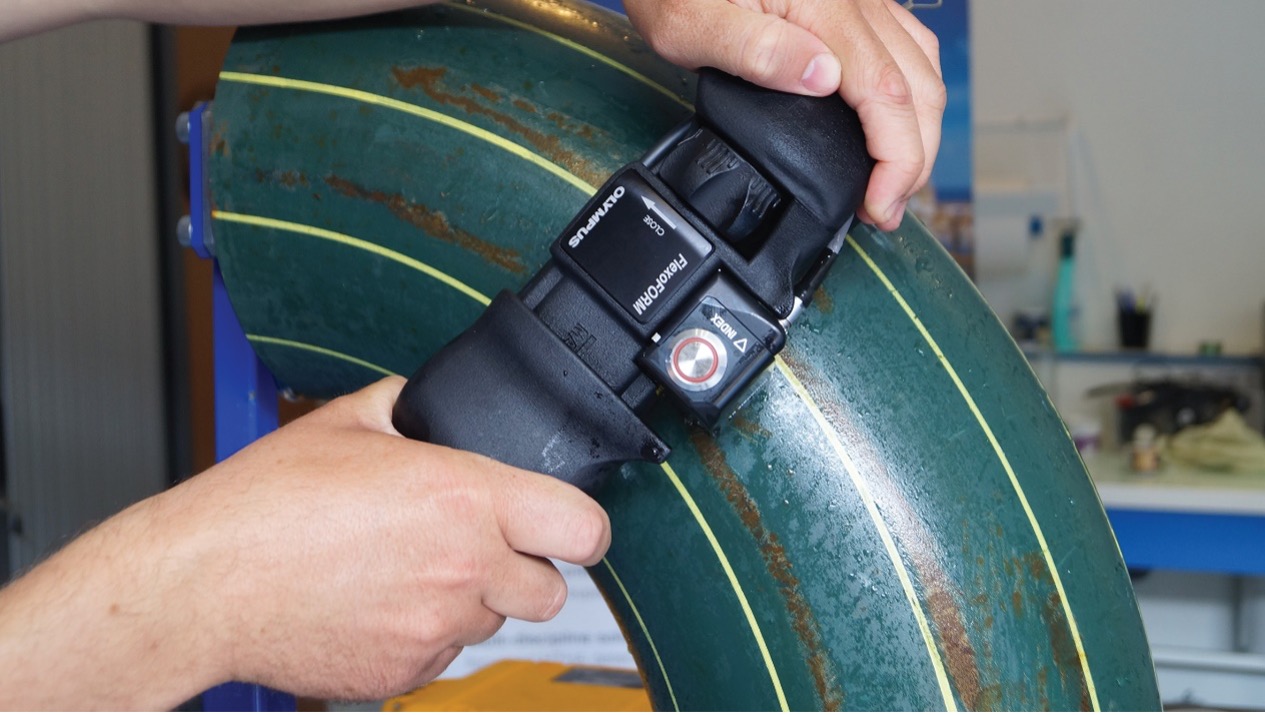
Jérôme Lethuillier, engineer for Mistras, using the FlexoFORM scanner on a pipe elbow sample with the OmniScan™ X3 phased array flaw detector (images courtesy of CEM magazine)
Simple Operation with Automatic Indexing
“We use the FlexoFORM scanner to produce rapid and precise mapping of our customer’s very long pipelines,” said Jérôme. “We use the FlexoFORM scanner on the lower generatrix of the piping to control, in particular, loss of thickness caused by localized corrosion. Once the system is installed, we scan it to cover a width of 60 mm per pass. Through multiple passes, the acquisition is done line by line with an automatic indexing system. The circumference is reconstructed by sequencing. During the acquisition, the operator only needs to be sure to follow the lines drawn beforehand.” Later he added, “The wheels are magnetized—the small encoder wheel is also magnetic,” alleviating some of the effort the operator needs to exert to hold the scanner on ferromagnetic surfaces.
100% Elbow Coverage and Full Circumference Mapping
“We also use the FlexoFORM on elbow sections. This equipment offers us a solution that we did not have until now. We used very small traditional probes to perform spot thickness measurements. This grid sampling did not enable us to perform a 100% verification. Also, we had no rendering in terms of imagery. With the FlexoFORM scanner, we can inspect the entire surface and produce a map.”
High-Resolution Data (1 × 1 mm) on a Wide Range of Pipe Diameters
“In addition, this equipment makes it possible to detect damage that is small in size, something we could not achieve with sampling measurements. The FlexoFORM scanner meets, for us, a need for which we had no technical solutions. We also use the mini FlexoFORM scanner to inspect small-diameter pipes. With its more suitable footprint, we start at 1.3 inches. With traditional FlexoFORM equipment, we work on diameters of at least 4 inches and can control very large diameters.”
“The FlexoFORM scanner meets, for us, a need for which we had no technical solutions.”— Jérôme Lethuillier, Mistras UT Specialist Engineer

Flexible, Adaptable Phased Array Probe and Curved Water Wedge System
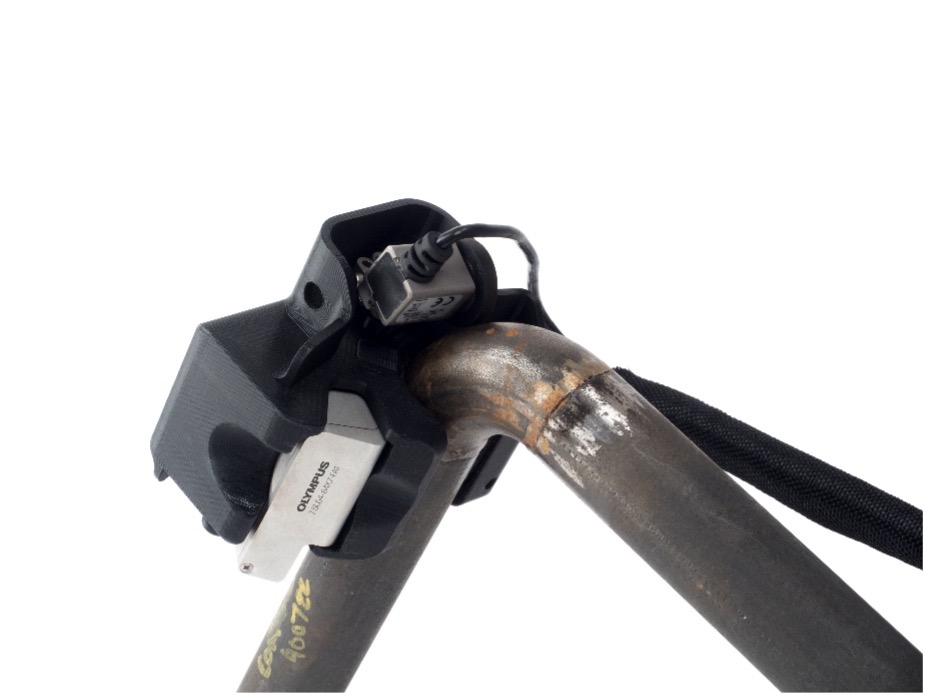
“The phased array probe is flexible. It can accommodate diameters greater than 1.3 inches, down to flat surfaces. We attach water wedges to it according to the radius of curvature. A system of different water wedges covers a wide range of diameters. Being able to remove the probe, without tools, is very valuable in the field, because on a pipeline, diameter changes are frequent. On straight sections, being able to record data in the longitudinal direction changes everything. Previously, rigid probes were moved around the circumference of the pipe before incrementing and making another turn. Being able to control whole sections over great lengths enables us to save a lot of time.
“On straight sections, being able to record data in the longitudinal direction changes everything.”
More Efficient Acquisition and Intuitive C-Scan Imaging
“In terms of image rendering, the thickness maps generated are the same as with our previous systems. On the other hand, we can now map large areas, thus saving a lot of acquisition time and time spent on site. In terms of mapping, again, it’s now possible for us to map the surface of elbow sections, which is a real plus. Despite the flexible probe without shock absorption at the back, the signal quality is really good, as is the mapping images. The FlexoFORM scanner also enables us to monitor identified damage over time, in order to control any degradation to complex geometries (intrados and extrados),” explained Jérôme.
“It’s now possible for us to map the surface of elbow sections, which is a real plus.”
A Specialty Pipe Elbow Scanning Solution That Optimizes Mistras’ Offering
“Searching for new solutions is part of our mission, because it enables us to extend our range of services and offer our customers services with ever greater productivity. This is also why we have one of the richest arrays of advanced NDT solutions on the market, because we want to provide the most complete response possible to their specific problems.”
To learn more about the FlexoFORM scanner and our other industrial scanning solutions, go to www.olympus-ims.com/scanners.
Related Content
TFM and Other Major Advantages of the OmniScan X3 Flaw Detector for NDT Inspectors—A Customer Review
Ahead of the Curve: UT is Finally Flexible Enough for Pipe Elbow Inspection
The AxSEAM™ Scanner or the Art of Establishing a Relationship of Trust—A Customer Review
Get In Touch


