Application
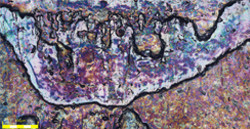
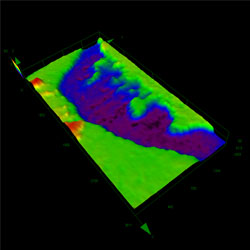
In the die casting process, molten metal flowing into the mold may harden before it is fused completely, producing shallow wrinkles on the die-cast surface. This phenomenon is known as ripple marks. The ripple marks are problematic because they distort the external appearance of the product and may cause damage or deformation when stress is applied.
The Olympus solution
Olympus' LEXT 3D laser scanning microscope makes it easy to accurately image a three-dimensional surface profile down to the micron level. Users can perform defect management using numerical surface roughness data, which is the best method for quality control. With the LEXT’s image stitching feature, users can create high-contrast images of the entire defect location. Moreover, because the microscope is contactless, the object’s surface will not be scratched.
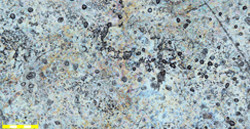
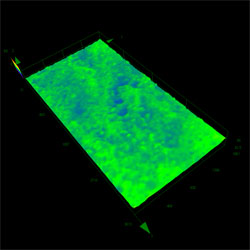
Non-defective surface
Objective lens 20X, Zoom 1X; 6×3 stitching | Defective surface
|


