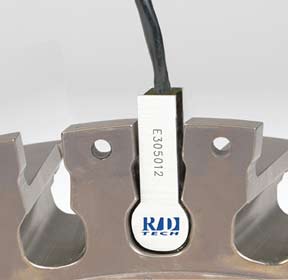
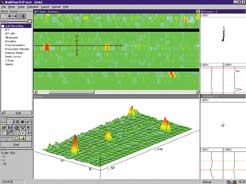
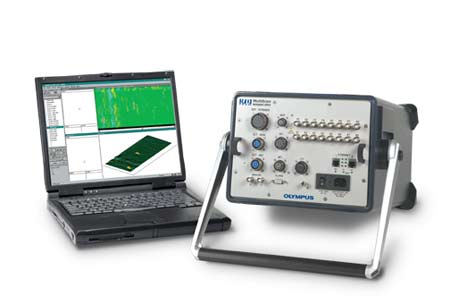
General description of the application Dovetail inspection can be extremely time consuming and demanding. One of the alternatives is to use a complex robot, but it is still slow and very costly. The system we are proposing completely covers the part to be inspected in one single pass. It uses an array of elements laid out in a probe design perfectly adapted to the part profile. Typical inspection requirement Defects detected Description of the solution Description of the inspection system Parts to inspect Defects to be detected Method of inspection The preferred display is the C-scan. It makes an excellent cartography of the part, especially if an encoder is used. It is also possible to have access to the impedance plane and strip charts of each channel to make an independent analysis of each signal. This is possible because all the channels are saved individually and integrally. MultiScan MS5800 multitechnology acquisition unit |
자료실
어플리케이션 노트
자료로 돌아가기
죄송합니다. 이 페이지는 해당 국가에서 사용할 수 없습니다.
아래 양식을 작성하여 원하는 내용을 알려주십시오.


