Application
Detection of internal wall reduction artifacts in manufactured pipe.
Background
Localized wall reductions are not always caused by corrosion. Wall reductions can develop during plate rolling or the initial stages of forming in the pipe manufacturing process. Impressions in the steel can be created by the forming rollers. High surface pressure and heat applied to the forming rollers can induce spalling. Metal pieces that spall and become detached from the rollers can fall into the path of the incoming plate causing the pieces to bond to the roller. Once the pieces are bound to the roller, impressions begin occurring in the plate being rolled. Hence the term artifacts from the impression caused by the roller, which appear similar to be wall reductions caused by corrosion.
In many cases new pipe is put into service with such artifacts. When corrosion inspection is later performed after he pipe has been in operation, inspectors may find these wall reduction artifacts and mistake them for corrosion cells. If this occurs, process engineers may infer an incorrectly fast corrosion rate and make incorrect process changes and or chemical additives. However a simple ultrasonic gaging procedure can identify artifacts at the manufacturing or installation stage.
Equipment
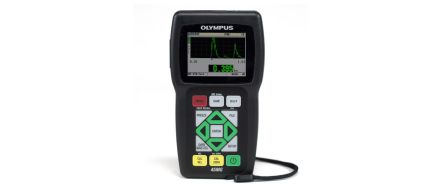
Model 38DLP PLUS thickness gage, or Model 45MG gage with waveform display option, and D790 dual element transducer (5 MHz).
Example
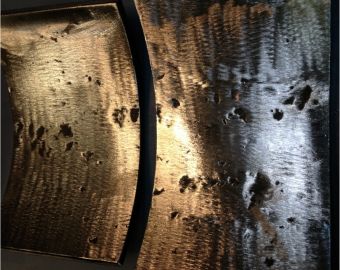
The pipe in the picture below is 8” x .250” wall carbon steel 1018 grade manufactured with the ERW process. The dark indentions are artifacts reducing wall thickness that occurred during the pipe forming process. No corrosion was present on the ID or OD.
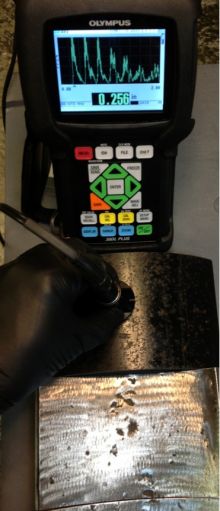
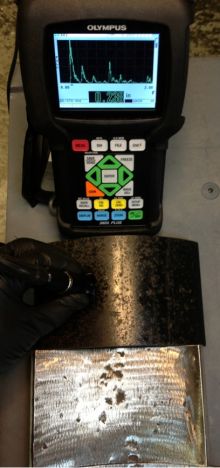
Thickness gaging is performed in the same manner as a corrosion survey. In the picture at left, the gage is reading full wall thickness. In the picture at right, the thinner reading indicates a wall thinning artifact on the inside surface.
An inspector may consider the following factors when attempting to distinguish manufacturing artifacts from corrosion cells:
- Determine if the pipe is ERW or seamless.
- Identify that the wall reductions are oriented in an axial line rather than randomly.
- If multiple or all joints are ERW in the piping circuit, determine the line where the artifacts are located on each joint. The inspector may find that the line changes azimuth position as relative to the piping.
- If a joint of pipe in the circuit is found to be seamless and there are no wall reductions.
Conclusion
Manufacturing artifacts in pipe can be detected by ultrasonic thickness gaging. Inspectors performing thickness measurement of piping should be aware of this damage mechanism. It is also important to inform the process plant quality control inspectors of this potential problem to avoid over-estimating corrosion rates.
