Ultrasonic phased array (PA) is an advanced nondestructive testing (NDT) technique that has been used in industrial sectors for decades. Though it has been innovated, developed, and proven for a wide range of applications, the potential of phased array for the inspection of certain materials has yet to be fully exploited. Inspecting dissimilar welds, for example, is such a complex application that engineering an advanced phased array inspection can be time consuming. Not to mention the level of skill that is required to analyze and interpret the results. A recent development, however, aims to mitigate some of the complexity of applications such as dissimilar welds— WeldSight™ companion software for the FOCUS PX data acquisition unit.
Why WeldSight Software Is So Useful
For weld inspectors who use the FOCUS PX data acquisition unit to conduct phased array and time-of-flight diffraction (TOFD) inspections, WeldSight software helps optimize defect detection while reducing the amount of time required and, consequently, the overall costs.
The software can improve the efficiency of engineering advanced phased array inspections by facilitating each step of the inspection workflow, from scan plan creation to reporting, while taking into consideration repeatability requirements, code compliance, and unique weld characteristics.
Here are 5 features we know weld inspectors are going to appreciate:
1. Field-Proven Scan Plan Design Tool
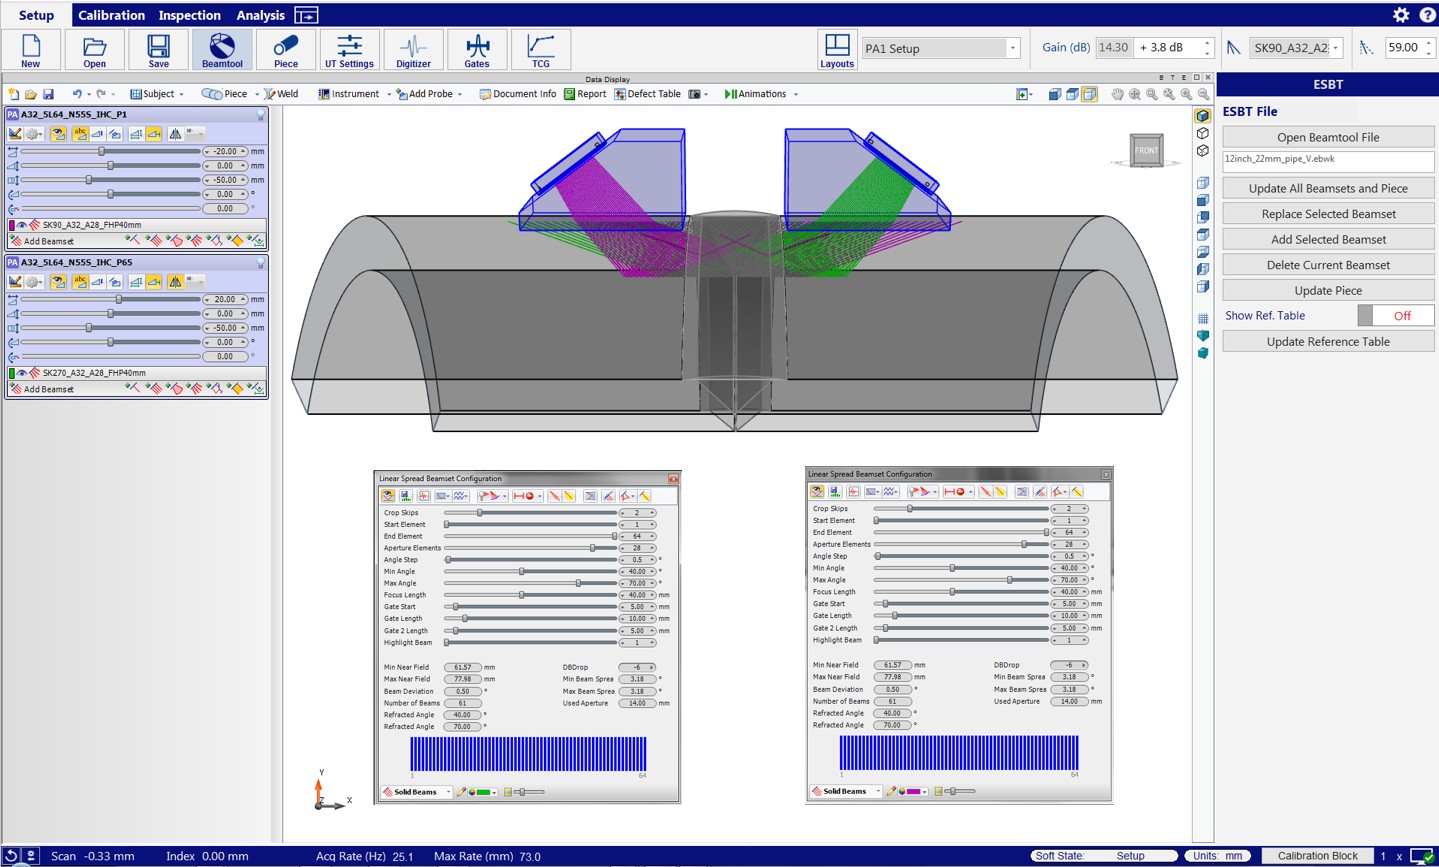
To define the coverage of your phased array configuration, we incorporated Eclipse Scientific’s BeamTool into WeldSight software. Using BeamTool, inspectors can configure the appropriate beam sets for each probe and wedge combination to help ensure adequate coverage.
BeamTool has built-in options that consider:
- Manufacturing codes
- Probe and wedge parameters
- Component piece, weld bevel, and calibration block characteristics
- Linear, sectorial, linear spread, and zonal beam set configuration for PA, Dual Linear Array™ (DLA), and Dual Matrix Array™ (DMA) probes
- Clad material layer inset, in line with the weld bevel
- Dissimilar weld material
- 3D images of parts and probe sets

2. Optimized Calibration Tools Including Time-Corrected Gain (TCG)
Calibrating inspection equipment with WeldSight software is smooth and efficient thanks to convenient functionalities such as one-click acoustic wedge validation, one-click probe validation, and dynamic single-point sensitivity calibration, which stores a gain offset for each beam.
Clear visual indicators let you know when values are outside your tolerances.
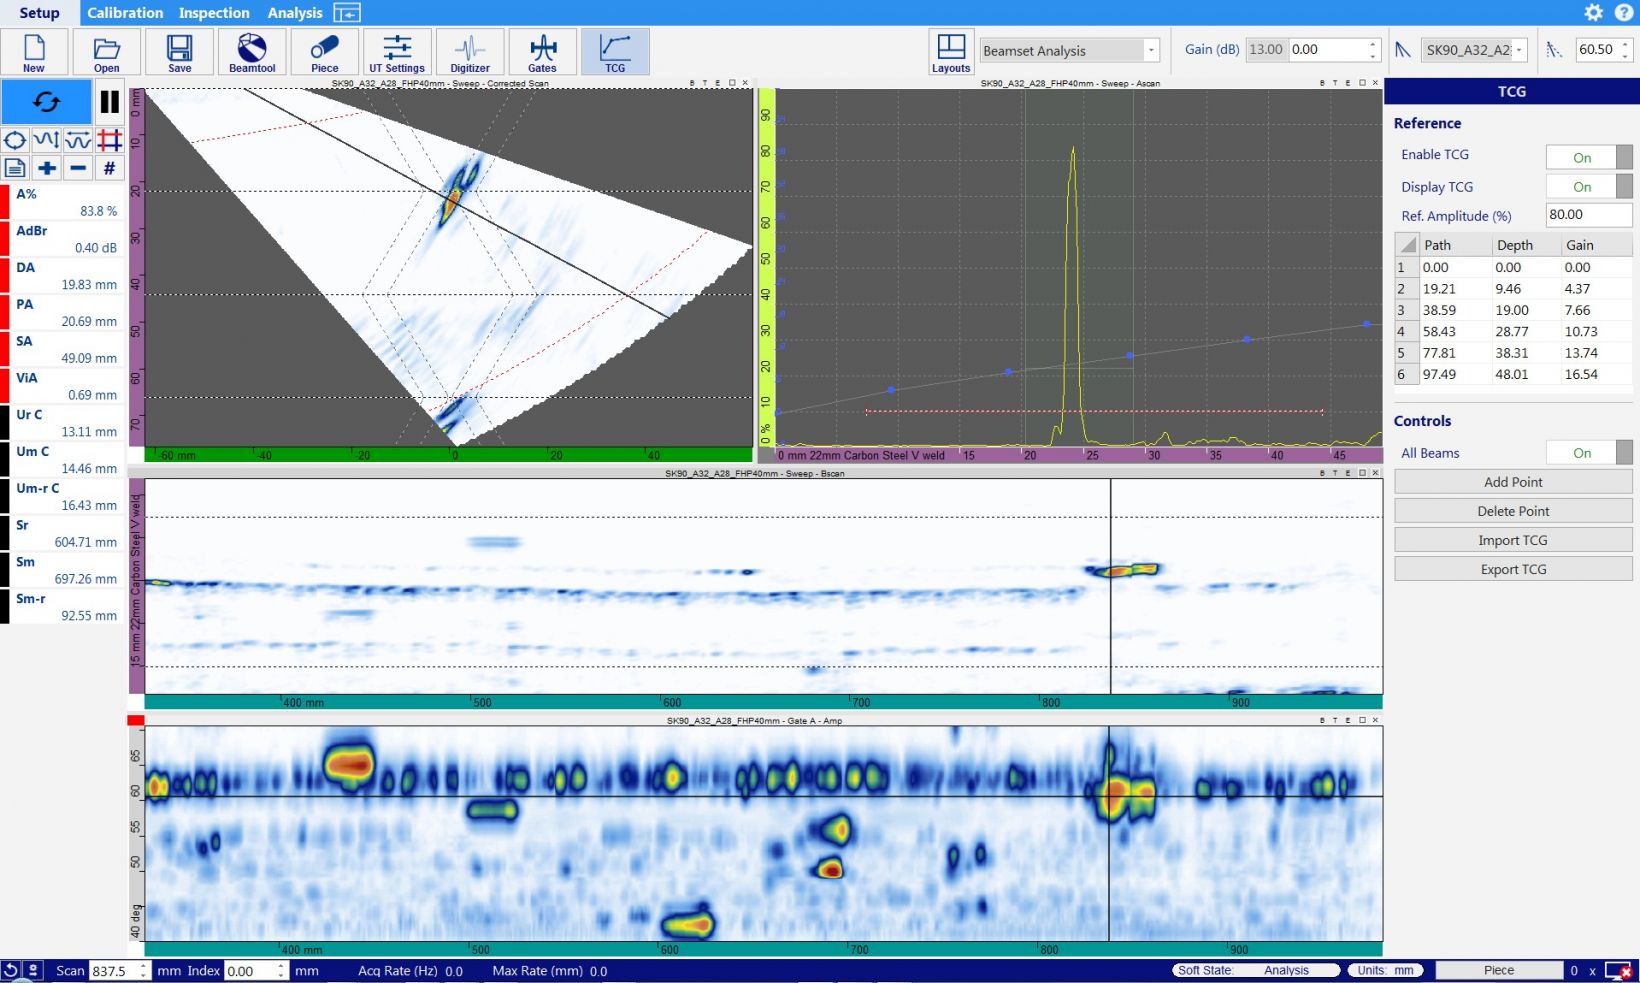
The time-corrected gain (TCG) tool helps ensure that probe sensitivity is optimized. It’s possible to create multiple points simultaneously, individual points in succession, or combinations of the two, making calibration faster and more flexible.
3. Comprehensive Imaging of Your Inspected Part
WeldSight software’s drag-and-drop visual data displays include:
- Corrected S-scan
- Sweep and scrolling B-scan views
- Amplitude C-scan views, including a weld gate option displaying only the weld and heat-affected zones (HAZ) of the piece overlay
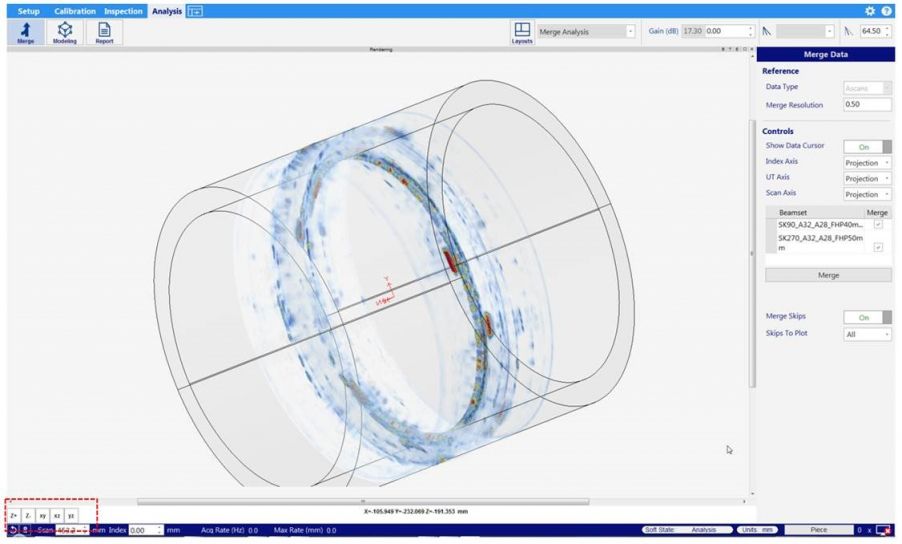
- Dynamic C-scan merge views, helping ease data interpretation while scanning
- Strip charts for coupling and thickness monitoring
4. Powerful Analysis Capabilities
When your inspection is complete, you can push your data analysis further with advanced functionalities including:
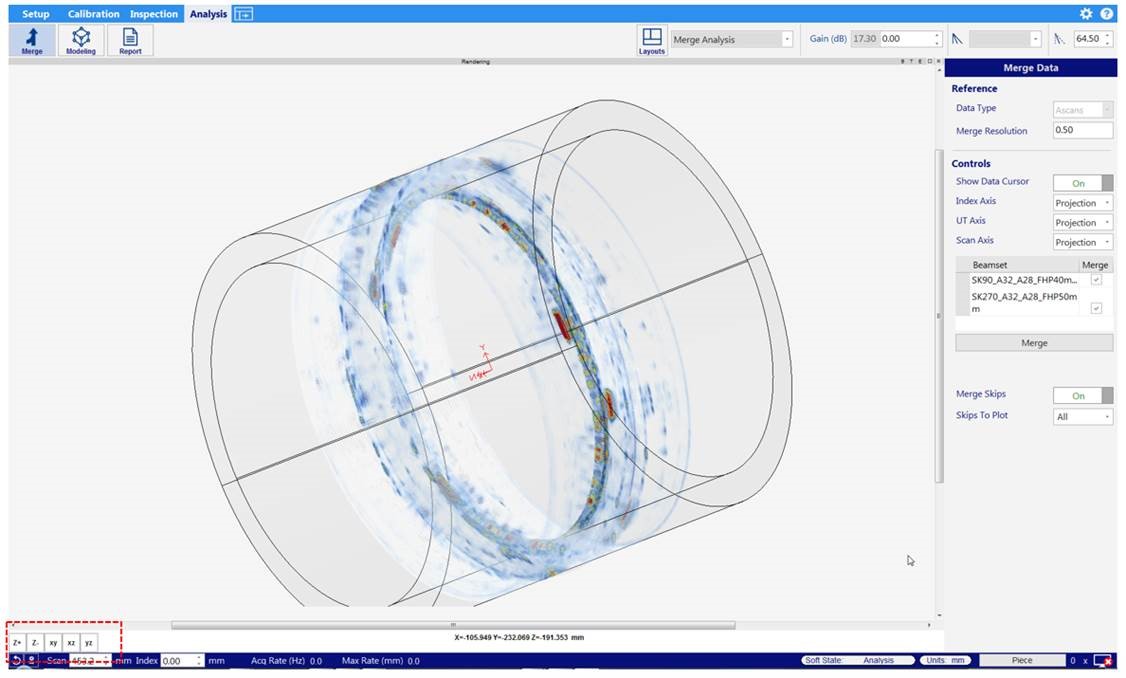
- Volumetric merging
- Soft gain
- Gate and cursor readouts
- TOFD advanced algorithms, including lateral sync and lateral wave removal
For piping applications, WeldSight software’s 3D imaging and polar views give you a thorough glimpse of the weld and the part from all the angles.
5. Supports Our Dedicated Weld Inspection Solution Hardware
WeldSight inspection and analysis software is designed for use with the FOCUS PX phased array data acquisition instrument.
WeldSight software also works with our phased array probes, including DMA, DLA, and dedicated weld series.
Related Content
FOCUS PX / PC / SDK Applications
Get In Touch


