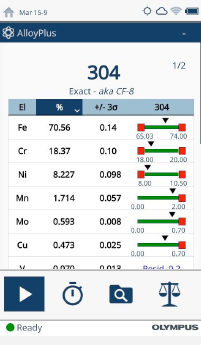
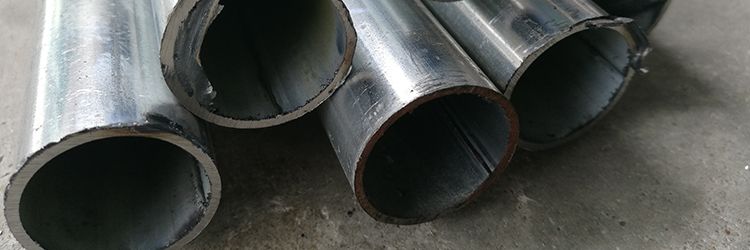
A manufacturer of fabricated components and assemblies ordered a shipment of SS304 stainless steel tubing from a supplier. The manufacturer cut and machined 1800 pieces of the tubing to weld into larger sub-assemblies. Shortly thereafter, the supervisor indicated that they were finding cracks in the welds during nondestructive testing (NDT). A QC hold was immediately put on the ongoing production until they could figure out the cause. Their investigation included checking the weld gas, weld wire, and welding machine settings per their standard operating procedures (SOPs). But the subsequent tests on the welds still exhibited cracking. As a next step, the QC manager suggested checking the material certificates of the original tubing shipment. To no one’s surprise, the certificates clearly indicated the tubing was what they ordered—SS304. Other checks were made within their systems, but no solution could be found.
The QC manager was stumped. What hadn’t they checked? As it turns out, they never actually verified that the tubing was SS304. If they had checked the shipment on arrival using a technique like X-ray fluorescence (XRF), they would have discovered that what they received was, in fact, SS303, a grade specifically modified with the addition of sulfur, making it easier to machine but highly susceptible to hot cracking during welding. If the tubes had been checked when they were received to ensure that they matched their material certificates, this situation could have been avoided. Instead, the manufacturer was forced to spend valuable time searching for a cause and is still left with a load of partially manufactured, unusable material. In the end, though, the manufacturer was still fortunate that they detected the problem before they shipped anything out. If the components had failed in service, the problem could have been much worse.
If this manufacturer had employed a 100% verification program for incoming materials, the risk of processing the wrong material is virtually eliminated. So why do we find the wrong material within the manufacturing process? There’s a risk of a mix up every time the material is transported—whether in the mill, at a stockist or service center, in the fabricator’s warehouse, and during any fabrication process. Incorrect material certificates, incorrect markings, and poor traceability contribute to the risk. To get it right, the use of material verification at every stage is critical. One popular verification tool is an XRF analyzer. Our Vanta™ analyzer helps verify that material is what it’s supposed to be at every stage of the manufacturing process. Built for speed and durability, Vanta analyzers deliver accurate alloy ID in seconds while also being durable enough to keep working in industrial environments. With optional wireless functionality, you can connect your analyzer to the Olympus Scientific Cloud, making it easy to integrate into any Smart Manufacturing facility. |  Vanta analyzers help you get the right answer. |
Related Content
Using handheld XRF to manage sulfidation corrosion in carbon steel
Handheld XRF for light elements in steel
Get In Touch

