7.4 Castings
In the course of the casting process, a variety of internal discontinuities can occur in both ferrous and nonferrous metals. These include voids, porosity, inclusions, and cracks. All of these conditions produce ultrasonic indications that can be identified by a trained operator using an ultrasonic flaw detector with appropriate transducers.
The granular nature of both ferrous and nonferrous castings presents a challenge to ultrasonic flaw detection because of the reflections generated by grain boundaries, with the amount of grain scatter noise increasing as grain size increases. Additionally, the rough surface typically found on sand castings impair sound coupling and reduces echo amplitude. These factors will determine the minimum detectable defect size in any given test. For this reason, it is important to pay careful attention to transducer selection and instrument setup, including receiver bandpass filtering. Frequently dual element transducers at frequencies between 1 MHz and 5 MHz optimize void resolution and scatter noise. The recommended procedure is to optimize transducer selection and setup with the aid of reference standards representing samples of the parts to be inspected that contain known defects that have been identified by destructive testing, radiography, or other non-ultrasonic techniques. The indications from these known defects may then be stored and compared with indications from test pieces.
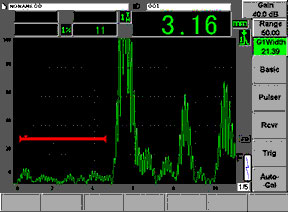
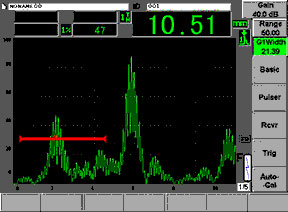
The example below shows a typical midwall porosity indication in a 30 mm thick iron casting, detected with a 2.25 MHz dual element transducer. An echo appears in the gated region and the backwall echo amplitude is reduced.
 |  |
| Good area, backwall echo only | Porosity indication in gate |
Crack test procedures must always be developed with respect to the specific geometry of the casting, and the location, size, and orientation of suspected cracks, utilizing appropriate reference standards containing known or artificially induced defects. Straight beam transducers are used when the crack face is parallel to the transducer coupling surface, and angle beams are used when the crack is perpendicular or tilted with respect to the coupling surface.
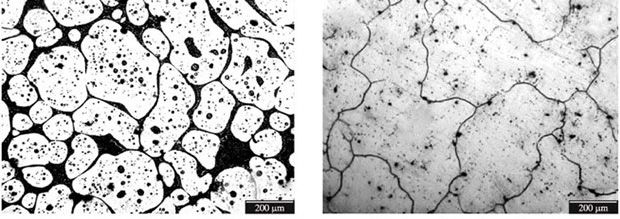
Another common ultrasonic application in the foundry industry is measuring nodularity (graphite distribution) in cast iron as a check of the casting process. The microstructure of graphite within cast iron has major effects on the casting's mechanical properties. There is a predictable relationship between nodularity and sound velocity, and sound velocity can be measured with both ultrasonic flaw detectors and thickness gages.
Further information on ultrasonic testing of castings can be found in this application note.
