![]()
Drill Bit Edge Damage and Machining Defects
Drill bits are widely used in industrial fields as a cutting tool. A drill bit is a thin spiral metal blade about 10 cm (3.9 in.) long. It is usually made of cemented carbide to resist wear and heat since it must drill through an object while rotating at high speed.
Even so, there are still machining defects caused by damage at the drill bit edge. If the edge is damaged, inaccuracies may arise during hole positioning, or the drill may break. This is why drill inspections are required to check the blade edge condition. Some inspectors use a conventional digital microscope to perform this task. However, there are two challenges inspectors face when using a conventional digital microscope.
Challenges of Detecting Damage on a Drill Bit Edge with a Digital Microscope
Observation challenges for detecting damage
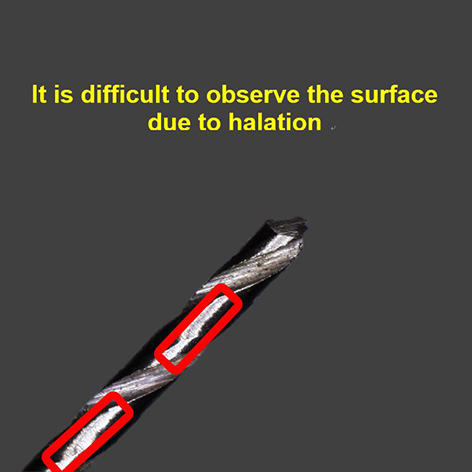
Inspectors observe a wide area at low magnification to detect drill blade damage. The drill blade has a spiral shape with a groove in the cylinder. When an inspector illuminates a conventional digital microscope for macro-observation, the blade can reflect light. This causes halation where the image can appear white and disappear. On the other hand, the rest of the image lacks enough light—making it too dark to see anything. The halation prevents inspectors from observing the blade surface.

Damage analysis challenges
After detecting drill blade damage, inspectors will analyze its condition in more detail with high magnification. In some cases, the image of damage is unclear even if you zoom in to observe the bit at higher magnification.
A digital microscope’s image resolution depends on the resolution of the objective lens. If an inspector cannot see the damage through a lens, the image will remain unclear even if they zoom in to magnify it. As a result, you will need to replace the current lens with a high-magnification, high-resolution lens. This time-intensive process requires you to readjust the observation location and refocus after replacing the lens.
Advantages of Detecting Damage on a Drill Bit Edge with the DSX1000 Digital Microscope
Detect drill bit damage at low magnification
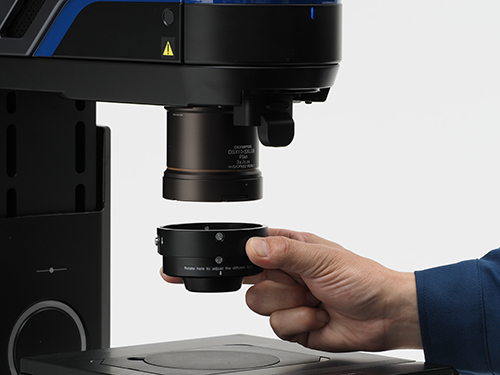
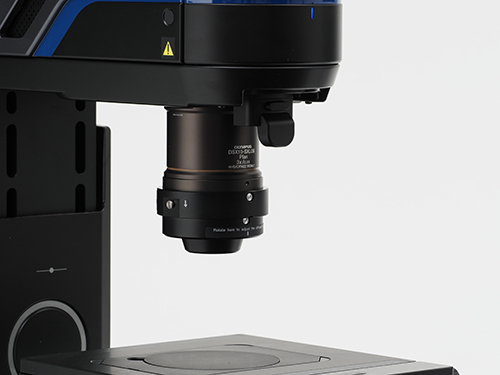
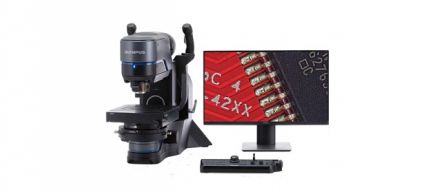
When an inspector uses a conventional digital microscope at low magnification to observe a drill bit edge, the reflected light from the blade can make parts of the image too bright or too dark. The DSX1000 digital microscope is equipped with a diffuse illumination adaptor to enable uniform brightness over a wide area. Simply attach it to the tip of the low magnification lens. Then press the halation removal button on the console box to correct an overexposed image. These capabilities enable you to detect drill bit damage at low magnification.
*To guarantee XY accuracy, calibration work must be undertaken by an Olympus service technician.
|
|
Install the diffuse lighting adaptor quickly and easily | |
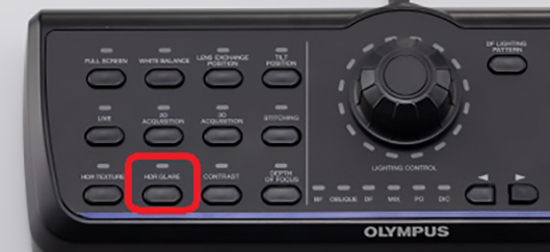
Halation removal button
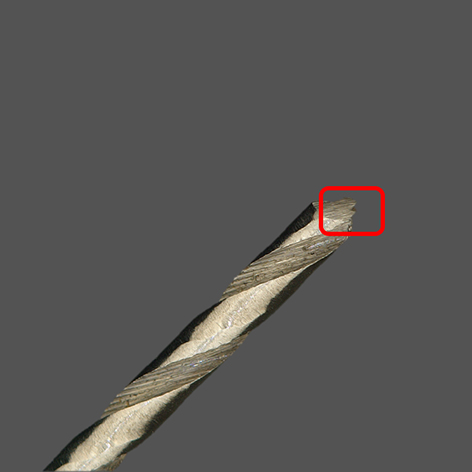
Low-magnification image of drill bit edges captured using the DSX1000 digital microscope.
Shorten analysis time with high-resolution images
The DSX1000 digital microscope is equipped with high-resolution objective lenses to enable clear images at high magnification. This shortens analysis time of drill bit damage since there is no need to exchange lenses to magnify the image.
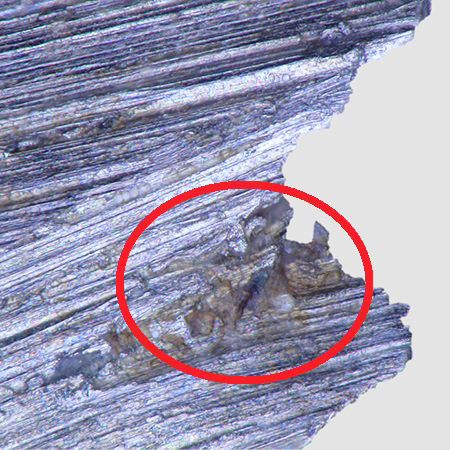
High-magnification image of drill bit edge defects captured using the DSX1000 digital microscope.
