Laminated Capacitor Inspection
Capacitors are components that accumulate and discharge electricity. They have a ceramic element placed between a positive and a negative electrode. An electrical charge is stored when a voltage is applied to the electrodes and discharged when an AC source is connected to the electrodes. Ceramic, also called a dielectric, is used to insulate the capacitor and assist with storing electricity.
Laminated ceramic capacitors have electrodes and dielectrics that are coated with protective material. They are common in small electronic devices. For example, a smartphone may contain as many as 700 laminated ceramic capacitors. To fit that many capacitors in a device, the capacitors must be very small.
Today, laminated capacitors measure between several cubic millimeters to less than one cubic millimeter. The capacitor’s external dimensions, rated voltage, capacitance, and operating temperature are defined by international standards that are designed to ensure quality and uniformity no matter the manufacturer.
To check standards are being met and assess overall quality, manufacturers measure the capacitors’ dimensions and visually inspect them to look for cracks in the ceramic. Capacitors are manufactured in high volume, so automated inspection systems are common. However, these systems cannot wholly eliminate inspection errors, so microscopes or digital microscopes should be used to supplement the automated system. However, inspecting capacitors with a microscope poses challenges.
3 Challenges of Inspecting Capacitors with a Digital Microscope
Poor resolution
For capacitors that are several millimeters cubed in size, a low-magnification lens is used to measure their external dimensions. If the same magnification is used to inspect the ceramic for cracks, small flaws can easily be missed. The objective’s resolution determines the quality of the image, so even if an inspector zooms in to search for small cracks, the image may not be clear enough for a detailed inspection.
If a light microscope is used for the inspection, you can increase the resolution by rotating the nosepiece to switch to an objective lens with a higher magnification. If a digital microscope is used, many only have a single lens, and it must be removed and a new one attached. In both cases, the microscope will need to be refocused and the area of interest reacquired, slowing down the inspection.
The sides cannot be inspected
Light microscopes only enable the inspector to view the capacitor’s upper surface. If there are cracks or flaws on the sides, they cannot be seen.
No height measurement
Light microscopes cannot be used to measure the capacitor’s height. If the quality control lab has a dedicated measuring microscope, the height can be measured, but 3D images of the object cannot be captured.
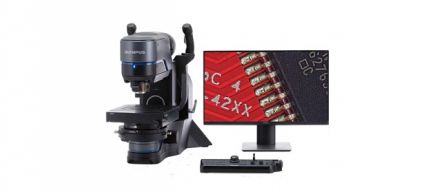
Advantages of Capacitor Inspection Using the DSX1000 Digital Microscope
Quick-Change Lenses
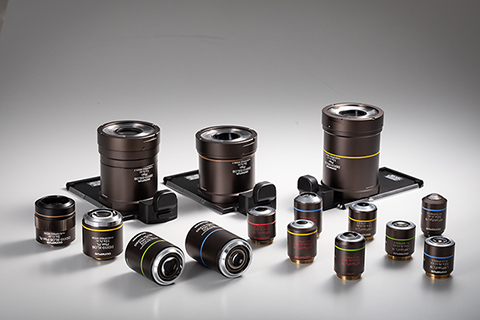
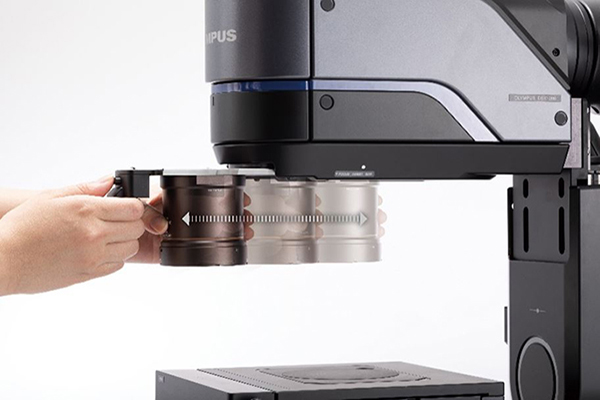
DSX1000 objectives are mounted to a cartridge, enabling you to quickly change them by sliding the old objective out and putting the new one in. Throughout this process, the system maintains the focus position so you can avoid the hassle of having to reacquire the object of interest.
|
DSX1000 objective lenses |
|
Objective lenses can be interchanged just by replacing the attachment. |
Free-Angle Observation System
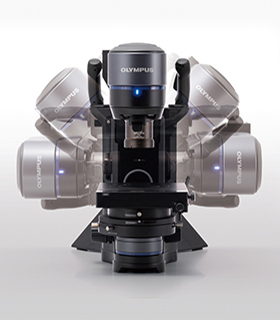
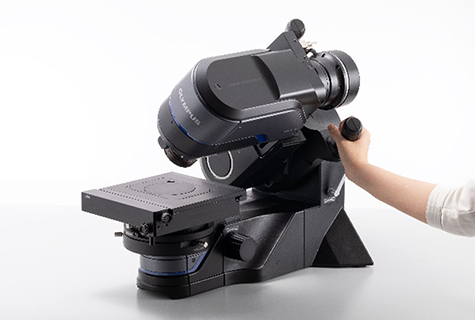
The DSX1000 microscope frame offers an optional free-angle tilting capability, making it possible to inspect the capacitor’s sides as well as the top. When you tilt the zoom head or rotate the stage, the system maintains the field of view for faster inspections.
|
|
Tilting head | |
High-Speed, High-Resolution 3D Images
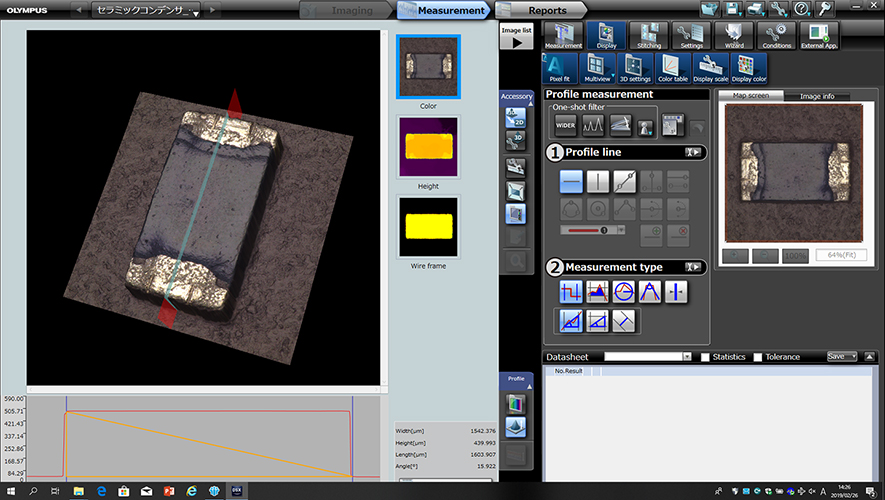
3D images can be acquired simply by pressing a button on the control console. Once you have acquired the images, you can smoothly move over it to measure the capacitor’s height.
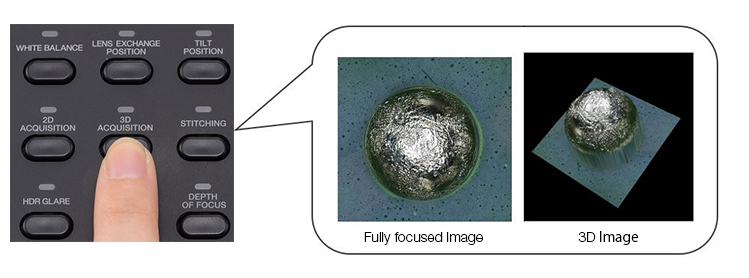
Obtain a high visual field image by connecting images
Guaranteed Measurement Accuracy
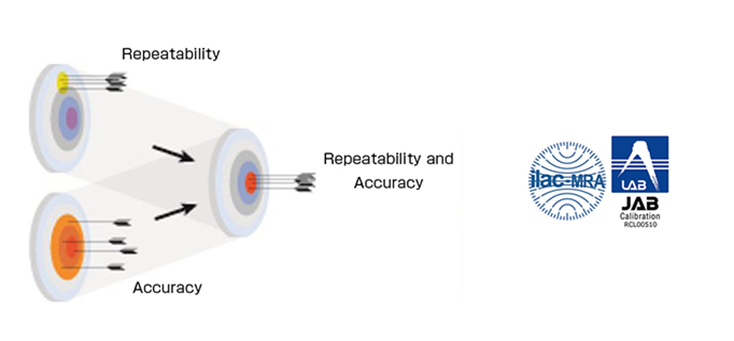
The system’s measurement accuracy and repeatability are guaranteed at all magnifications, so you can be confident in your results.*
*To guarantee XY accuracy, the calibration work must be performed by an Olympus service technician.

Images
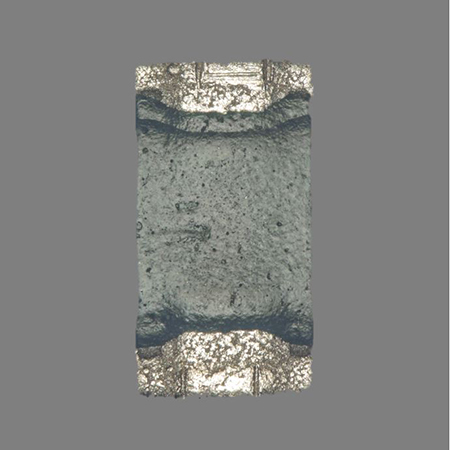
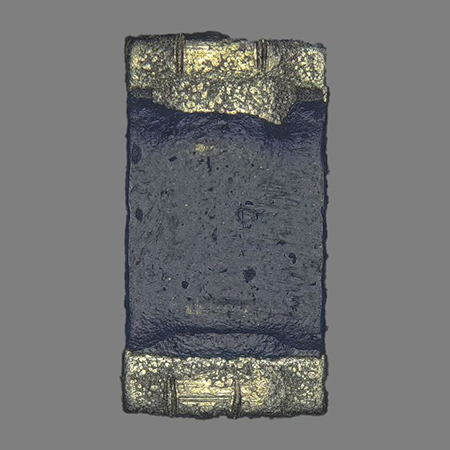
Comparing images captured with a conventional microscope (left) and DSX1000 digital microscope (right) | |
Conventional microscope (140X magnification) |
DSX1000 (150X magnification) |
The image acquired using a DSX1000 digital microscope is clearer than the one captured using a conventional microscope.
Measuring a capacitor’s profile using the system’s 3D measurement tool
