Ultrasonic thickness gauges can provide advantages when a mill operator or end user needs to verify wall thickness of a pipe or tube, since the measurements are not limited to the accessible ends of the pipe. In the mill, nondestructive wall thickness measurements can be made to detect out-of-tolerance conditions. Concentricity of a continuously formed pipe can be monitored on a constant and automatic basis with no need to cut the pipe or to shut down the manufacturing process. Similarly, when a process requires accurate measurement of thin-walled tubing, ultrasonics enable nondestructive thickness measurements along the total length.
Ultrasonic Equipment Used for Wall Thickness Measurements of Metal Pipes and Tubes
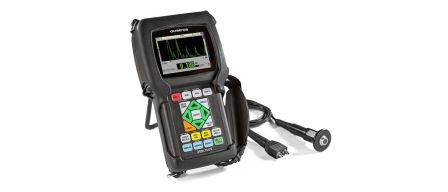
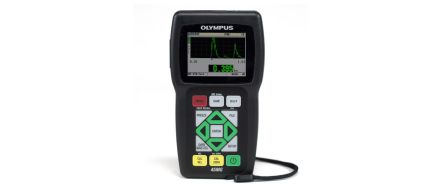
For manual thickness measurements, the 39DL PLUS™ gauge and 45MG gauge with Single Element software provide instant digital readings of typical metal pipes and tubes to a calibrated accuracy of ±0.001 in. (±0.025 mm). When combined with appropriate transducers, these gauges can measure most metal tube and pipe walls ranging from less than 0.020 in. to greater than 2 in. (0.50 to 50 mm). Precision gauges can also be used with delay line transducers to make thickness measurements to a calibrated accuracy of ±0.0002 in. or ±0.005 mm.
If the diameter of a tube is less than 0.200 in. (5 mm), we recommend the 39DL PLUS gauge or 45MG gauge with Single Element software along with an immersion transducer. The RBS-1 bubbler system is a helpful tool for making ultrasonic thickness measurements with immersion transducers.
For metal pipes or tubes that are badly corroded on either the inside or outside surface, the wall thickness measurements should be made with the 39DL PLUS or 45MG gauge using dual element transducers. Learn more about corrosion gauging in this application note.
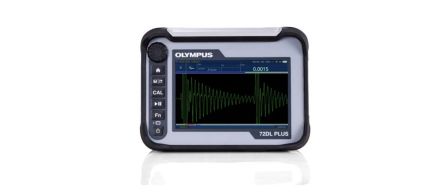
For thin metal tubes with thicknesses below 0.008 in. (0.203 mm), the 72DL PLUS™ high-frequency thickness gauge is recommended. As a high-speed instrument, the 72DL PLUS gauge features a waveform update rate of 60 Hz and a measurement rate of up to 2 kHz. It offers a large, full color touch screen for great visibility from different angles and supports Wi-Fi® and Bluetooth® for modern connectivity and integration.
The image below shows an example waveform using the 72DL PLUS gauge with the M2104 (125 MHz) transducer to measure thin steel (0.0015 in. or 0.0381 mm).
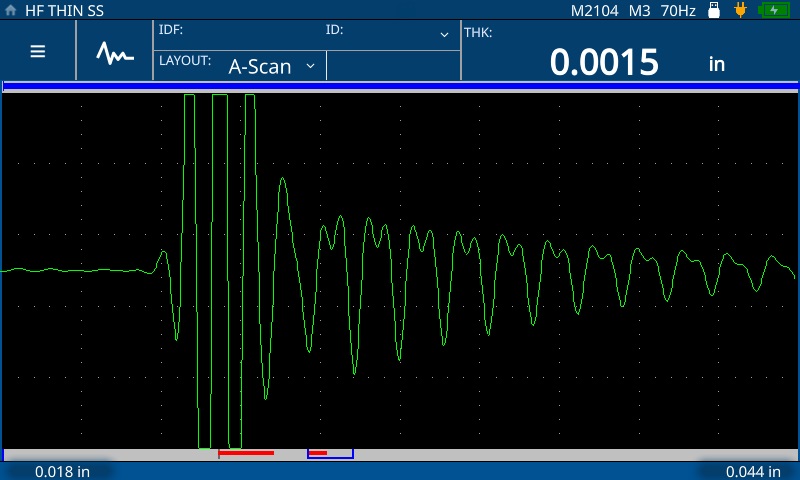
72DL PLUS gauge measures thin steel (0.0015 in. or 0.0381 mm) using the M2104 (125 MHz) transducer

