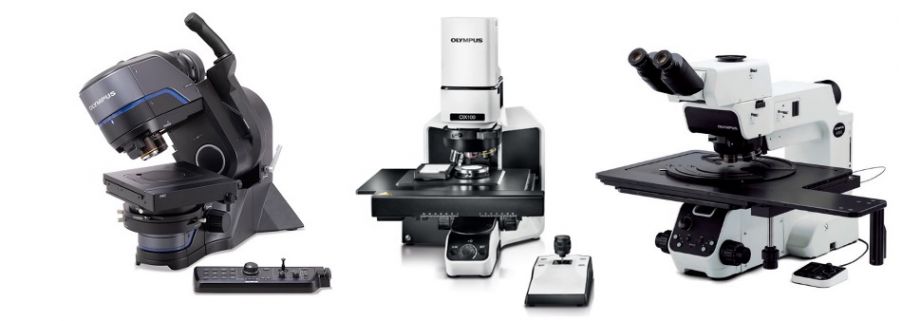
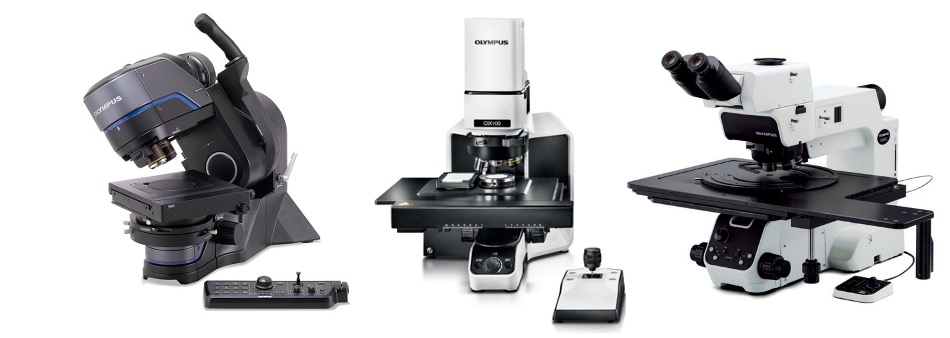
Sanitizing Your Microscope Can Be as Important as Washing Your Hands
Now more than ever, we’re reminded of how routine cleaning and sanitization is crucial to helping ensure the safety of microscope users. Bacteria and viruses can reside on microscope surfaces and spread disease among the employees who share them. Dust and other types of particles are also a concern as they can accumulate on a microscope’s optics and potentially fall onto samples during examination or affect image quality. Frequent, proper cleaning of your microscope can help avoid these imaging issues and reduce the health risks for users.
Make Frequent Cleaning Part of Your Microscope Maintenance Routine
To maintain sanitary working conditions as well as equipment performance, the microscope frame, optical system, and area surrounding the microscope should be cleaned and disinfected regularly.* The following is a simple step-by-step procedure to help guide you, with several tips along the way.
Materials Needed
- Disposable gloves
- At least two clean soft cloths
- Lens paper
- Air blower for optical lenses
- 70% ethanol solution in a spray bottle
- Soap and access to running water or hand sanitizer with at least 60% alcohol
Preparation:
Wash your hands with soap and warm water for 20 seconds or, if you do not have access to soap and water, use hand sanitizer, and then put on the disposable gloves.
TIP: Make sure that you always wear gloves when cleaning and disinfecting your microscope or any other lab equipment.
Cleaning the microscope frame:
Starting at the highest point of the microscope, use a clean, dry cloth to wipe dust and other particles off.
TIPS:
- Starting at the top and working toward the floor helps prevent particles from falling on already cleaned portions of the instrument.
- Wipe the surface in one direction as wiping in a back and forth motion can create more particles.
- Make sure to use a different section of the clean cloth each time to avoid reintroducing particles.
Sanitizing the microscope, especially the “high-traffic” parts:
To disinfect the microscope, use a clean cloth dampened with the 70% ethanol solution and wipe the microscope using the same methodology as step 2.
TIPS:
- To minimize the risk of moving particles onto the microscope, spray the ethanol onto a clean cloth and not on the microscope.
- When disinfecting the microscope, pay extra attention to frequently touched components, such as the focus knob, eyepieces, and stage handle.
Cleaning and disinfecting the optics:
To clean microscope optics, inspect the lens using a loupe or an eyepiece to magnify any particles on its surface, and remove these particles with an air blower for lenses. Then use lens paper folded into a point and dampened with 70% ethanol to disinfect the surface by wiping the lens in a circular motion, starting in the center of the lens and working outward.

IMPORTANT: Only use lens paper to disinfect the optics to avoid damaging the lens surface.
Cleaning and disinfecting the work area:
Once your microscope is clean and disinfected, clean and disinfect the microscope workspace. Like you did with the microscope, wipe the area with a clean cloth to remove dust and other particles and then use a clean cloth dampened with 70% ethanol to disinfect the space.
IMPORTANT: Microscopes should be kept in a clean environment with minimal vibrations, low humidity, and regulated temperature for optimal performance.
Post-cleaning hygiene:
After cleaning and disinfecting your microscope, remove and discard the gloves, and then wash your hands with soap and warm water for 20 seconds or use the hand sanitizer and wash your hands as soon as you have access to soap and water.
Storage:
When the microscope is not in use, place a dust cover over the microscope or some other type of enclosure to prevent particle accumulation.
If you have any further questions on Olympus microscopes or internal or major cleaning of your microscope is required, please contact your local Olympus rep for assistance.
*Please note that product deterioration caused by excessive use is not covered by the warranty.
Related Content
The Increasing Importance of Technical Cleanliness
Get In Touch


