Application
Stainless steel is widely used for a variety of consumer and industrial goods, such as housing material, kitchen equipment, cooking utensils, automobiles, and electric appliances. The steel’s surface is treated differently depending on how it will be used; shiny or matte surface treatments are used to change the visible texture, or to provide anti-slip, anti-corrosion, or anti-oxidation properties.
Measuring the post-treatment surface roughness of the stainless steel is important for evaluating the quality of the treatment. The surface treatment is negatively impacted by very minute irregularities, so high-resolution inspection methods are required to accurately assess quality.
The Olympus solution
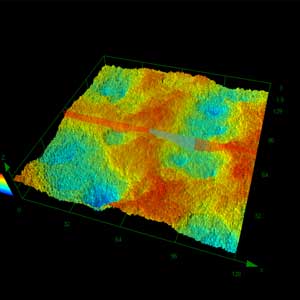
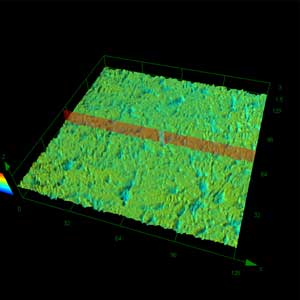
Olympus' LEXT 3D scanning laser microscope enables users to easily observe micron-sized three-dimensional surface irregularities. Its 405 nm laser makes it simple to perform both non-contact, two-dimensional line roughness measurements (similar to a conventional stylus-type tester) as well as three-dimensional roughness measurements that capture a surface’s measurement data and provide more information for analysis. Just as in a conventional contact stylus-type system, the measured values are traceable and accurate.
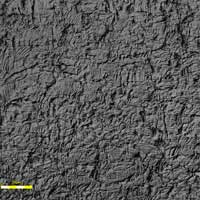
For a shiny, flat surface, laser differential interference microscopy is an effective tool. Irregularities with a size of several tens of nanometers on the surface of stainless steel can be viewed vividly.
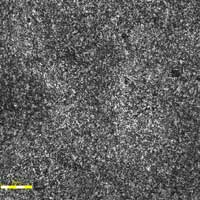
Matte treatment
Objective lens 100X, Zoom 1X | Shiny treatment
Objective lens 100X, Zoom 1X |


