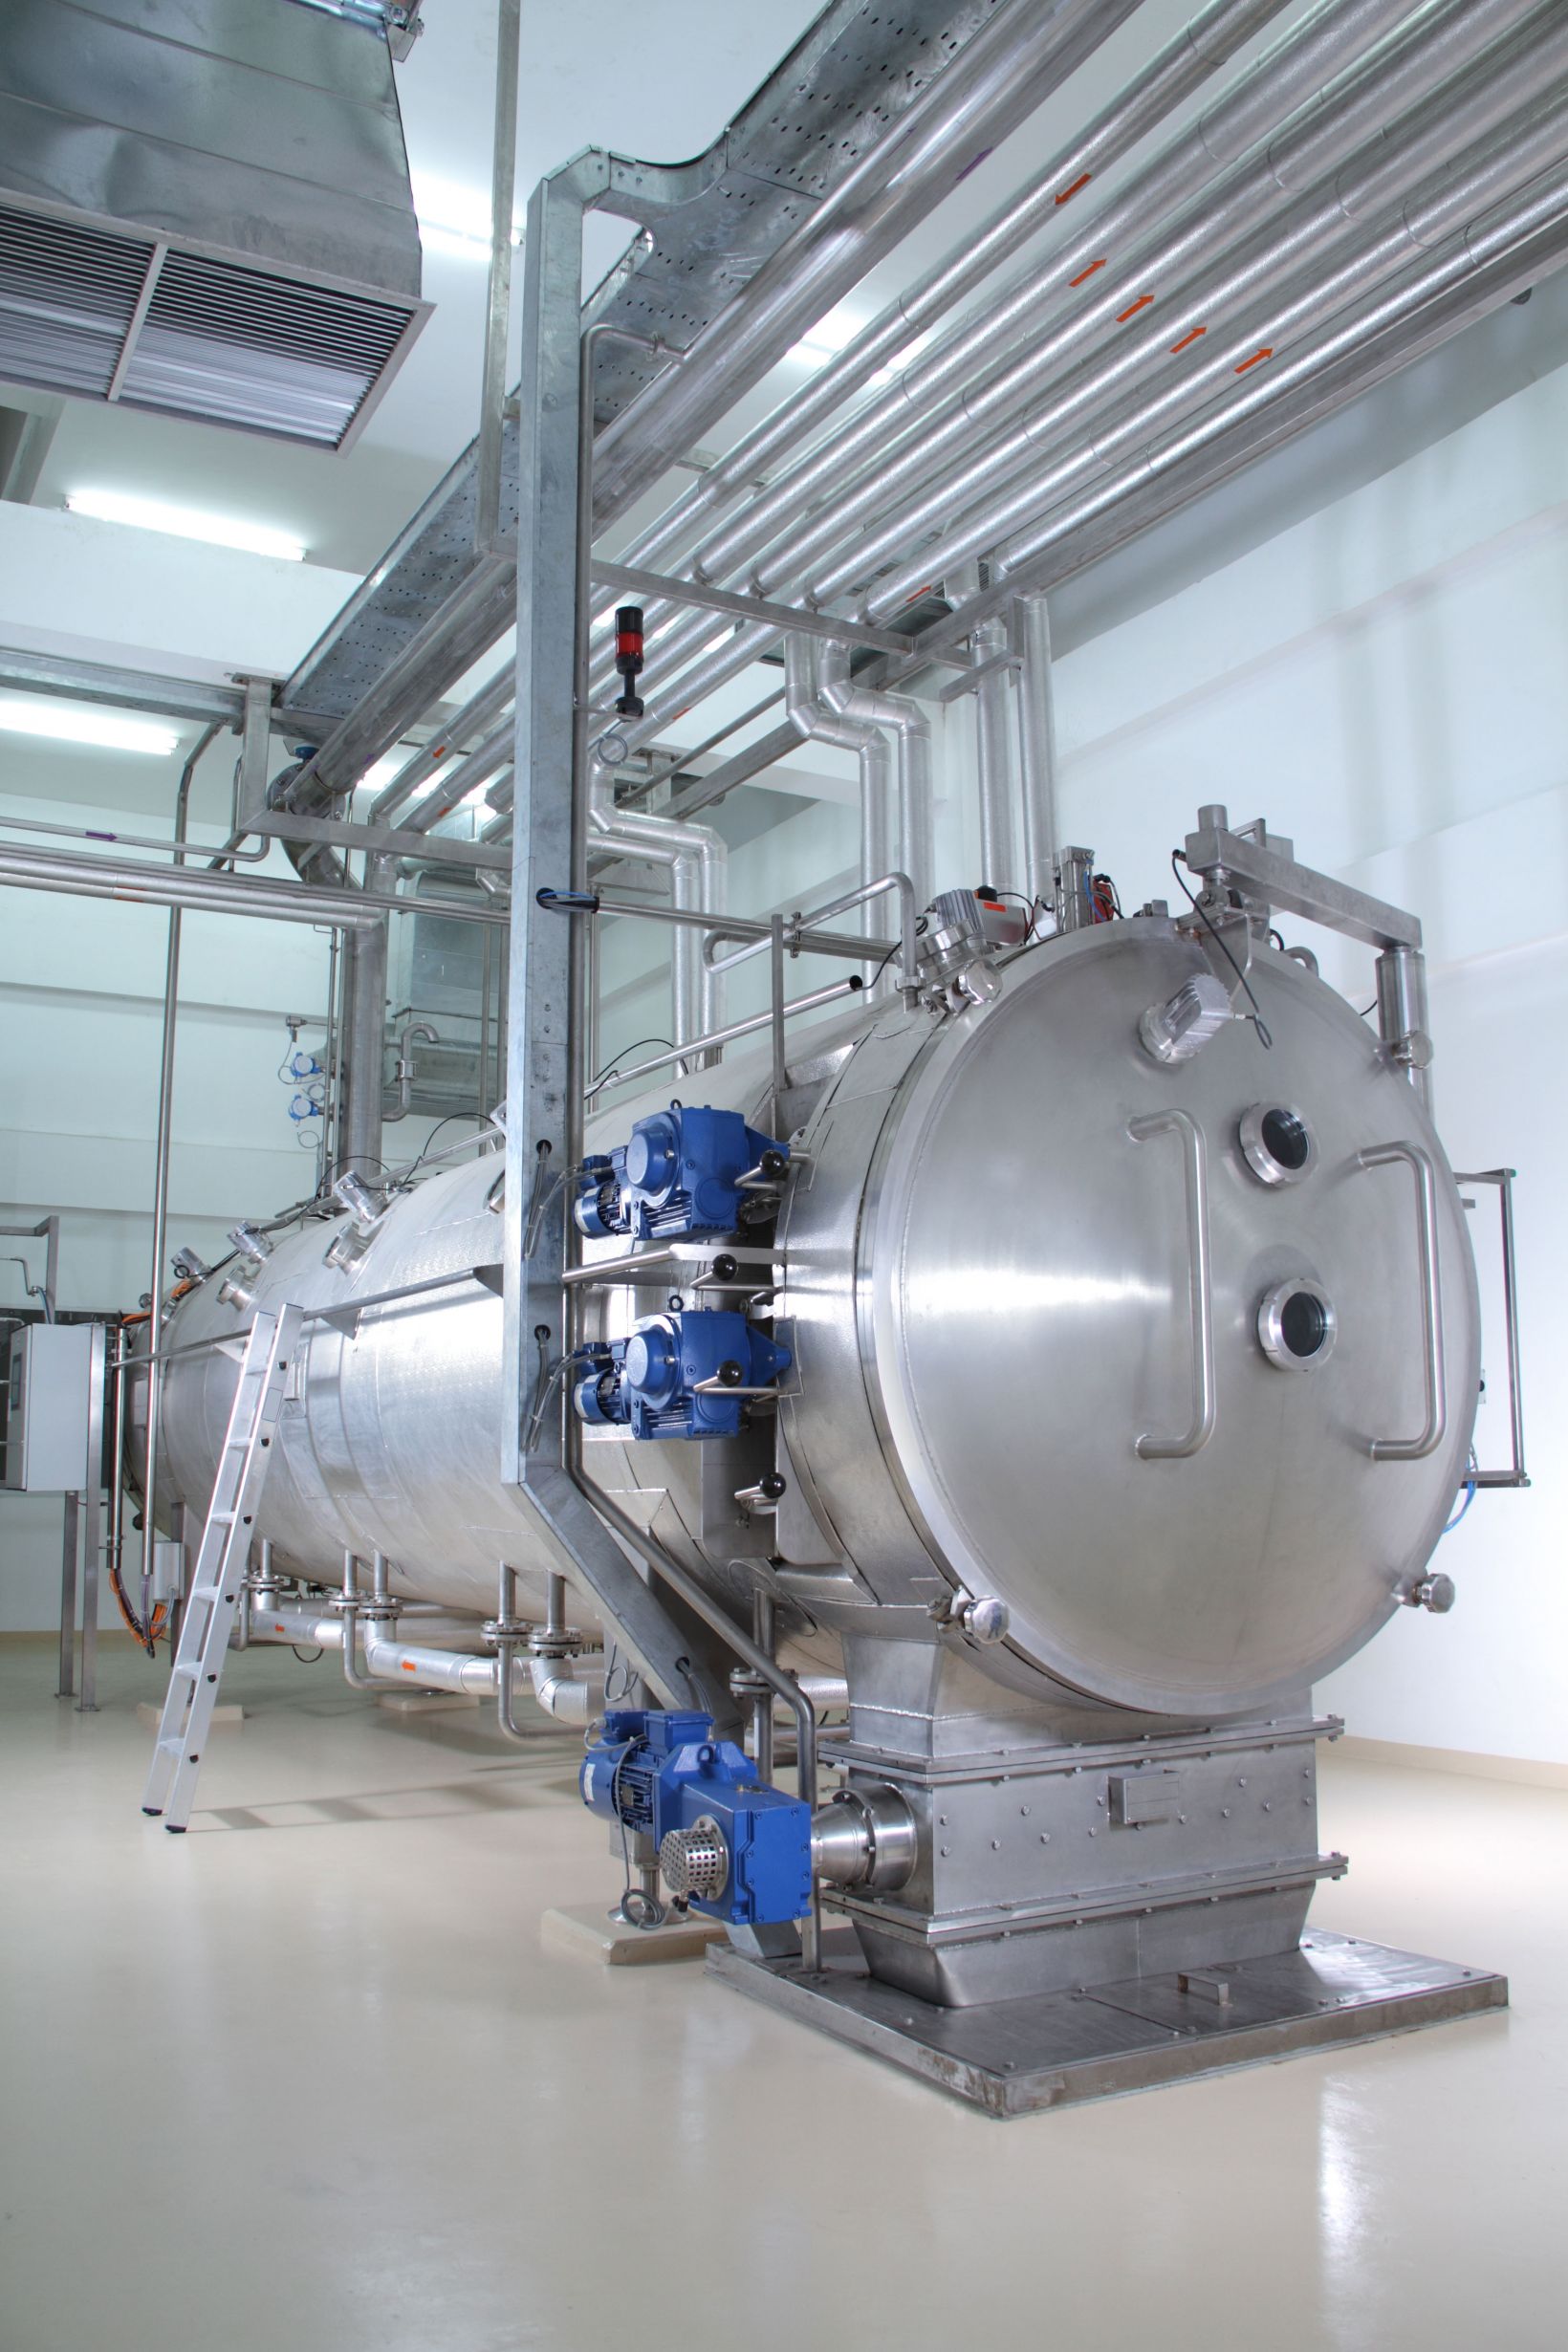
Weld quality control and assurance (QA/QC) is critical in drug manufacturing facilities. This can be a challenge because process pipes can have thousands of welds and joints in inaccessible locations. If even one of those welds is deficient, corrosion, leaks, or contamination can occur.
Preventing contamination in medication production lines is one of the main goals of good manufacturing practices (GMP). Following GMP is a prerequisite for the pharmaceutical industry to prevent poor quality or incorrect mixtures of elements from reaching the consumer. GMP requirements include implementing strict equipment maintenance and cleaning protocols supported by QC and QA inspections and audits, all backed by detailed documentation.
Remote Visual Inspection: An Essential GMP Tool
Both automated and manual welds on stainless steel processing pipes can be a challenge to inspect. Methods such as ultrasonic and X-ray testing are commonly used to identify internal flaws and defects within the volume of a weld and on the parent material. However, after the welding and heat-treatment processes, inspectors need to visually examine the weld’s inner diameter (ID) and the weld root, and because of restricted access, remote visual inspection is a viable, nondestructive solution.
Remote visual inspection (RVI) tools such as borescopes and videoscopes can help ensure all pipework and welds are fit-for-purpose and comply with welding codes and industry standards. Keep reading to learn the best times to use RVI in pharmaceutical manufacturing plants and discover which videoscope features help increase the efficiency of your visual inspection of stainless steel pipe welds.
3 Ways to Incorporate Videoscopes into Process Pipeline Inspection
1. After Initial Equipment Installation, Repair Work, or Expansion
Before initial operation or during plant expansion or repair work, QA inspectors can use RVI equipment to check all welded parts that require validation:
- Internal diameter (ID) surface finish
- Defects in the root section of the weld (i.e., root undercut, incomplete root penetration, burn through, etc.)
- Heat-affected zone (HAZ) near the weld (i.e., color differences as per ASME BPE 2016)
- Geometrical mismatch between welded pipe such as excess weld metal, weld overlap, etc.
How IPLEX™ Videoscopes Assist Weld Inspection in Process Pipes
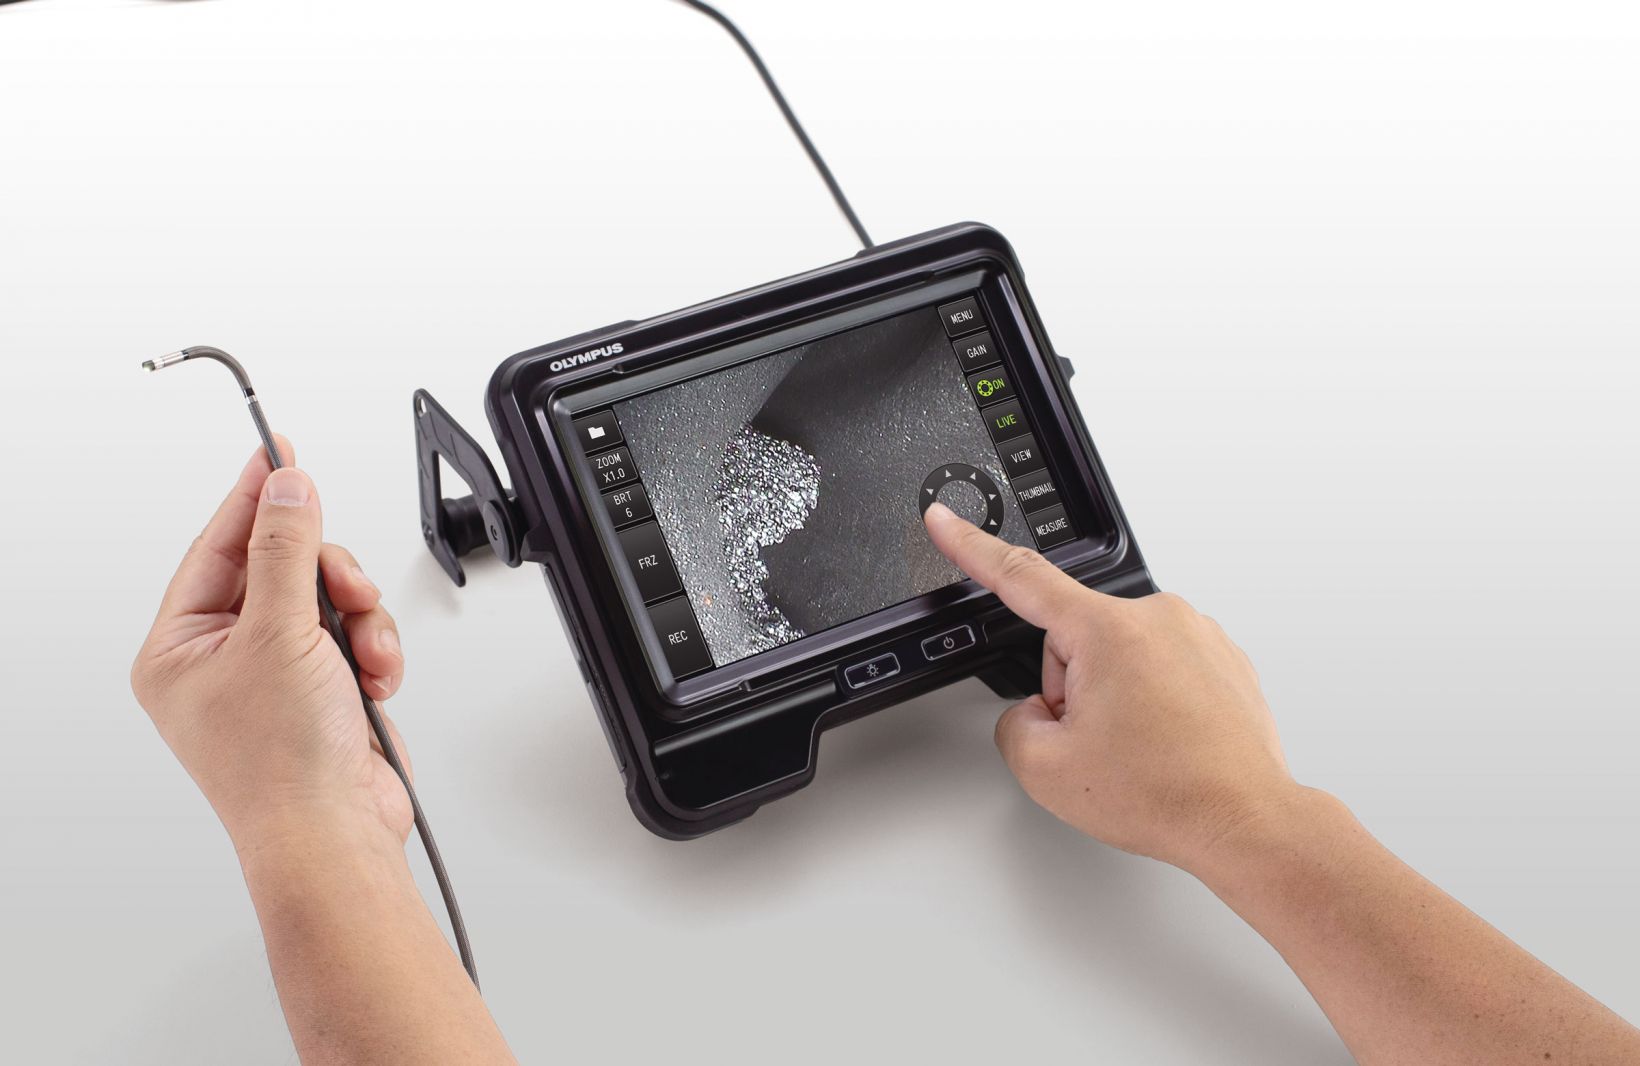
Ensuring you have the proper RVI equipment to inspect welds in the complicated process piping network is the first challenge. Our videoscopes have features that can help:
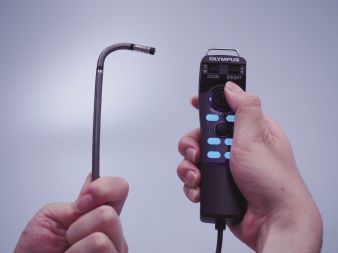
- Olympus videoscopes have insertion tubes of various diameters (starting at 4 mm) and lengths (up to 30 meters), offering direct viewing access to inspect weld roots and IDs of complex geometry and extensive networks of stainless steel pipes.
- Numbers marked on the pipes identify the location of each weld, and these numbers can be used for the corresponding recorded inspection video and images. Our InHelp™ Inspection Assist companion software for IPLEX series videoscopes can help you sort your files according to the weld’s location on the production line to ease data traceability and recording the inspection log.
- An optional UV light source can be used in combination with penetrant testing to identify surfaces defects that are invisible and undetected with white light.
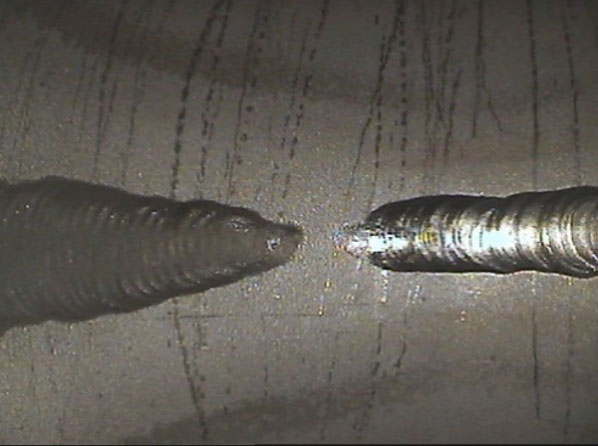
Videoscope inspection of a weld in stainless steel pipe showing a lack of root penetration
- Using wide-angle view optical adaptors, such as a 220° direct view lens tip, will help you get a complete profile view of the weld ID, increasing the inspection efficiency and speed without compromising the probability of detection (POD).
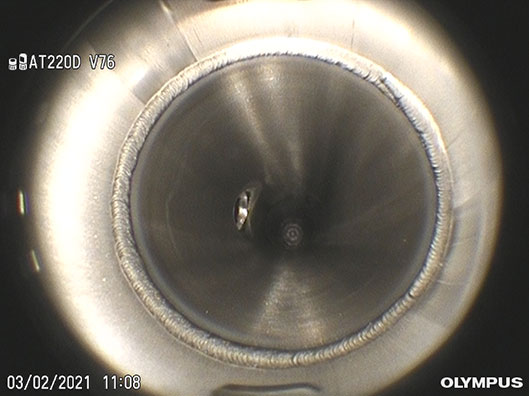
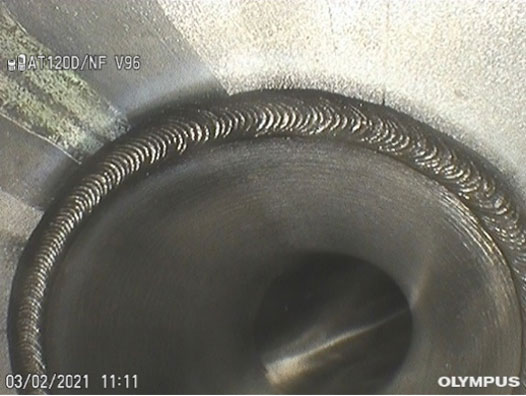
Videoscope weld inspection (left) with 220-degree wide-angle view optical adaptor and (right) with 120-degree direct view optical adaptor
The 220° adaptor shows a complete view of the condition of both front and back side of the weld.
2. After Batch-to-Batch Cleaning and Product-to-Product Changeover
It’s important that welds and the surfaces inside process pipelines don’t disrupt the flow of products passing through them. If the product becomes lodged, it can either spoil or contaminate products flowing through later. Welds, elbows, and joints in pipes are key problem zones for residue buildup.
After maintenance personnel have cleaned the equipment between batch or product changes, RVI is recommended to check for residue to avoid cross-contamination in these inaccessible problem zones. Inspectors can use the videoscope or borescope to verify the cleanliness of all welds that are in areas in contact with the flow of the product. Regional regulators, such as the U.S. Food and Drug Administration (FDA), typically recommend these inspections.
Ways to Ease Residue and Buildup Checks
When checking for residue around welds, elbows, and joints, there are a couple videoscope/borescope features that help make the job easier:
- For a quick yet thorough inspection, using a wide-angle optical adaptor provides a complete panoramic view inside the pipe so you can see any medication remnants directly on the videoscope screen.
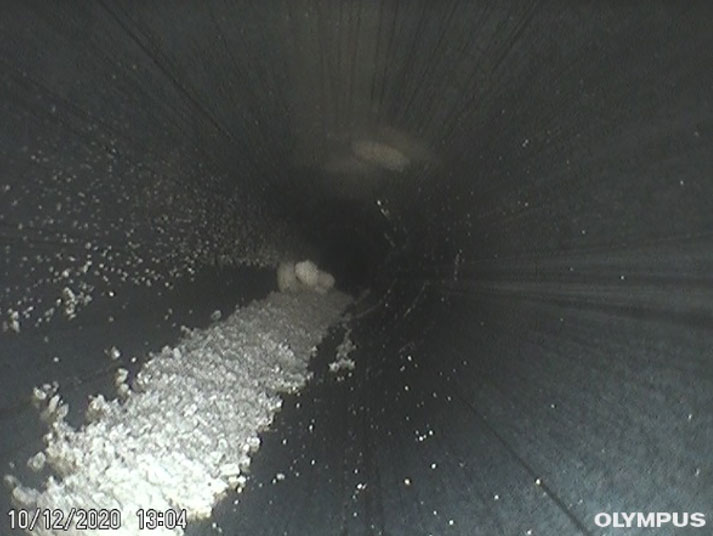
Residue inside pipe seen on the screen of the videoscope
- Halation caused by highly reflective surfaces, such as stainless steel pipes, can impede your videoscope or borescope inspection. Operators usually need to manually adjust the illumination brightness to see properly. Our IPLEX videoscopes are equipped with technology to resolve this problem:
- The PulsarPic™ processor interacts with the illumination system, actively adjusting the brightness level for the operator to deliver an optimized image that is clear and sharp.
- WiDER™ image processing technology supports a wide dynamic range, maintaining visibility in dark areas even when the brightness is decreased to avoid halation.
- So you can quickly navigate to your target through complex pipe networks, tight corners, and restricted spaces, the responsive TrueFeel™ scope tip articulation enables you to precisely control its movement using the joystick or touch screen.
- To assist you with the documentation requirements under GMP, InHelp software offers user-friendly inspection data management and reporting features. For proper record keeping, plants should individually number each target’s location and capture video and image files of each inspection on the videoscope. By clicking the desired inspection images, you can easily create a detailed report using a customized report template.
3. Periodic Inspection: Corrosion and Structural Integrity
Pharmaceutical production facilities are not immune to corrosion and other structural integrity problems. Process water that passes through the pipes is periodically monitored to check the content of impurities. The cause of this contamination can include micro-organisms that nestle around pitting corrosion and proliferate in biological residue in processing equipment.
To ensure the hygienic soundness of process pipelines, it is a good practice to implement videoscopes or borescopes to inspect all welds and inaccessible locations as part of regular preventative maintenance.
Ultraviolet Light Reveals Micro-Organisms
Borescopes or videoscopes that offer a UV light source option are an advantage when it comes to detecting micro-organisms in processing pipes, vessels, or tanks:
- Colonies of micro-organisms are difficult to locate with white light. IPLEX videoscopes offer a UV illumination module to carry out this inspection successfully. Using a videoscope with a UV light source exposes this organic material through its fluorescence.
Checklist for Videoscope or Borescope Inspections in Pharmaceutical Manufacturing Plants
Here is a summary of my tips for inspecting stainless steel pipes or other process equipment:
- Choose the correct length and diameter insertion tube for your application. Videoscopes and borescopes with various length and diameter insertion tubes are available.
- Select the right optical tip adaptor for your application needs. I recommend a 220° “fish-eye” lens for a fast, efficient inspection with a high POD.
- Maintain proper hygiene during and after inspection—wipe down the videoscope insertion tube with isopropyl alcohol (IPA) before and after use to remove contaminants.
- Inspecting weld integrity? Ensure the white balance is correctly set before use. Observing with accurate color representation is crucial to detect discoloration in the HAZ to validate that it meets the acceptance criteria.
- Adjust the light source’s brightness to reduce halation inside shiny stainless steel pipes, tanks, and vessels. IPLEX videoscopes have dynamically adjusting light sources that will do that for you.
- Thoroughly inspect the welded section of pipes by rotating the insertion tube with a side view adaptor. For large-diameter pipes, use a centring device to support placing the insertion tube at the center of the pipe.
- Thoroughly record and document your inspection—Record still images and videos of entire weld inspections as evidence for quality control validation and audits.
In an upcoming post, I’ll go into more detail on how to use our InHelp Inspect Assist software to ease your code-compliant inspection documentation. So, stay tuned!
Related Content
Keeping an Eye on Contamination in the Pharmaceutical Processing Line
Tips to Ease Your Code-Compliant Visual Inspection Imaging Recording and Reporting
Medical Device Industry Medical Device and Component Inspection

