Application
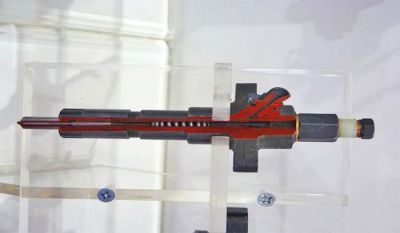
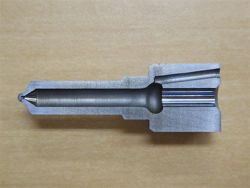
Injector components are used to inject fuel into combustion chambers. A needle inside the injector is electromagnetically guided up/down to open/shut the fuel injection orifice. This is a very delicate and precisely manufactured component, as the injector is narrow and the needle inside it is mobile. The interior of the tip portion of the nozzle where the fuel injection orifice is situated must be free of defects to ensure smooth movement of the needle. Since these nozzles are cylindrical, the cut-away section is a semicircular groove. In some cases, the working distance of objective lenses on microscopes are too short to clearly focus on the bottom of the grooves.
Olympus' solution
The Olympus LEXT® OLS5000 3D measuring laser microscope offers powerful roughness measurement features. The OLS5000 microscope is equipped with dedicated long working distance objectives, providing reliable roughness measurement for samples with a maximum depth of 6.5 mm.
OLS5000 microscope features
- A line of dedicated long working distance objective lenses (20X, 50X, 100X) for the OLS5000 microscope enables data acquisition from previously unmeasurable samples.
- Measurement performance is enhanced to 4 times the speed of the previous LEXT model.
- Capable of planar roughness measurements that are unattainable using conventional probe-based roughness gages, expanding the analysis options.
- Smart scan functionality for the acquisition of high-precision data helps eliminate data inconsistencies between operators.
Images

Cut-away section of an injector(Image supplied by MarkLines Co., Ltd.)

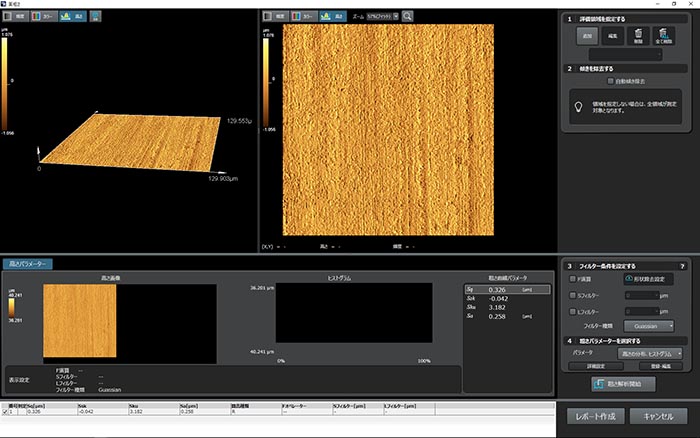
Roughness measurement of the nozzle’s tip(100X objective lens, 1x zoom)

Cut-away section of a nozzle |

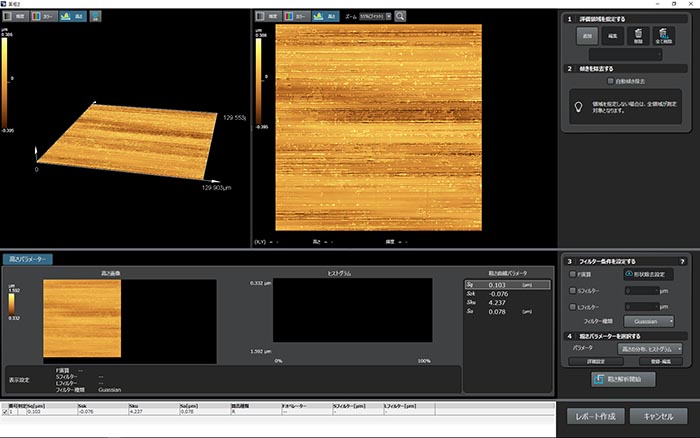
Roughness measurement of the nozzle’s base portion(100X objective lens, 1x zoom)


