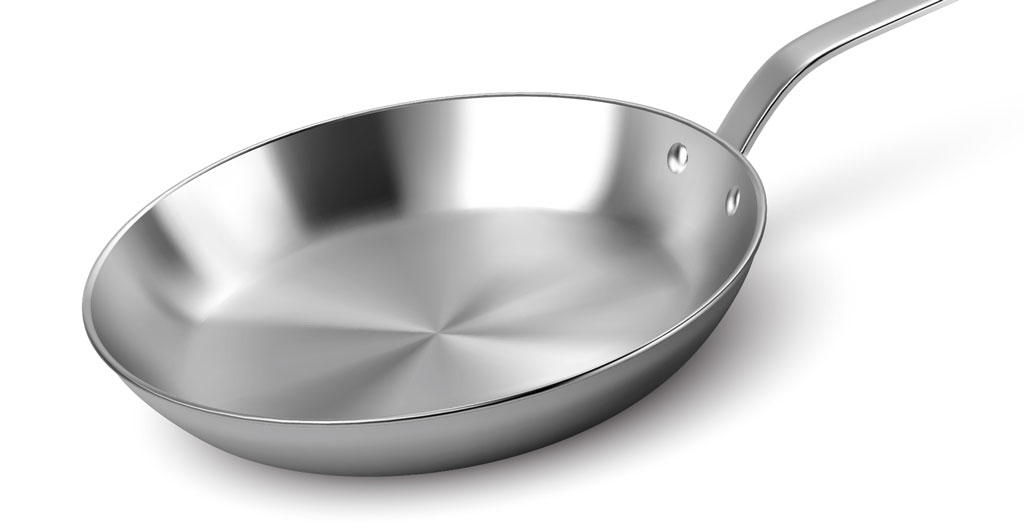
Many common pots and pans used for home and restaurant cooking are constructed from multiple layers of metal. Stainless steel is easy to clean and does not react with foods, but it is not an ideal conductor of heat for cookware, especially in thin sheets. Aluminum and copper conduct heat quickly and efficiently but can react with acidic foods like tomatoes or citrus fruits. They are also more expensive than steel.
Clad metal cookware was developed to combine the benefits of these metals. This cookware incorporates a stainless-steel body with a base made from a relatively thick core of either copper or aluminum that is sandwiched between two thin layers of steel—normally less than 1 mm (0.040 in.) thick. The thermally conductive core provides optimal heat distribution across the bottom of the pan, while the nonreactive stainless steel contacts the food while also providing a modern and attractive appearance.
For quality control, manufacturers of clad metal cookware need to monitor the thickness of the three layers in the base. Traditionally, this thickness measurement was performed through destructive testing: inspectors cut sample pots and measured layer thickness from a visible cross section. However ultrasonic testing provides a quick, reliable way of measuring layer thickness nondestructively with no need to cross section parts.
How Ultrasonic Gauges Measure the Layers in Clad Metal Cookware
High-frequency sound waves will reflect from boundaries between dissimilar materials. An ultrasonic pulse that is coupled into the bottom of a clad pan will generate reflections from the cladding/core and core/cladding boundaries, as well as from the inside surface.
Ultrasonic gauges precisely measure the time intervals between these echoes, and then use a programmed speed of sound in each metal to calculate the individual layer thicknesses.
Ultrasonic Testing Equipment Used to Measure the Layers in Clad Metal Cookware
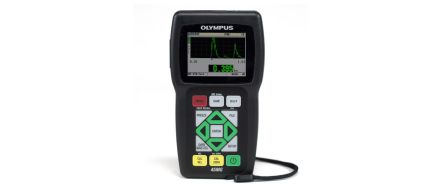
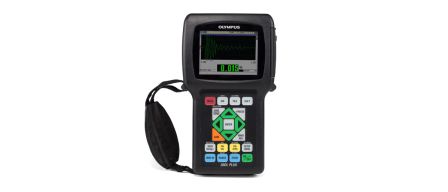
The 38DL PLUS™ thickness gauge with the Multi-Measurement software option can simultaneously measure cladding thickness, core thickness, and total thickness. For measurement of the cladding layer only, the 45MG thickness gauge with Single Element software can also be used.
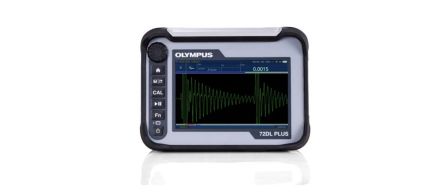
For high-speed scanning or for layer thicknesses below 0.008 in. (0.2 mm), the 72DL PLUS™ gauge is recommended. The 72DL PLUS instrument is a high-speed, high-frequency thickness gauge that offers a waveform update rate of up to 2 KHz.
Select the transducer for your gauge based on the specific range of thicknesses to be measured. Common options are an M208-RM (20 MHz) transducer or an M202-RM (10 MHz) delay line transducer.
Ultrasonic Gauging Procedure for Measuring Layer Thickness in Clad Metal Cookware
The waveforms below show simultaneous measurement of cladding and core thickness in a typical clad aluminum cooking pot using an M208 transducer. In this case, measurements are made between two echoes representing the outer surface and the cladding/core boundary, between the echoes representing the two surfaces of the core, and between the echo from the core/cladding boundary and the inside surface of the pot.
As with any ultrasonic thickness measurement, accuracy depends on proper sound velocity calibration. Velocity calibration must be performed for each material being measured on samples of known thickness.
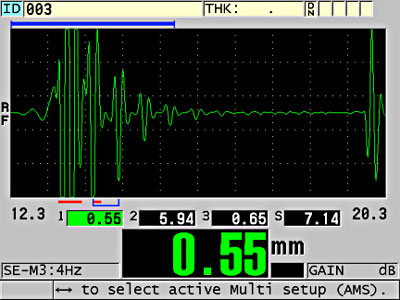
Outer Cladding Layer
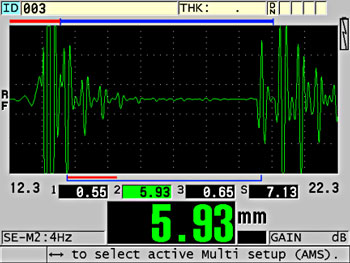
Core Thickness
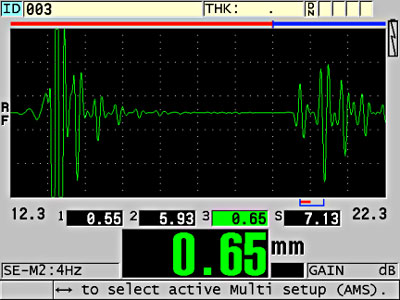
Inner Cladding Layer

