This application note explains how to measure the degree of nodularity in cast iron and distinguish nodular iron from gray iron. Learn about the ultrasonic inspection equipment and techniques used to perform nondestructive nodularity testing in cast iron.
Cast Iron Production
Carbon in the form of graphite is often used as an additive in the production of cast iron, amounting to 2 to 4 percent by weight or 6 to 10 percent by volume in typical castings. The microstructure of graphite within cast iron has major effects on the casting’s mechanical properties. When graphite arranges itself as thin flakes, the result is gray iron, which is hard and brittle. When graphite takes the form of spherical nodules, the result is nodular iron, which is soft and malleable.
Both gray and nodular iron are made by mixing carbon, silicon, and other additives into molten iron. Often, some of this mixing is done in the final mold. If the mixing is non-uniform or the casting process has other imperfections, the casting might have variations in nodularity or have pockets of gray iron within a nodular iron casting. These variations will significantly change the mechanical properties of the metal, so foundries need to check nodular iron for uniformity. It is important that the distribution of graphite in the casting is uniform and that graphite inclusions are in the right form (nodules rather than flakes).
Microscopic examination and tensile strength tests are effective methods for checking nodularity. Another option is ultrasonic testing, which can measure the distinct sound velocities of nodular and gray iron. This method is preferred because it provides a fast, nondestructive evaluation of a casting.
Ultrasonic Inspection Equipment Used for Nondestructive Nodularity Testing in Cast Iron
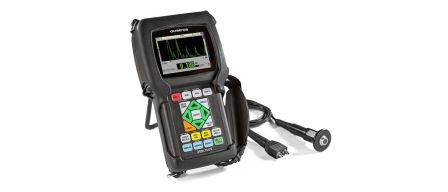
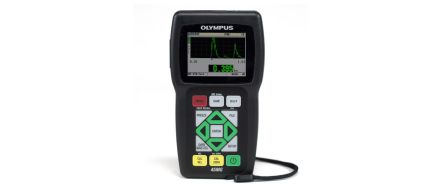
Nondestructive nodularity testing can be performed with any ultrasonic instrument that can measure sound velocity, which includes thickness gauges, flaw detectors, and pulser-receivers. For dedicated velocity measurement, our precision thickness gauges can provide a direct readout of sound velocity in cast iron and other materials based on an entered thickness calibration. These include the 39DL PLUS™ gauge and the 45MG gauge with Single Element software. For thicknesses greater than approximately 25 mm (1 in.), the High Penetration software option for the gauges is often recommended.
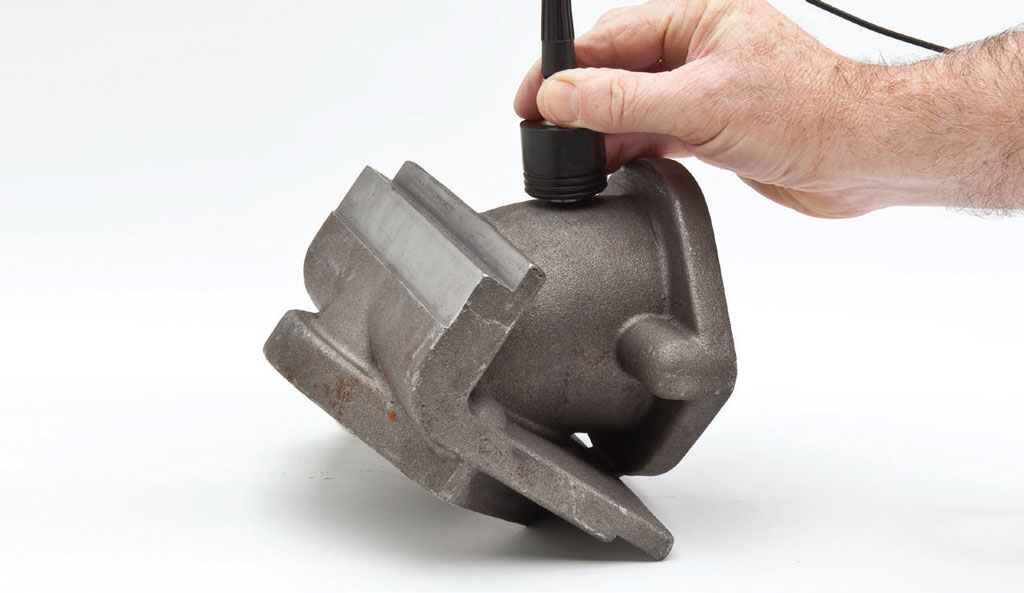
To perform a nodularity test using a thickness gauge, simply press a key to enter the thickness data. The sound velocity calculates automatically from this entered thickness and the measured pulse transit time. Use a high/low alarm function to identify out-of-tolerance conditions. Pair the gauge with a transducer appropriate for the thickness range being measured. One common choice is an M1036 2.25 MHz contact transducer. Velocity measurement accuracy is typically on the order of one tenth of one percent.
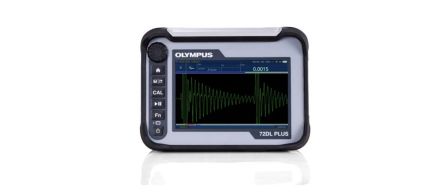
The 72DL PLUS™ gauge offers a larger touch-screen display and a higher measurement update rate (up to 2 KHz) than the 39DL PLUS and 45MG gauges. This precision thickness gauge also offers higher time measurement resolution, which leads to more precise sound velocity calculations. In addition, the 72DL PLUS gauge offers greater connectivity via wireless and wired communication options, which is ideal for system integration.
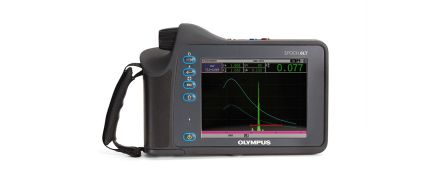
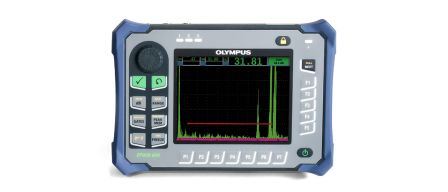
Any of the EPOCH™ flaw detectors, such as the EPOCH 650 and EPOCH 6LT instruments, can be used in a similar way to measure an unknown velocity. With the flaw detector calibrated for an appropriate low-frequency transducer, obtain a back wall echo from a section of known thickness and perform a velocity calibration, which will calculate material velocity based on the detected echoes.
Ultrasonic Testing Procedure for Measuring Nodularity in Cast Iron
There is a consistent difference in sound velocity between pure iron, nodular cast iron, and gray cast iron. Typically, pure elemental iron has a velocity of approximately 0.232 in./µs (5.9 mm/µs), nodular iron has a velocity of approximately 0.222 in./µs (5.6 mm/µs), and gray iron has a velocity of approximately 0.192 in./µs (4.8 mm/µs). The exact velocities for your application will vary depending on alloy composition, grain structure, and other process variables. Always verify the exact velocities based on calibration standards for the test material.
We recommend that you establish your own chart of velocity vs. percent of nodularity for each application. Published research indicates that the relationship between velocity and percent of nodularity is not linear1. However, it is possible to have a substantial difference in sound velocity between two otherwise identical castings containing the same percentage of graphite—one with the graphite in flake form (gray iron) and the other with spherical graphite (nodular iron).
Note that measurement of sound velocity requires that the thickness of the test piece is known. Typically, inspectors perform ultrasonic nodularity testing at points on a casting where the thickness can be measured mechanically using a micrometer or caliper. Accurate velocity measurement is impossible if the thickness at the test point is unknown.
Another application that can be detected ultrasonically is the presence of gray iron inclusions in a nodular iron casting. The sound velocity of gray iron is lower than that of nodular iron, so the pulse transit time through a casting containing a gray iron inclusion is longer than a casting made entirely of nodular iron. The measured sound velocity is also lower. Given the complex variables affecting actual castings, we recommended that you set up the test based on calibration standards of known composition. However, a localized drop in sound velocity in a nodular iron casting is generally a sign of a potential issue.
Note: Nodularity and other aspects of graphite microstructure in cast iron can also be analyzed microscopically using interpretive software developed by Evident. Find more details in our application note on cast iron analysis.
References
- ASM International, Metals Handbook, Volume 17, Nondestructive Evaluation and Quality Control, Metals Park, Ohio 1989 (Ninth Edition), pp. 531–535.
- Nondestructive Characterization of Cast Irons by Ultrasonic Method, http://www.ndt.net/article/wcndt00/papers/idn035/idn035.htm

