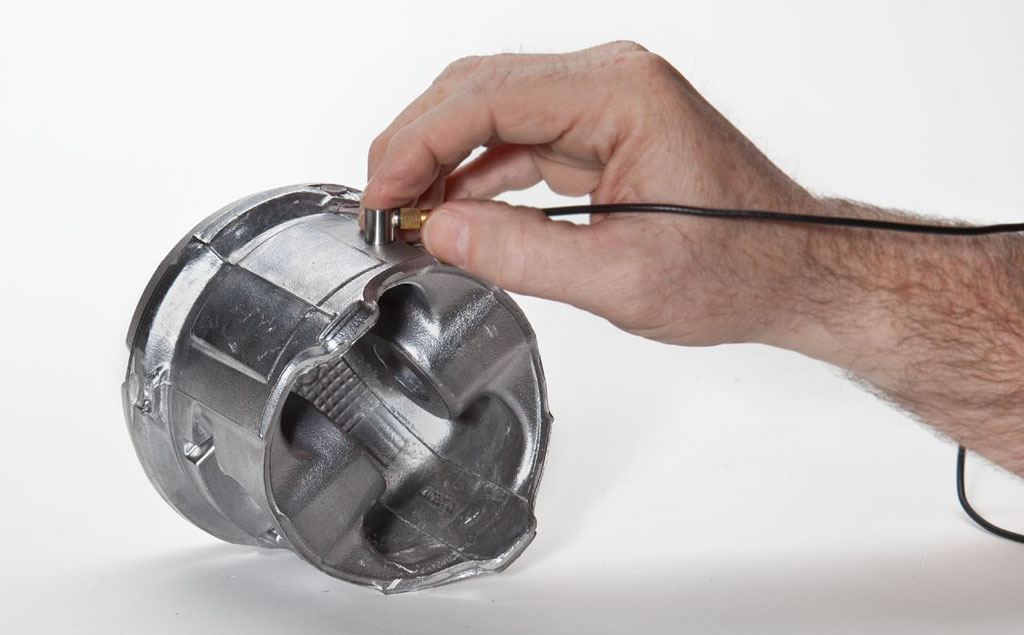
This application note will explain how to measure the wall thickness of cast engine blocks and cylinder bores for automobile engines and other internal combustion engines. Learn about the ultrasonic gauging equipment and procedure used to inspect the wall thickness of engine blocks and cylinder bores.
Engine blocks for automobiles and trucks are complex aluminum or iron castings with many dimensions that must be controlled during manufacturing. Most wall thickness dimensions in these complex parts cannot be measured mechanically because the inside surface is inaccessible. Ultrasonic thickness gauging provides a nondestructive method to measure most of these dimensions.
An area of particular interest is the wall thickness of cylinder bores, especially in the case of the high-performance engines used in race cars and custom modified vehicles. When cylinders are initially machined or rebored, it is important that wall thickness does not fall below a specified minimum. Ultrasonic gauging is a practical nondestructive technique to monitor this thickness.
Ultrasonic Gauging Equipment Used to Measure Cylinder Bore Thickness
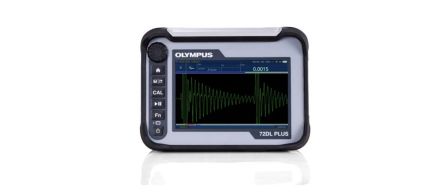
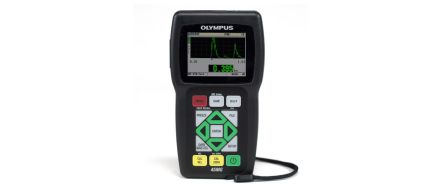
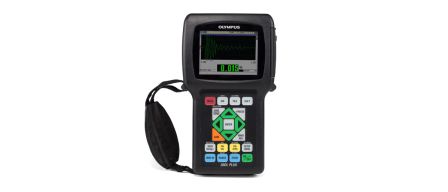
Engine block and cylinder bore measurements can be performed with precision thickness gauges, such as the 38DL PLUS™ gauge, 45MG gauge with Single Element software, or 72DL PLUS™ gauge. Transducer selection depends on the specific measurements being made. Cast aluminum and cast iron in the thickness ranges typically found in engine blocks can generally be measured with common contact transducers such as an M109 (5 MHz, 0.5 in. diameter) or M106 (2.25 MHz, 0.5 in. diameter). However, the complex shapes and access limitations of engine blocks often require other transducers.
For cylinder bore measurements, radiused delay line transducers such as the M206 (5 MHz) or M207 (2.25 MHz) are used. The replaceable plastic delay line is cut to conform to the inside radius of the curvature in the cylinder bore to enable proper sound coupling. Measurement in limited access areas, such as wall thickness of exhaust ports, may require using transducers on pencil-type holders to reach into confined spaces. Contact us for transducer recommendations in specific applications.
Ultrasonic Measurement Procedure of Cylinder Bore Thickness
In general, ultrasonic measurement of cylinder bore thickness and other engine block walls with a properly set up instrument is straightforward. Calibrated accuracy is typically ±0.005 inch (±0.12 mm) or better. As with any application of this type, some general principles apply:
- The inside and outside surfaces at the point of measurement must be nearly concentric or parallel to obtain valid and accurate readings. Surfaces must be clean and free of debris.
- The transducer must be securely coupled to the outside surface at normal incidence. For cylinder bore measurements, this involves using an appropriate radiused delay line held in proper orientation. For some measurements with limited access, such as exhaust ports, this may involve monitoring waveforms to determine the optimal alignment.
- Thicknesses below approximately 0.050 inch or 1.25 mm require a higher frequency transducer (typically a 10 MHz M202) along with an appropriate thin material gauge setup.
Note: Ultrasonic thickness gauging can be applied to many other automotive measurements, including body sheet metal (e.g., thickness reduction rate at bends), roll bars, molded plastic parts, air bag tear seams, and paint thickness over plastic body parts. Contact us for more details on these applications.


