Corrosion Pitting Detection
For decades, radiography was the primary method used to detect corrosion in the stainless steel pipes on off-shore platforms. As regulations governing the use of X-rays continue to tighten, radiographic testing (RT) is no longer permitted in some countries.
When inspectors use radiography, there are strict rules about how close people can come to the X-ray equipment, and these regulations are very expensive for the industry. Another issue is the use of radiography in environments where inspectors have to use ropes to access the area. In these instances, inspectors cannot stay close to the radiography tube, so the inspector has to travel back and forth between a safe area and the inspection areas. A third problem with RT is that inspectors need to take multiple shots of the pipe in order to accurately measure the depth of any corrosion, adding time and cost to the analysis.
The Benefits of Eddy Current Array for Sub-Surface Inspection as Compared to Radiography:
- Much faster than RT.
- No restrictions about people working while the inspection is taking place.
- Intuitive, easy-to-understand imaging.
- Traceable results and post-process analysis.
- High scan speed and instant results.
- Quickly evaluate the depth of defects.
- Adjustable sensitivity.
- Environment-friendly method (no chemicals involved).
Using ECA technology for corrosion detection and depth sizing keeps the surface preparation to minimum. Pipes can be inspected very quickly, and the inspector only needs to travel to the pipe once and then make four passes with the instrument to scan each pipe section. The flaw detection is easy to calibrate and the data acquisition speed is very fast. A set up file can be saved and is easily recalled for the next job while data recording enables seamless post-processing analysis and data archiving. Report files can be easily created directly from the instrument.
Equipment Used
- ECA solution — OmniScan® Instruments
- OmniScan MX with ECA module
- C-scan view
- Battery operated
- Encoded or time-based scan
- Record set-ups and data
- OmniScan MX with ECA module
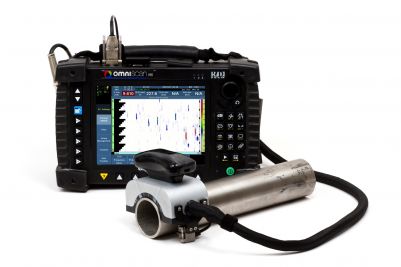 |
| Figure 1. OmniScan MX flaw detector with a corrosion probe and a stainless steel standard. |
ECA solution – Probes
- Robust ECA probe specially designed for this application.
- Easy-to-grip probe for use in areas accessed via rope.
- Four passes are required to inspect a 2.375 in. pipe; the number of passes depends on pipe size and number of channels.
- Integrated encoder.
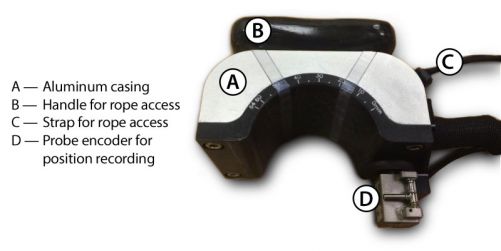 |
| Figure 2. Example of a probe for corrosion detection. |
Reliable Corrosion Detection
- Reliable images
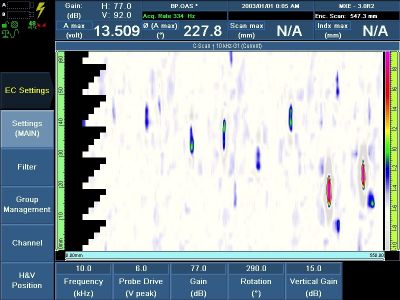 |
| Figure 3. C-scan image of corrosion pitting. |
Depth Corrosion Measurement
- The depth of corrosion can be measured using recorded data. The provided set-up instantly displays two important readings; the "V PP" stands for "vertical amplitude peak-peak" and the "θ PP" stands for "phase angle, peak-peak."
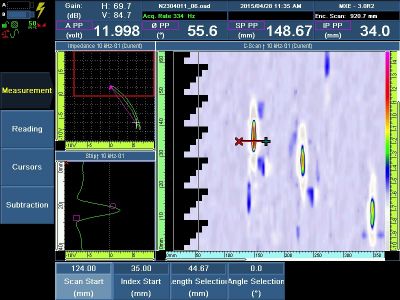 |
| Figure 4. C-scan image of depth corrosion measurement. |
- To evaluate the depth of corrosion, we developed a depth estimation tool using the vertical amplitude and the phase angle.

- In this example, the depth of the corrosion is estimated to be 43%. The accuracy of the depth estimation tool is +/- 15 %.
- The sensitivity can be adjusted to show indications represented in different colors.
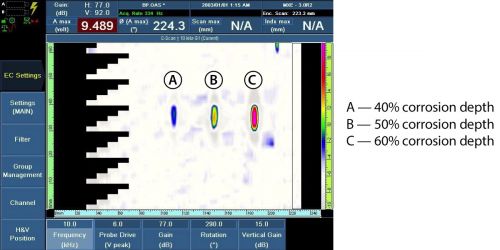 |
| Figure 5. C-scan image of depth measurement results. |
A Variety of Familiar Color-Palette Choices
The MXE 3.0 ECA software features a range of color-palette representations that replicate the look of traditional NDT methods and facilitate the intuitive display of ECA signals.
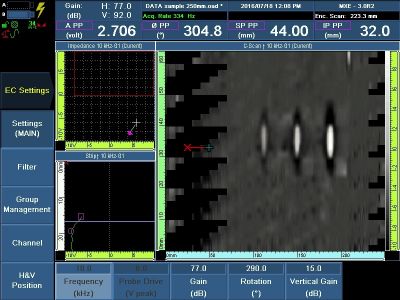 |
| Figure 6 : C-Scan image using X-ray color Pallet. |
Instant Reporting
The OmniScan MX features built-in reporting at the touch of a key. Reports can also be configured and customized by advanced users.
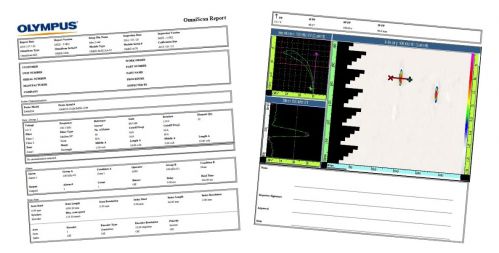 |
| Figure 7. First (left) and second (right) pages of a report generated by an OmniScan flaw detector. |
Easy Archiving
Archiving inspection data files is also very easy; simply press a key during acquisition or analysis to instantly store the data on the instrument’s memory card.
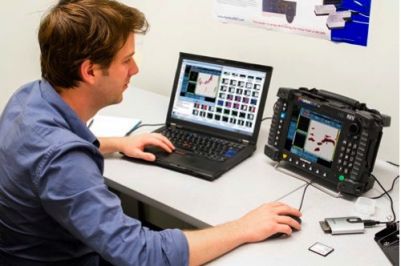 |
| Figure 9. Data and image transfer on a PC. |


