Application
Detection of hidden internal voids or air bubbles in molded plastic parts.
Background
Plastic parts manufactured by injection molding and similar processes can contain internal voids caused by shrinkage during cooling or air pockets trapped during molding. Voids are most commonly seen in parts with wall thicknesses greater than approximately 6 mm or 0.25 inch, but they can occur in thinner walls as well. Internal voids can affect the structural integrity of a part and lead to breakage, and typically indicate that the molding process needs to be optimized.
Ultrasonic flaw detection offers a simple method for locating internal voids without cutting or X-raying the part. High-frequency sound waves coupled into the part by a small probe called a transducer will reflect from voids in a predictable way. Ultrasonic waves will travel through a material until they encounter a boundary, such as a far wall. A void within the sound path will generate an additional echo where there should not be one. By observing echo patterns on a display screen, a trained operator can quickly and reliably verify material integrity.
Equipment
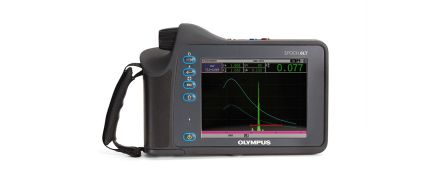
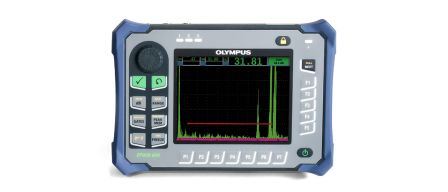
Any of the EPOCH® series flaw detectors can be used for this test, including the EPOCH 6LT, EPOCH 1000, and EPOCH 650 instruments. The type of transducer used in a given test will depend on the specific part geometry and thickness, but small-diameter contact and delay line transducers are most commonly used. These include part numbers V110-RM (5 MHz), V112-RM (10 MHz), and V260 Sonopen® transducer (15 MHz focused delay line).
Procedure
Ultrasonic flaw detection is a comparative process in which the echo pattern generated by a good part is compared with the echo pattern from a test piece. Changes in the echo pattern indicate changes in the internal structure. In tests of molded plastic parts, the operator typically looks for the presence of echoes within a marked gate or window that represents the interior of the test piece. The presence of reflections in this zone indicates discontinuities, such as voids, bubbles, or inclusions.
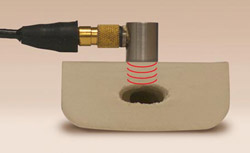
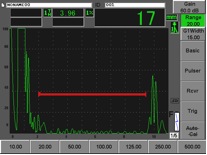
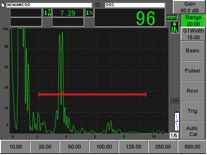
The example below shows detection of a large void in a 20 mm (0.8 in.) thick molded plastic frame, using an EPOCH 650 flaw detector and a V110-RM transducer (5 MHz). The transducer is coupled to the top of the part. With a good part, the sound travels to the bottom surface and creates a reflection from a depth of 20 mm, as indicated by the peak at the right side of the image in the first waveform screen example below. However, if a void is present, the sound will reflect from the void and create a peak within the zone on the screen that is marked with the red gate, representing the middle of the part. The presence of an echo in that area indicates a discontinuity in the part. The inspection takes only a few seconds per test point.
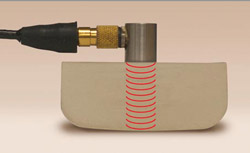 |  |
Typical indication from good part
 |
Typical flaw indication, echo in red gate
 |
A similar test can be applied to most types of molded plastic parts. For further information, contact Olympus.

