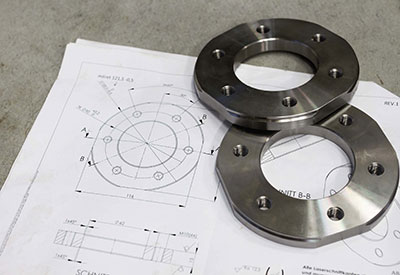
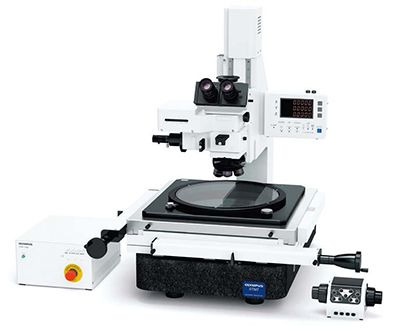
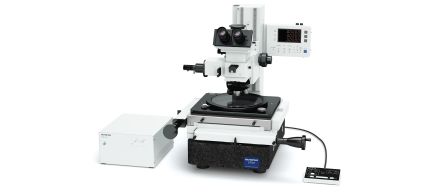
In the manufacturing of machined metal parts, checking specifications and tolerances is an essential part of the workflow – both in production and in QC. Measurement tools, ranging from large complex equipment to simple handheld tools, are used to ensure functionality and quality. However, many of these methods have issues, either in precision and reproducibility, or in ensuring a fast, user-friendly workflow. Measurement microscopes, such as the Olympus STM7, offer a flexible approach that delivers both fast and highly precise measurements in three dimensions – combining high throughput with confidence in results.
Many metal components for industries such as the medical, automotive and toolmaking industry have strict tolerances for size and shape. The quality of finished parts depends highly on a number of parameters, including fixture quality, operator skill, positioning errors, input material condition and thermal effects. All of these parameters are potential causes for variability in machined parts, high scrap and low yield rates. Despite increased precision in manufacturing, for example by the use of computer numerical control (CNC), finished parts still need detailed analysis to make sure they meet specifications. Measurement of not just lines but also circumferences, angles, etc. are essential for components that are guaranteed to be fit for purpose. |  |
Can You Check Every Spec?
Several different technologies exist to carry out highthroughput measurements on metal parts. These technologies range from simple handheld devices such as calipers and micrometers to more complex, versatile devices.
Handheld measurement tools are simple and easy to use without training, which means they are well suited for fast length measurements on simple shapes. However, as these are physical methods that rely on contact they are often unsuitable for more complex objects or measurements. Also, results often vary between operators.
More advanced measurement tools, such as coordinatemeasuring machines (CMMs), profile projectors or optical comparators, can carry out complex measurements over a wide field of view. However, these tools take up a large amount of space in a testing lab and come at a significantly higher cost; CMMs also require extensive training. Dedicated measurement microscopes, on the other hand, provide a highly suitable alternative, as they deliver precision in an easy-to-use manner.
All Eyes on Microscopes
Application – Fuel Injection Nozzle and Needle Tip
In car engine manufacturing, the size and shape of the injection nozzle and the needle need to be machined with extremely high precision. The electromagnetically controlled needle blocks the fuel injection aperture so both parts must be manufactured in a way that ensures complete closure. This type of inspection requires multiple complex measurements, such as angles, which would not be possible with handheld tools.
Measurement of lengths and angles is both fast and precise using the STM7 measurement microscope. Its intuitive software offers automatic recognition of end sections, allowing for an almost total elimination of the positioning errors caused by manual adjustment (figure 2).

Figure 2 - Cross section of an injector nozzle (left) and visualization in STM7-BSW with measurement results (right).
Application: Measuring the Diameter, Thread Angle and Pitch of Screws
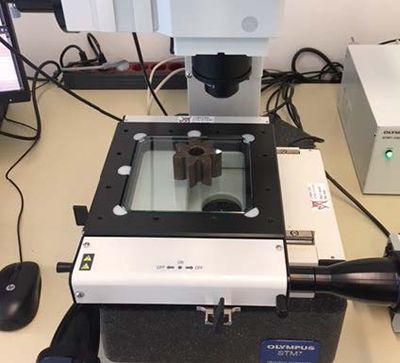
Measuring microscopes are also known as toolmakers’ microscopes. Parameters of small parts such as the screws used in watches, electrical plugs or toys cannot be measured with instruments such as calipers or micrometers.
With the STM7, it is possible to measure extremely small screw dimensions in under a minute, which is particularly useful for thread inspection and verifi cation of tool angles. The transmitted green LED and auto-edge tool in the software helps to quickly measure thread dimensions and pitch of the screw (fi gure 3).

Figure 3 - Toolmakers can use the STM7 to measure different parameters of screws quickly and easily.
Microscopy That Measures Up
In both manufacturing and QC of metal parts with tight specifications, fast, precise measurements are invaluable. Many commonly used tools either struggle with precision, flexibility and operator variability – or require a lot of space and extensive training.
Measuring microscopes, such as Olympus’ STM7, offer an ideal combination of precision and speed. With 3-axis direct measurement capability, precise focus navigator and powerful software, the STM7 provides a flexible, versatile workflow for confirming specifications quickly – and with a precision that measures up to any standard.


