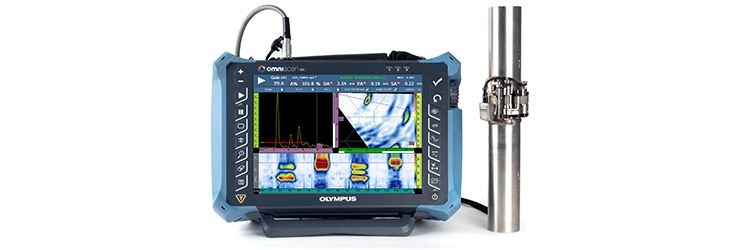
Small-diameter pipes are used in many applications, but inspecting welds in these pipes poses certain challenges. For one, these pipes are often located in areas where the access is very limited. This becomes even tougher when the pipes and welds are made from austenitic material.
Manufacturers use austenitic stainless steel because it’s resistant to many types of corrosion. Small pipes may be clad with a layer of austenitic material to reduce cost, but when pipe sections are welded together, austenitic material is used. These welds need to be inspected, but austenitic stainless steel is highly attenuative, making it challenging to inspect using ultrasonic testing.
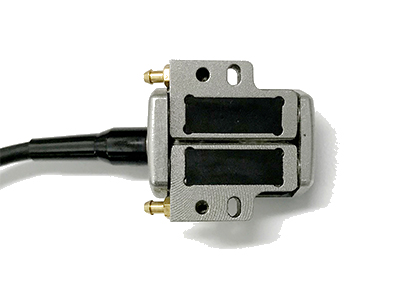
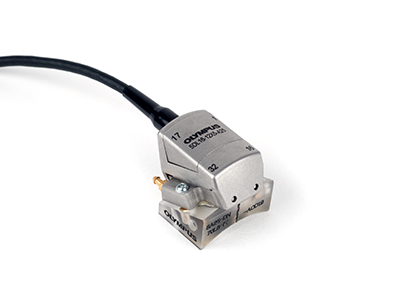
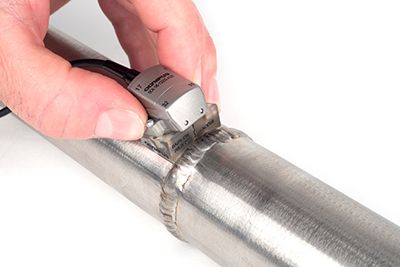
We developed a solution that simplifies austenitic weld inspection in small-diameter pipes. Our 5 MHz A25 dual linear phased array probe includes two miniature 12 mm × 5 mm aperture, 16-element arrays integrated in a single housing with one cable. Paired with the COBRA® scanner, this solution offers 5 advantages that make inspecting small-diameter austenitic welds faster and easier.
1. Inspect pipes that have limited accessibility
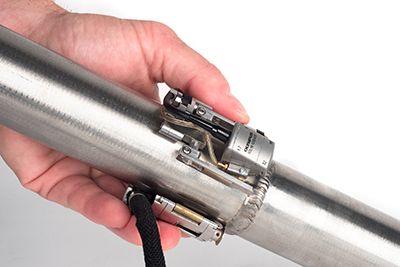
The probe’s slim design, with a minimum clearance of 20.5 mm, enables the COBRA scanner to inspect pipes when space is tight. Add or remove links to adjust the scanner to the diameter of your pipe, and the spring-loaded mechanism keeps it secure.
2. Get excellent results on challenging, highly attenuative material
The A25 probe utilizes the transmit-receive longitudinal (TRL) technique, which uses separate transmit and receive probes. Using separate probes minimizes the vulnerability to noisy, attenuative material, making the probe ideal for inspecting austenitic welds. The A25 probe is intended for austenitic materials that cannot be inspected with 1D linear array probes and shear wave wedges and as a supplemental inspection for qualification of single-sided carbon steel welds.
 |  |
3. Fits a range of small-diameter pipe sizes
The A25 probe features an innovative system that enables the two arrays to conform to the wedge roof angle for optimal performance at each pipe diameter. The wedges cover standard pipe diameters from 1.05 inches to 4.5 inches.
4. Compatible with OmniScan® flaw detectors
The probe is compatible with the OmniScan SX flaw detector, making it a cost-effective solution for inspecting austenitic welds. The parameters of the probe and wedges are selectable in NDT SetupBuilder, making it easier to create focal laws.
5. A law file library is included
The probe comes with a law file library for standard wedges for ANSI pipe diameters in carbon steel, stainless steel, and Inconel® alloy velocities.
 |  |
Related Content
Small-Diameter Pipes and How to Inspect Them
Austenitic, Nickel, and Other Coarse-Grained Alloys
On the Cutting Wedge: Using Contoured Wedges to Inspect Welds in Small-Diameter Pipes

